Chapter 7: Managed Powerstrips
99
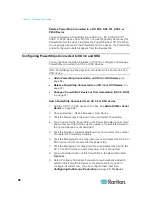
Move an SX 3.1's Powerstrip to a Different Port
When you physically move a Powerstrip from one SX 3.1 device or port
to another SX 3.1 device or port, you must delete the Powerstrip from the
old SX 3.1 port and add it to the new SX 3.1 port. See
Delete a
Powerstrip Connected to an SX 3.1 Device
(on page 99) and
Add a
Powerstrip Connected to an SX 3.1 Device
(on page 98).
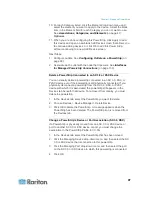
Delete a Powerstrip Connected to an SX 3.1 Device
You can visually delete a powerstrip connected to an SX 3.1 device even
if the powerstrip is still physically connected. If you physically disconnect
the powerstrip from the SX 3.1 device with which it is associated, the
powerstrip still appears in the Devices tab beneath that device. To
remove it from display, you must delete the powerstrip.
To delete a powerstrip connected to an SX 3.1 device:
1. In the Devices tab, select the powerstrip you want to delete.
2. Choose Devices > Device Manager, Delete Device.
3. Click OK to delete the powerstrip. A message appears when the
powerstrip has been deleted. The powerstrip icon is removed from
the Devices tab.
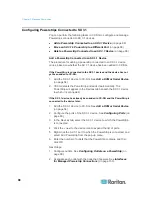
Configuring Outlets on a Powerstrip
Before associating Powerstrip outlets with nodes, you must configure the
outlets by adding the Managed Powerstrip interface to the node. See
Interfaces for Managed Powerstrip Connections
(on page 130).
To configure outlets from the PowerStrip profile:
1. In the Devices tab, click the + next to the device that is connected to
the PowerStrip.
2. Select the PowerStrip whose outlets you want to configure.
3. In the Device Profile: PowerStrip screen, select the Outlets tab.
4. Select the checkbox for each outlet you want to configure, and then
click OK.
The outlets will appear beneath the PowerStrip icon in the Devices tab.
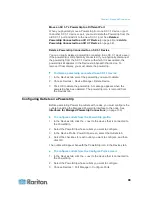
To configure outlets from the Configure Ports screen:
1. In the Devices tab, click the + next to the device that is connected to
the PowerStrip.
2. Select the PowerStrip whose outlets you want to configure.
3. Choose Devices > Port Manager > Configure Ports.


