Chapter 8: Nodes, Node Groups, and Interfaces
152
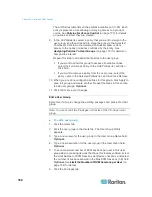
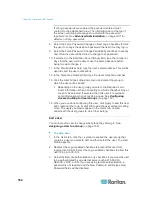
To remove a node from the group, select the node name in the
Selected list and click Remove.
You can search for a node in either the Available or Selected list.
Type the search terms in the field below the list, and then click
Go
4. If you want to create a policy that allows access to the nodes in this
group at any time, select the Create Full Access Policy for Group
checkbox.
5. When you are done adding nodes to the group, click OK to create
the node group. The group will be added to the list of Node Groups
on the left.
Describe Nodes
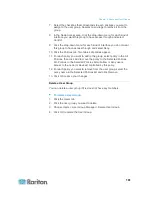
To add a node group with the Describe Nodes option:
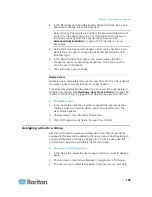
1. Click the Select Nodes tab.
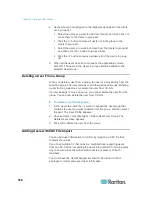
2. Click the Add New Row icon
to add a row in the table for a
new rule. Rules take the form of an expression which can be
compared against nodes.
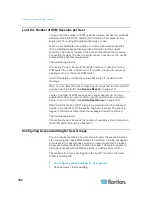
3. Double-click each column in the row to turn the appropriate cell into
a drop-down menu, then select the appropriate value for each
component:
Prefix - Leave this blank or select NOT. If NOT is selected, this
rule will filter for values opposite of the rest of the expression.
Category - Select an attribute that will be evaluated in the rule. All
categories you created in the Association Manager will be
available here. Also included are Node Name and Interface. If
any blade chassis has been configured in the system, a Blade
Chassis category is available by default.
Operator - Select a comparison operation to be performed
between the Category and Element items. Three operators are
available: = (is equal to), LIKE (used for find the Element in a
name) and <> (is not equal to).
Element - Select a value for the Category attribute to be
compared against. Only elements associated with the selected
category will appear here (for example: if evaluating a
“Department” category, “Location” elements will not appear
here).
Rule Name- This is a name assigned to the rule in this row. You
cannot edit these values. Use these values for writing
descriptions in the Short Expression field.

