Chapter 12: Remote Authentication
196
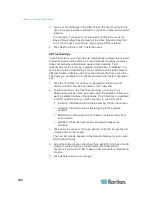
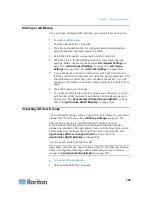
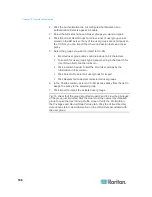
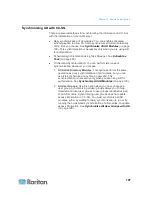
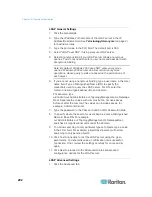
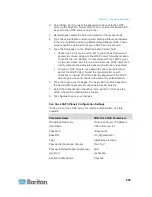
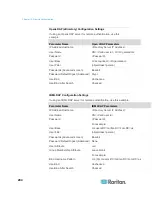
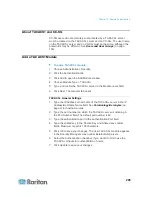
2. Click the Authentication tab. All configured Authorization and
Authentication Servers appear in a table.
3. Select the AD server whose AD user groups you want to import.
4. Click Import AD User Groups to retrieve a list of user group values
stored on the AD server. If any of the user groups are not already on
the CC-SG, you can import them here and assign them an access
policy.
5. Select the groups you want to import to CC-SG.
Imported user group names can include up to 64 characters.
To search for user groups, type a search string in the Search for
User Group field, and then click Go.
Click a column header to sort the list of user groups by the
information in that column.
Click Select all to select all user groups for import.
Click Deselect all to deselect all selected user groups.
6. In the Policies column, select a CC-SG access policy from the list to
assign the policy to the selected group.
7. Click Import to import the selected user groups.
Tip: To check that the group imported properly and to view the privileges
of the group just imported, click the Users tab, then select the imported
group to open the User Group Profile screen. Verify the information in
the Privileges and Device/Node Policies tab. Click the Active Directory
Associations tab to view information on the AD module associated with
the user group.

