Chapter 7: Virtual Media
95
b.
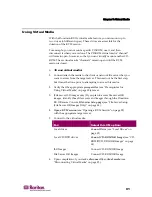
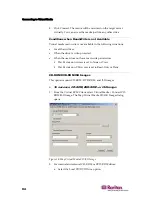
Select the drive from the Local CD/DVD Drive drop-down list.
All available internal and external CD and DVD drive names
will be populated in the drop-down list.
c.
Click Connect.
3.
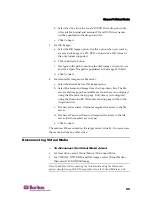
For ISO images:
a.
Select the ISO Image option. Use this option when you want to
access a disk image of a CD, DVD, or hard drive. ISO format is
the only format supported.
b.
Click the Browse button.
c.
Navigate to the path containing the disk image you want to use
and click Open. The path is populated in the Image Path field.
d.
Click Connect.
4.
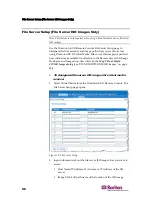
For remote ISO images on a file server:
a.
Select the Remote Server ISO Image option.
b.
Select Hostname and Image from the drop-down lists. The file
servers and image paths available are those that you configured
using the File Server Setup page. Only items you configured
using the Dominion KX II File Server Setup page will be in the
drop-down list.
c.
File Server Username. Username required for access to the file
server.
d.
File Server Password. Password required for access to the file
server (field is masked as you type).
e.
Click Connect.
The media will be mounted on the target server virtually. You can access
the media just like any other drive.
Disconnecting Virtual Media
¾
To disconnect the Virtual Media drives:
•
For local drives, select Virtual Media > Disconnect Drive
•
For CD-ROM, DVD-ROM, and ISO images, select Virtual Media >
Disconnect CD-ROM/ISO Image
Note: In addition to disconnecting the virtual media using the Disconnect
option, simply closing the KVM connection closes the Virtual Media as well.
Summary of Contents for DOMINION KX II DKX2-0E-E
Page 14: ......
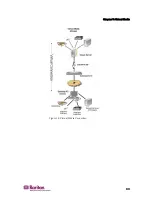
Page 103: ...Chapter 7 Virtual Media 89 Figure 35 Virtual Media Connection...
Page 118: ...Add New User Group 104 Click the Add button from the User Group List page Figure 43 Group Page...
Page 250: ......
Page 256: ......

