Chapter 4: Virtual Media
80
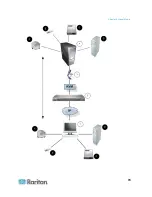
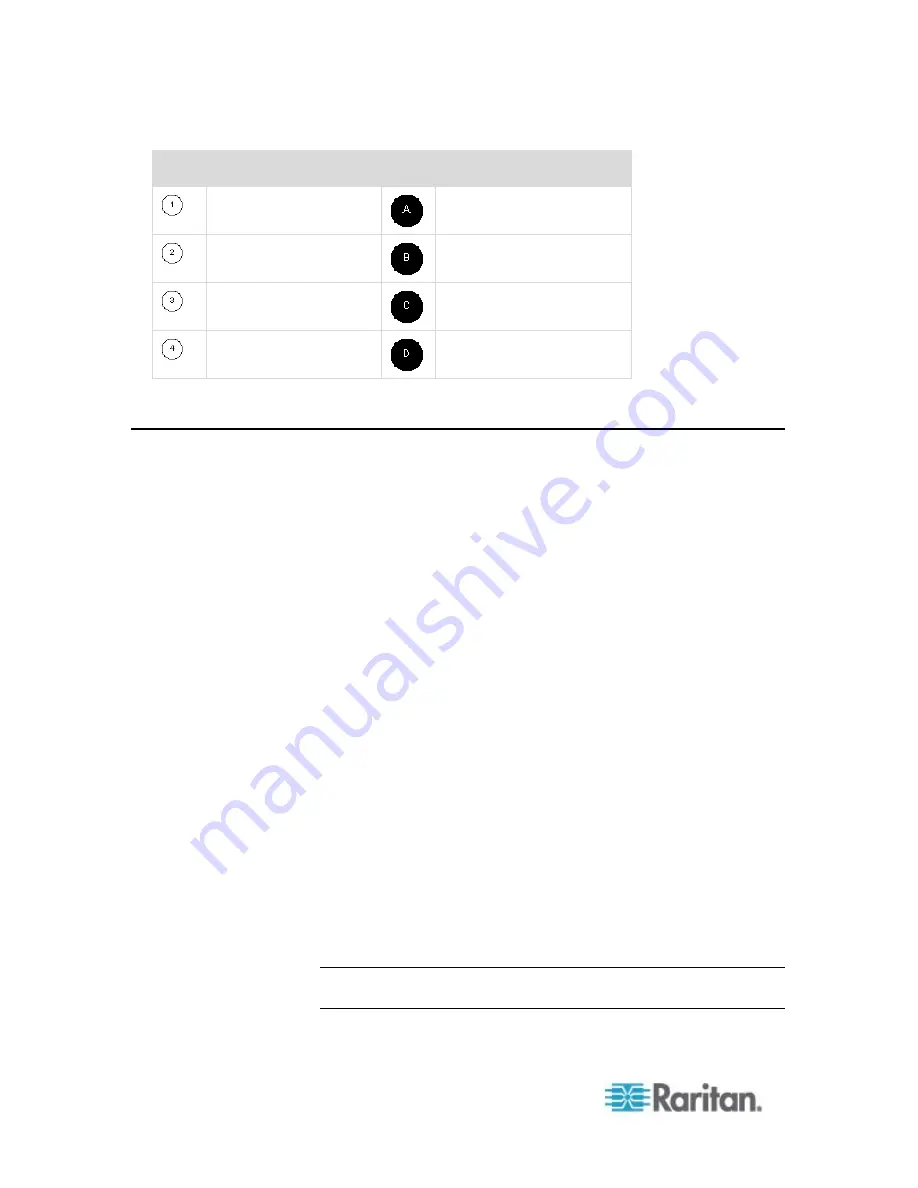
Diagram key
Desktop PC
CD/DVD drive
Dominion KX II
USB mass storage device
CIM
PC hard drive
Target server
Remote file server (ISO
images)
Prerequisites for Using Virtual Media
With the Dominion KX II virtual media feature, you can mount up to two
drives (of different types) that are supported by the USB profile currently
applied to the target. These drives are accessible for the duration of the
KVM session.
For example, you can mount a specific CD-ROM, use it, and then
disconnect it when you are done. The CD-ROM virtual media “channel”
will remain open, however, so that you can virtually mount another
CD-ROM. These virtual media “channels” remain open until the KVM
session is closed as long as the USB profile supports it.
The following conditions must be met in order to use virtual media:
Dominion KX II
•
For users requiring access to virtual media, the Dominion KX II
device permissions must be set to allow access to the relevant ports,
as well as virtual media access (VM Access port permission) for
those ports. Port permissions are set at the group-level.
•
A USB connection must exist between the Dominion KX II device and
the target server.
•
If you want to use PC-Share,
Security Settings
(on page 179) must
also be enabled in the Security Settings page.
Optional
•
You must choose the correct USB profile for the KVM target server
you are connecting to.
Client PC
•
Certain virtual media options require administrative privileges on the
client PC (for example, drive redirection of complete drives).
Note: If you are using Microsoft Vista, turn User Account Control off:
Control Panel > User Accounts > User Account Control > turn off.
Summary of Contents for Dominion KX II
Page 10: ......
Page 14: ...Chapter 1 Introduction 4...
Page 16: ...Chapter 1 Introduction 6 Product Photos Dominion KX II KX2 832...
Page 17: ...Chapter 1 Introduction 7 KX2 864...
Page 89: ...Chapter 4 Virtual Media 79...
Page 111: ...Chapter 6 User Management 101...
Page 144: ...Chapter 7 Device Management 134 3 Click OK...
Page 154: ...Chapter 7 Device Management 144 3 Click OK...
Page 198: ...Chapter 9 Security Management 188 3 You are prompted to confirm the deletion Click OK...
Page 277: ...Appendix B Updating the LDAP Schema 267...
Page 324: ......


