


Chapter 5: Using the Web Interface
155
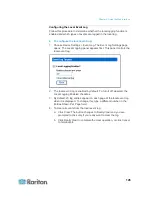
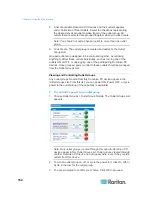
4. The page refreshes once to indicate that the desired command was
performed, and again a few seconds later to update the status of the
outlet group.
Note: The page must finish loading or refreshing before selecting an
action. If you select an action before the page has finished updating the
status of all outlet groups, the command is ignored.
If you want to view or edit the composition of an outlet group, clicking on
the name of the outlet group in the list takes you to the Outlet Group Editor
for the selected outlet group.
Editing or Deleting Outlet Groups
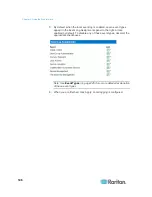
1. Choose Outlet Groups > Outlet Group Editor. The Outlet Group Editor
page opens.
2. Select the desired outlet group from the Outlet Groups drop-down list.
3. The details for the outlet group appear. Change the comment,
capabilities, or any of the included Real Outlets if you are modifying
the group.
4. Click Modify to save any changes if you are modifying the outlet
group, or click Delete to remove the group from the outlet groups list.
Note: You cannot modify the name of an outlet group after the group is
created.
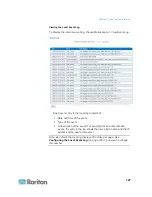
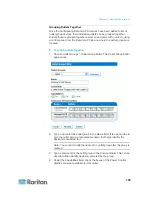
Deleting Outlet Group Devices
To delete a Dominion PX device from outlet grouping when it is
no longer available or in use:
1. Choose Outlet Groups > Outlet Group Devices. The Outlet Group
Devices page opens, displaying a list of known Dominion PX devices.
2. Click Delete for the Dominion PX device you want to remove from
outlet grouping.
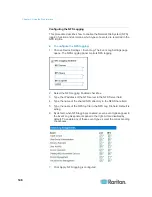
Note: If you delete a Dominion PX device that still has outlets in a group, it
removes the associated outlets from that group, but the group still exists.
Remove the group itself using the Outlet Group Editor.
You should not delete the host device (the Dominion PX device you are
currently accessing) from the Outlet Group Devices list. If you do, you can
add it back to the list using the IP address 127.0.0.1.


