Chapter 2: Rack-Mounting the PDU
9
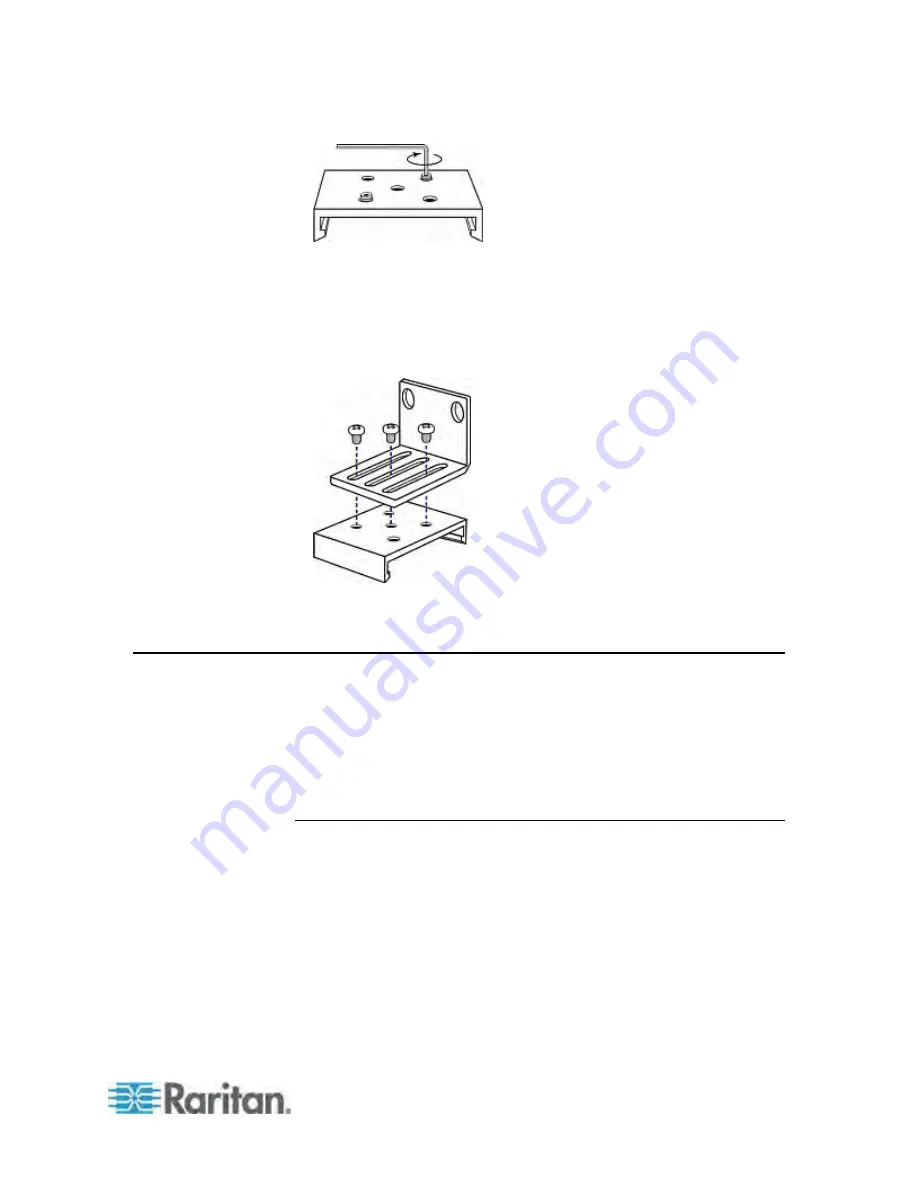
3. Align the L-brackets with the baseplates so that the five screw-holes
on the baseplates line up through the L-bracket's slots. The rackmount
side of brackets should face either the left or right side of the Dominion
PX device.
4. Fasten the brackets in place with at least three screws (one through
each slot). Use additional screws as desired.
5. Using rack screws, fasten the Dominion PX device to the rack through
the L-brackets.
For Zero U Models Using Tool-less Button Mounting
Some Zero U PDUs ship with tool-less mounting brackets consisting of an
adjustable baseplate with a large button. These work by attaching to the
back side of a Zero U Dominion PX device (the side opposite of the
outlets) and fitting the button into the mounting holes of the cabinet. Note
that not all racks may allow the option of securing the Dominion PX device
in this way.
Before You Begin Tool-less Mounting:
Ensure that you have sufficient space in the cabinet to mount the
Dominion PX device. Approximately one inch of clearance is required
at each end (top and bottom) of the device.
It may help to mark the back of the Dominion PX device through the
mounting holes you intend to use. You can then use this mark to assist
in aligning the silver buttons properly when attaching the base-plate.