Chapter 5: Using the Web Interface
69
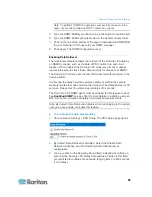
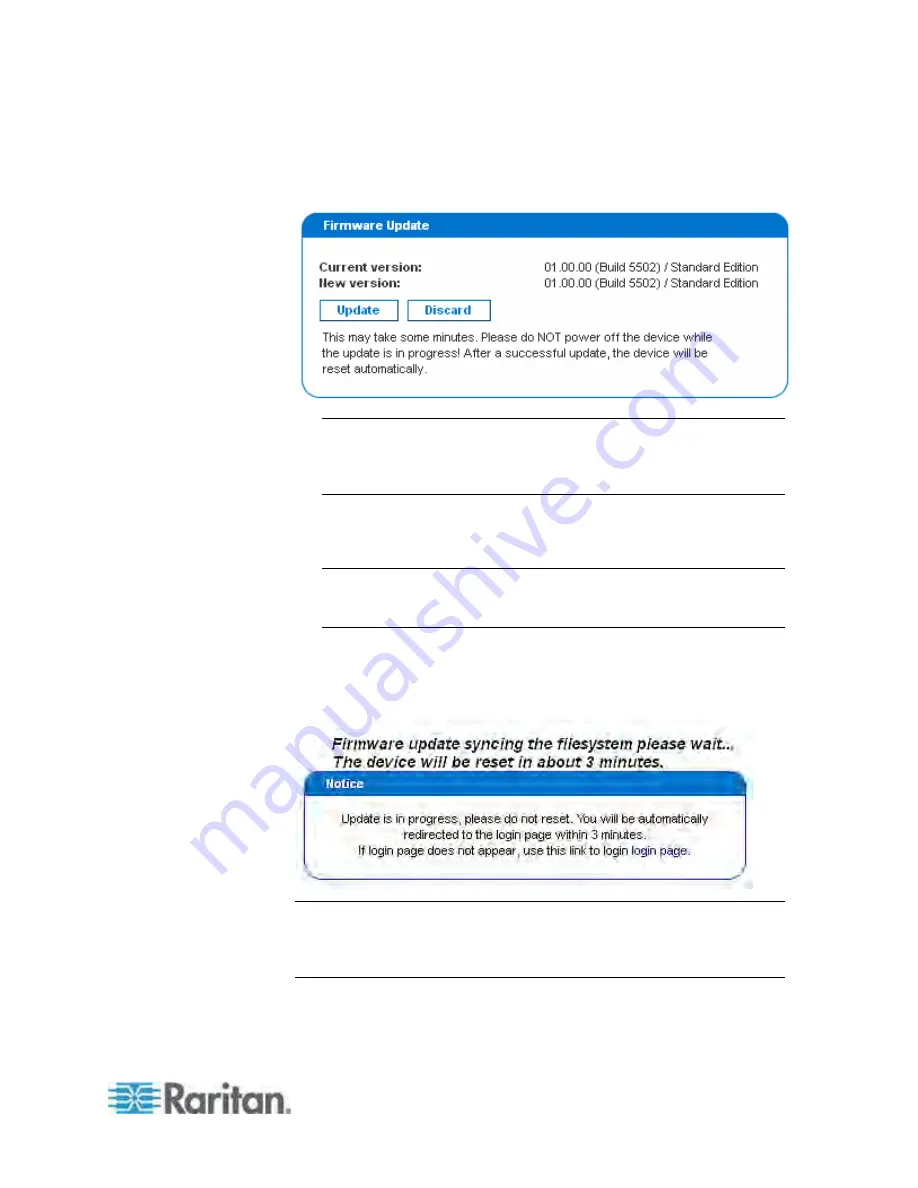
3. Click Upload. The Firmware Update page opens. It shows the current
firmware version and the new firmware version, and gives you a last
chance to terminate the update.
Note: When upgrading a Dominion PX device over a low bandwidth
network, after the firmware upload begins, do NOT switch the browser
to another page until the upload is completed. This may take several
minutes depending on the network speed.
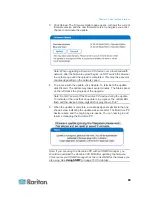
4. To proceed with the update, click Update. To terminate the update,
click Discard. The update may take several minutes. The Status panel
on the left tracks the progress of the upgrade.
Note: Do NOT power off the Dominion PX device during the update.
To indicate at the rack that an update is in progress, the outlet LEDs
flash and the device's three-digit LED display shows “FuP”.
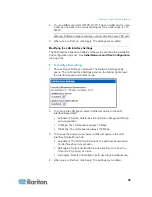
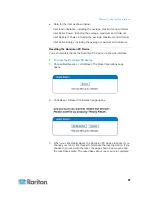
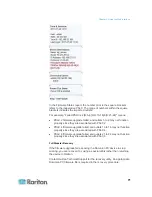
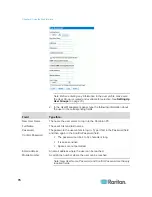
5. When the update is complete, a message appears similar to the one
shown below indicating the update was successful. The Dominion PX
device resets, and the Login page re-opens. You can now log in and
resume managing the Dominion PX.
Note: If you are using the Dominion PX with an SNMP manager, you
should re-download the Dominion PX MIB after updating the firmware.
This ensures your SNMP manager has the correct MIB for the release you
are using. See
Using SNMP
(on page 161) for details.

