Chapter 5: Using the Web Interface
79
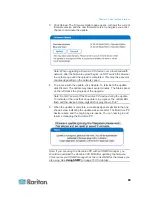
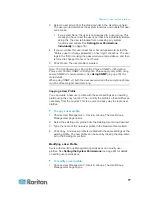
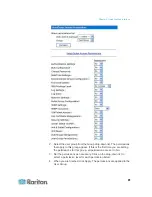
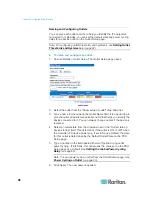
2. Select the user from the "User (not in group)" drop-down list. The
drop-down list shows all user profiles that have NOT been assigned to
a User Group.
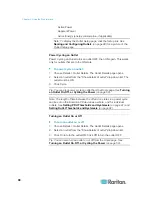
3. Set the permissions as necessary. Click on the drop-down list to
select a permission level for each permission listed.
4. When you are finished, click Apply. The permissions are applied to the
user.
Outlet Permissions
Outlet permissions determine whether a user can configure each outlet's
settings or switch it (if applicable).
To set the outlet permissions:
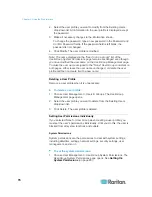
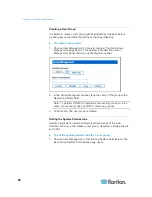
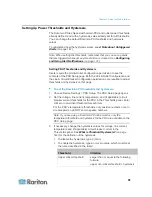
1. Choose User Management > User/Group Outlet Permissions. The
User/Group Outlet Permissions page opens. See
Setting the Outlet
Permissions
(on page 82).
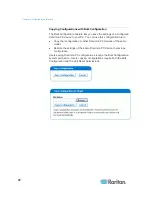
2. Select the user from the User drop-down list.
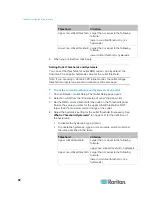
3. Set the permissions as necessary. Click on the drop-down list to
select a permission level for each outlet.
4. When you are finished, click Apply. The permissions are applied to the
user.
Note: A minimum IPMI privilege level "User" is required to switch outlets
over IPMI, which causes no effect on web front-end use. However,
privilege level has no effect on outlet permissions.
Setting Up User Groups
The Dominion PX is shipped with one user group built in: the Admin user
group. This user group provides full system and outlet permissions. It can
be neither modified nor deleted.
To restrict a user's permissions, create a user group with limited system
and/or outlet permissions, and assign the user to that group.

