Chapter 6: SX II Administration
174
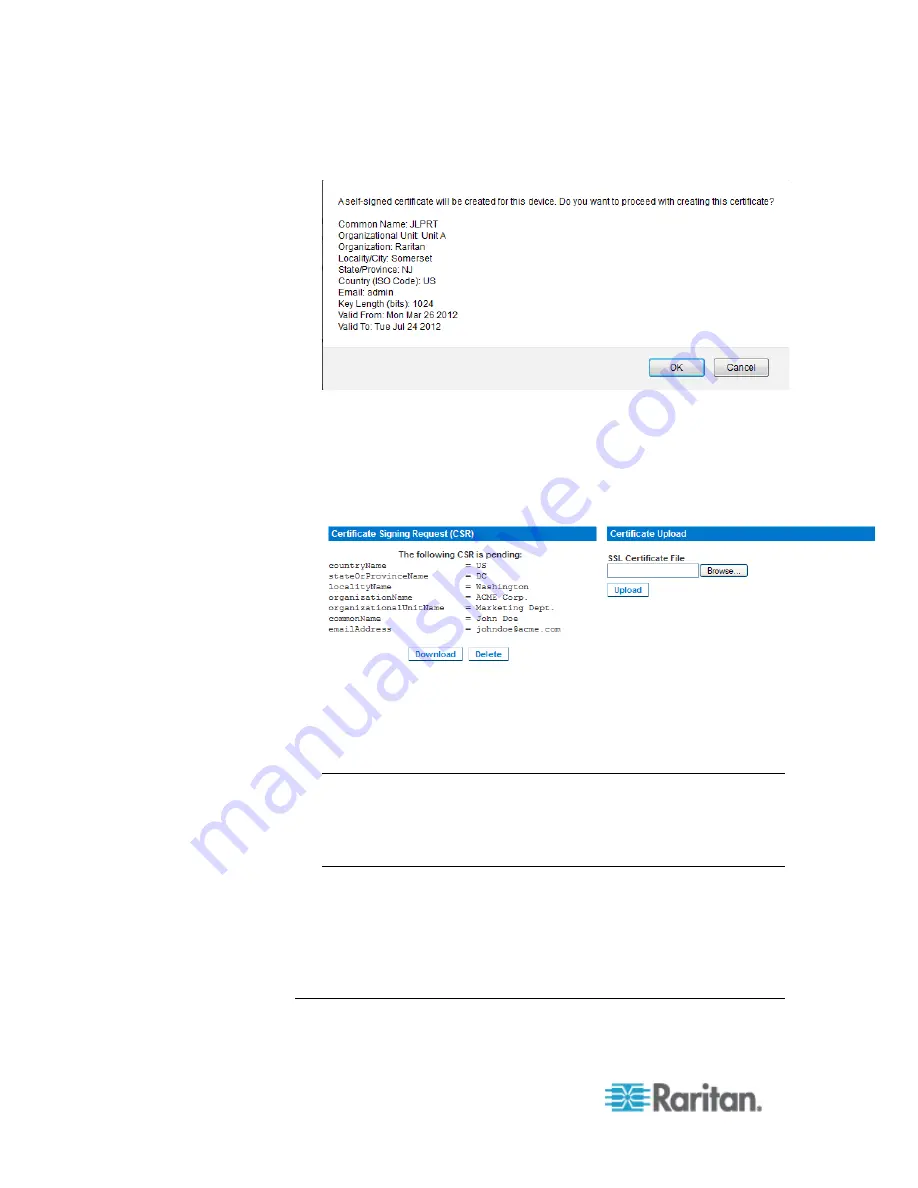
d. A confirmation dialog is displayed. Click OK to close it.
e. Reboot the SX II to activate the self-signed certificate.
To generate a CSR to send to the CA for certification:
a. Click Create.
b. A message containing all of the information you entered
appears.
c. The CSR and the file containing the private key used when
generating it can be downloaded by clicking Download CSR.
d. Send the saved CSR to a CA for certification. You will get the
new certificate from the CA.
Note: The CSR and the private key file are a matched set and should
be treated accordingly. If the signed certificate is not matched with
the private key used to generate the original CSR, the certificate will
not be useful. This applies to uploading and downloading the CSR
and private key files.
Once you get the certificate from the CA, upload it to the SX
II by clicking Upload.
Reboot the SX II to activate the certificate.
After completing these steps the SX II has its own certificate that is used
for identifying the card to its clients.
Important: If you destroy the CSR on the SX II there is no way to get it
Summary of Contents for Dominion SX II
Page 75: ...Chapter 5 Raritan Serial Console RSC Help 68 2 Click Yes when prompted to confirm...
Page 130: ...Chapter 6 SX II Administration 123 6 Click OK...
Page 165: ...Chapter 6 SX II Administration 158 17 Click OK Apply Settings to Other Ports...
Page 260: ...253 Dominion SX II Overview Appendix C FAQs...
Page 267: ...Appendix C FAQs 260 Installation Management Configuration...


