Chapter 4: Connecting External Equipment (Optional)
78
a.
Affix the adhesive part of the asset tag to one side of a blade
server through the tag's tape.
b.
Plug the tag connector of the asset tag into a tag port on the
blade extension strip.
4.
Repeat the above step until all blade servers in the chassis are
connected to the blade extension strip via asset tags.
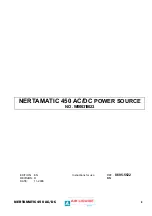
5.
Plug the tag connector of the blade extension strip into the closest
tag port of the regular or composite asset strip on the rack.
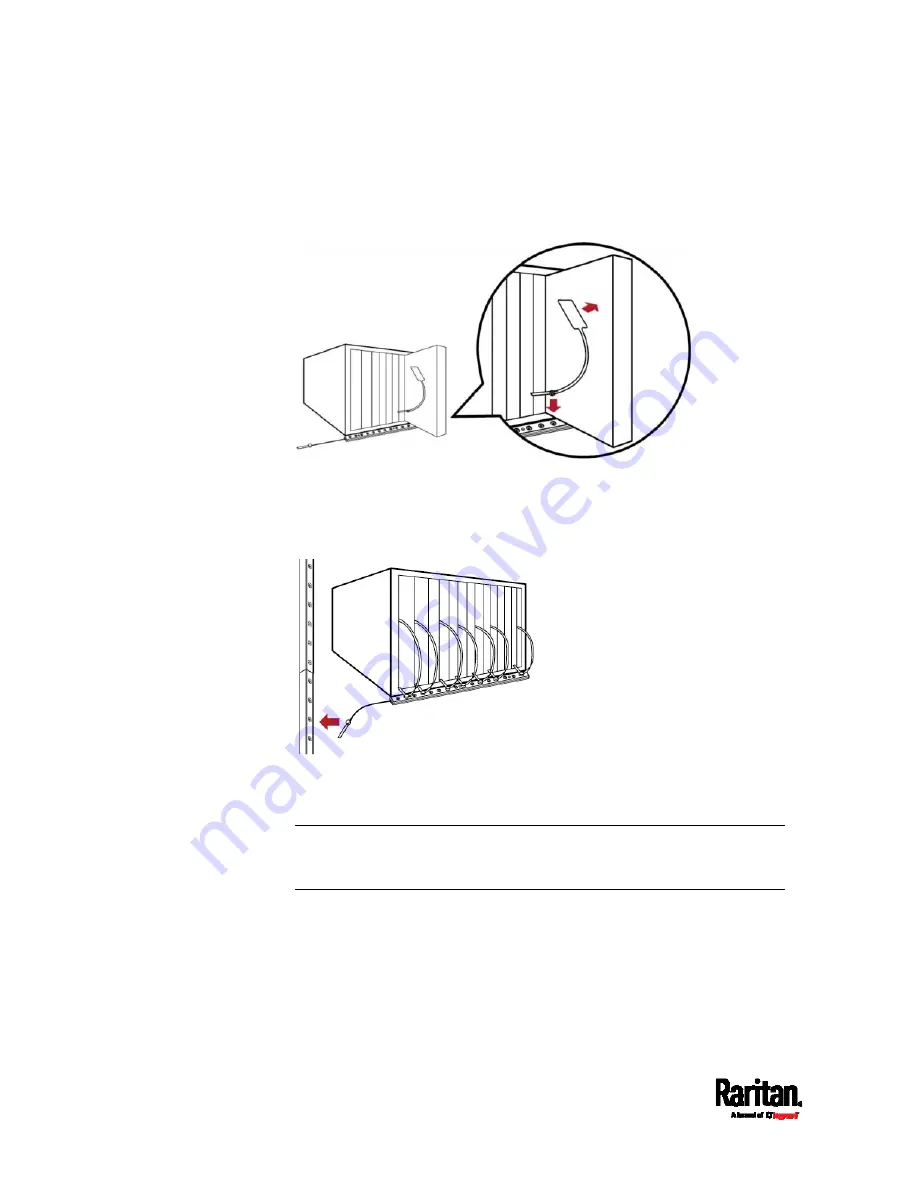
6.
Repeat the above steps to connect additional blade extension strips.
Up to 128 asset tags on blade extension strips are supported per
FEATURE port.
Note: If you need to temporarily disconnect the blade extension strip
from the asset strip, wait at least 1 second before re-connecting it back,
or the PX3 device may not detect it.
Summary of Contents for PX3-1000 series
Page 5: ......
Page 92: ...Chapter 4 Connecting External Equipment Optional 70...
Page 668: ...Appendix J RADIUS Configuration Illustration 646 Note If your PX3 uses PAP then select PAP...
Page 673: ...Appendix J RADIUS Configuration Illustration 651 14 The new attribute is added Click OK...
Page 674: ...Appendix J RADIUS Configuration Illustration 652 15 Click Next to continue...