Chapter 6: Using the Web Interface
157
2.
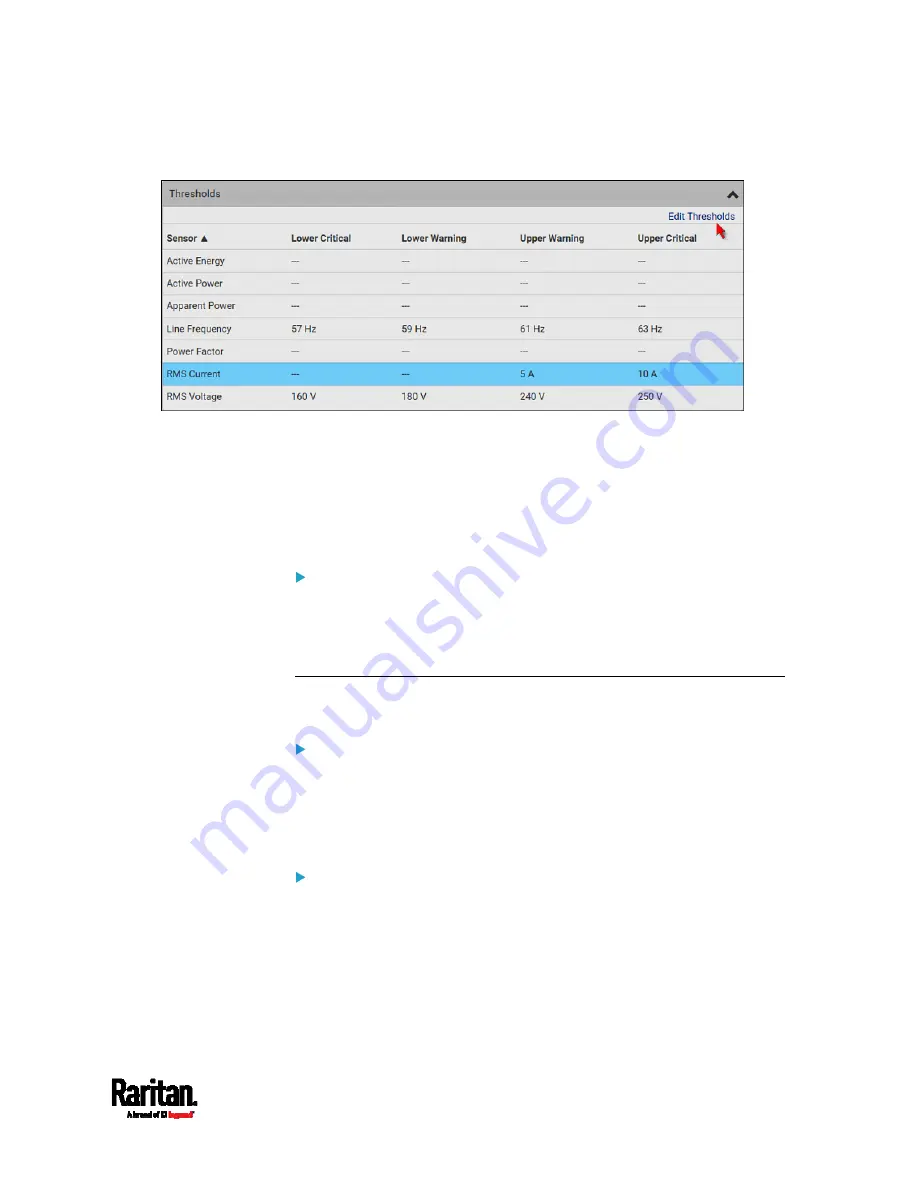
Click the desired sensor (required), and then click Edit Thresholds.
3.
Make changes as needed.
To enable any threshold, select the corresponding checkbox.
Type a new value in the accompanying text box.
For concepts of thresholds, deassertion hysteresis and assertion
timeout, see
Sensor Threshold Settings
(on page 675).
4.
Click Save.
To configure residual current thresholds:
If your model supports residual current monitoring, a section titled
"Residual Current Monitor" is displayed on the Inlet page. See
Web
Interface Operations for RCM
(on page 591).
Configuring a Multi-Inlet Model
If the PX3 has more than one inlet, the Inlets page lists all inlets.
To view or configure each inlet:
1.
Click 'Show Details' of the desired inlet.
2.
Now you can configure the selected inlet, such as enabling
thresholds or resetting its energy. See
Inlet
(on page 155).
To disable the inlet, see the following instructions.
To disable one or multiple inlets:
1.
On the individual inlet's data page, click Edit Settings.
2.
Select the "Disable this inlet" checkbox.
3.
Click Save.
4.
The inlet status now shows "Disabled."
5.
To disable additional inlets, repeat the above steps.
Summary of Contents for PX3-1000 series
Page 5: ......
Page 92: ...Chapter 4 Connecting External Equipment Optional 70...
Page 668: ...Appendix J RADIUS Configuration Illustration 646 Note If your PX3 uses PAP then select PAP...
Page 673: ...Appendix J RADIUS Configuration Illustration 651 14 The new attribute is added Click OK...
Page 674: ...Appendix J RADIUS Configuration Illustration 652 15 Click Next to continue...


