Chapter 6: Using the Web Interface
167
Tip: To switch an outlet using the front panel display, see Power Control.
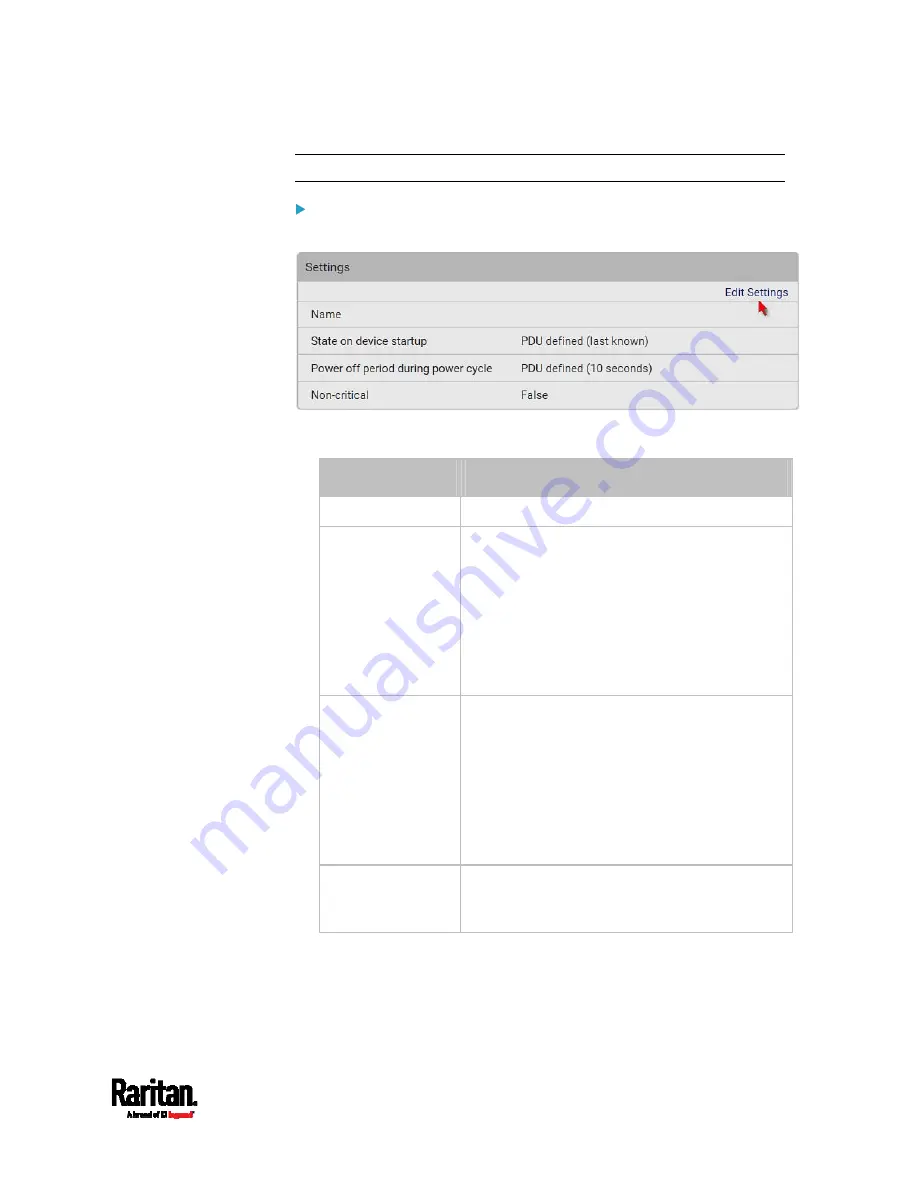
To configure this outlet:
1.
Click Edit Settings.
2.
Configure available fields. Note that the fields marked with * are only
available on outlet-switching capable models.
Field
Descriptions
Name
Type an outlet name up to 32 characters long.
*State on device
startup
Click this field to select this outlet's initial
power state after the PX3 powers up.
Options:
on, off, last known and PDU defined.
See
Options for Outlet State on Startup
(on
Note that any option other than "PDU
defined" will override the global outlet state
setting on this particular outlet.
*Power off period
during power cycle
Select an option to determine how long this
outlet is turned off before turing back on.
Options:
PDU defined or customized time.
See
Power-Off Period Options for
Individual Outlets
(on page 169).
Note that any time setting other than "PDU
defined" will override the global power-off
period setting on this particular outlet.
*Non-critical
Select this checkbox only when you want this
outlet to turn off in the load shedding mode. See
Load Shedding Mode
(on page 164).
3.
Click Save.
4.
The outlet's custom name, if available, is displayed in the outlets list,
following by its label in parentheses.
Summary of Contents for PX3-1000 series
Page 5: ......
Page 92: ...Chapter 4 Connecting External Equipment Optional 70...
Page 668: ...Appendix J RADIUS Configuration Illustration 646 Note If your PX3 uses PAP then select PAP...
Page 673: ...Appendix J RADIUS Configuration Illustration 651 14 The new attribute is added Click OK...
Page 674: ...Appendix J RADIUS Configuration Illustration 652 15 Click Next to continue...


