Chapter 6: Using the Web Interface
177
Column
Description
Serial Number This is the serial number printed on the sensor
package's label. It helps to identify your Raritan
sensors/actuators. See
Finding the Sensor's Serial
Number
(on page 184).
Position
The data indicates where this sensor or actuator is
located in the sensor chain.
See
Identifying the Sensor Position and Channel
(on page 185).
Actuator
Indicates whether this sensor package is an
actuator or not. If yes, the symbol
is shown.
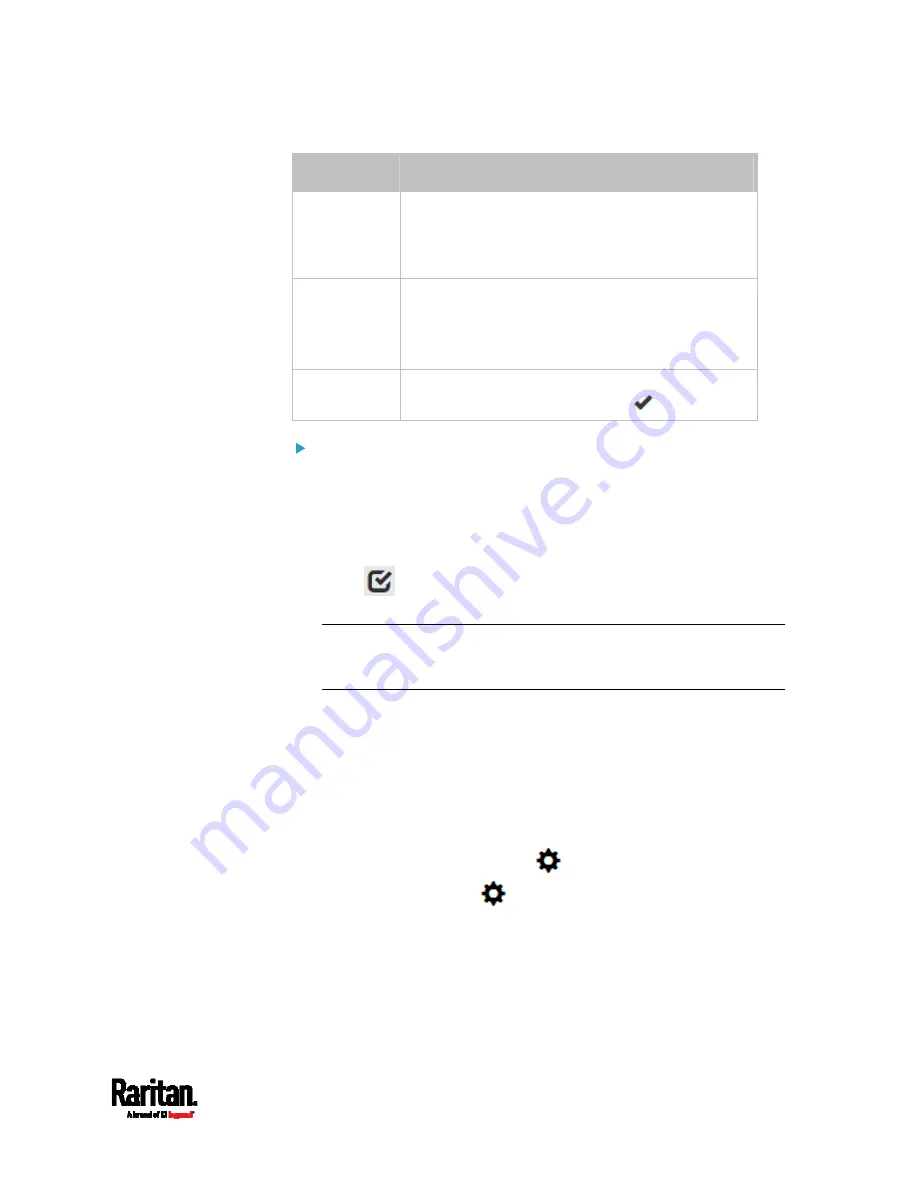
To release or manage sensors/actuators:
When the total of managed sensors/actuators reaches the maximum (32),
you cannot manage additional ones. The only way to manage any
sensor/actuator is to release or replace any managed ones. To replace a
managed sensor/actuator, see
Managing One Sensor or Actuator
(on
page 186). To release any one, follow this procedure.
1.
Click
to make checkboxes appear in front of
sensors/actuators.
Tip: To perform the desired action on only one sensor/actuator,
simply click that sensor/actuator without making the checkboxes
appear.
2.
Select multiple sensors/actuators.
To release sensors/actuators, you must only select "managed"
ones. See
Sensor/Actuator States
(on page 182).
To manage sensors/actuators, you must only select
"unmanaged" ones.
To select ALL sensors/actuators, select the topmost checkbox in
the header row.
3.
To release selected ones, click
> Release.
To manage them, click
> Manage.
Summary of Contents for PX3-1000 series
Page 5: ......
Page 92: ...Chapter 4 Connecting External Equipment Optional 70...
Page 668: ...Appendix J RADIUS Configuration Illustration 646 Note If your PX3 uses PAP then select PAP...
Page 673: ...Appendix J RADIUS Configuration Illustration 651 14 The new attribute is added Click OK...
Page 674: ...Appendix J RADIUS Configuration Illustration 652 15 Click Next to continue...


