Chapter 2: Rackmount, Inlet and Outlet Connections
10
5.
Loosen the hex socket screws until the mounting buttons are
secured in their position.
6.
Ensure that both buttons can engage their mounting holes
simultaneously.
7.
Press the PX3 device forward, pushing the mounting buttons through
the mounting holes, then letting the device drop about 5/8". This
secures the PX3 device in place and completes the installation.
Mounting Zero U Models Using Claw-Foot Brackets
If your PDU has circuit breakers implemented, read
Circuit Breaker
Orientation Limitation
(on page 6) before mounting it.
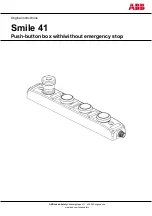
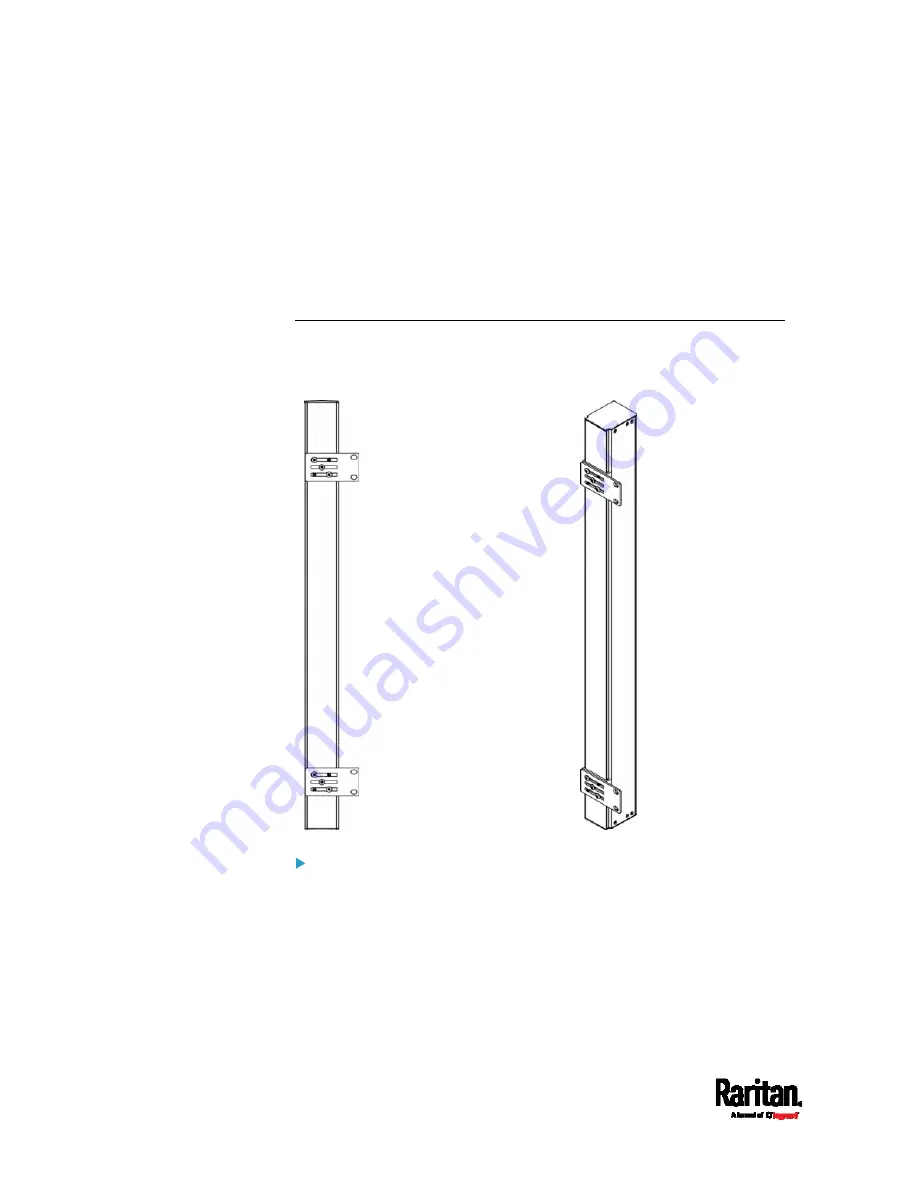
To mount Zero U models using claw-foot brackets:
1.
Align the baseplates on the rear of the PX3 device.
2.
Secure the baseplates in place. Use the included L-shaped hex key
to loosen the hex socket screws until the baseplate is "slightly"
fastened.
Summary of Contents for PX3-1000 series
Page 5: ......
Page 92: ...Chapter 4 Connecting External Equipment Optional 70...
Page 668: ...Appendix J RADIUS Configuration Illustration 646 Note If your PX3 uses PAP then select PAP...
Page 673: ...Appendix J RADIUS Configuration Illustration 651 14 The new attribute is added Click OK...
Page 674: ...Appendix J RADIUS Configuration Illustration 652 15 Click Next to continue...