Chapter 6: Using the Web Interface
277
: This icon denotes that the monitoring for the corresponding
device is disabled.
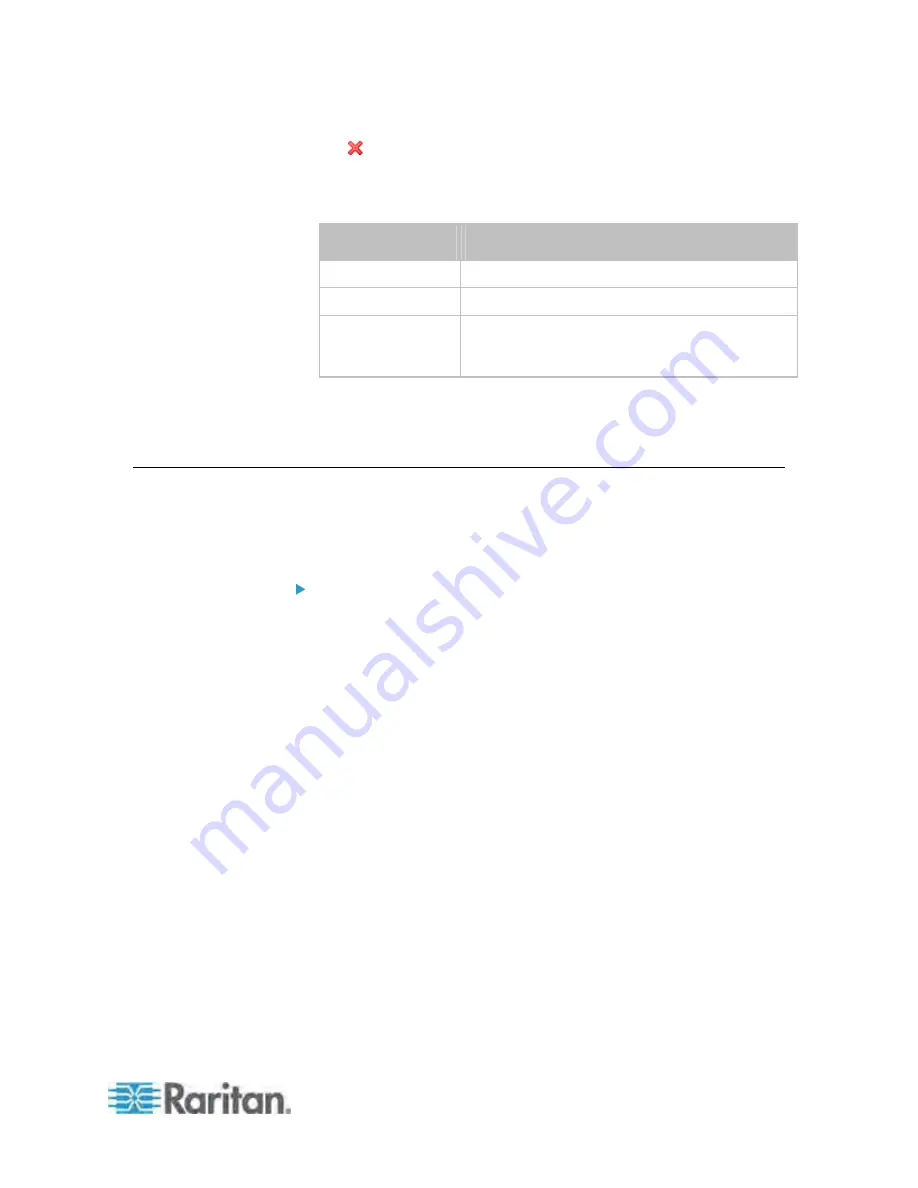
3. The column labeled "Status" indicates the accessibility of each
monitored equipment.
Status
Description
Reachable
The monitored equipment is accessible.
Unreachable
The monitored equipment is inaccessible.
Waiting for reliable
connection
The connection between the PX device and the
monitored equipment is not reliably established
yet.
4. You may change the sorting order of the list if necessary. Or hide
some columns. See
Changing the View of a List
(on page 106).
5. Click Close to quit the dialog.
Environmental Sensors and Actuators
The PX can monitor the environmental conditions, such as temperature
and humidity, where environmental sensors are placed. If an actuator is
connected to the PX, you can use it to control a system or mechanism.
To add environmental sensors and actuators:
1. Physically connect environmental sensor packages to the PX device.
See
Connecting Environmental Sensor Packages
(on page 33).
2. Log in to the PX web interface. The PX should have detected the
connected sensors and actuators, and display them in the web
interface.
3. Identify each sensor and actuator. See
Identifying Environmental
Sensors and Actuators
(on page 278).
4. The PX should automatically manage the detected sensors and
actuators. Verify whether detected sensors and actuators are
managed. If not, have them managed. See
Managing
Environmental Sensors or Actuators
(on page 281).
5. Configure the sensors and actuators. See
Configuring
Environmental Sensors or Actuators
(on page 283). The steps
include:
a. Name the sensor or actuator.
b. If the connected sensor is a Raritan contact closure sensor,
specify an appropriate sensor type.
c. Mark the sensor or actuator's physical location on the rack or in
the room.
Summary of Contents for PX3-4000 series
Page 5: ......
Page 627: ...Appendix I RADIUS Configuration Illustration 606 Note If your PX uses PAP then select PAP...
Page 632: ...Appendix I RADIUS Configuration Illustration 611 14 The new attribute is added Click OK...
Page 633: ...Appendix I RADIUS Configuration Illustration 612 15 Click Next to continue...
Page 648: ...Appendix J Integration 627 3 Click OK...
Page 661: ...Appendix J Integration 640 2 Launch dcTrack to import the spreadsheet file...


