17
1.
Park the scooter in a well ventilated dry place.
The charging
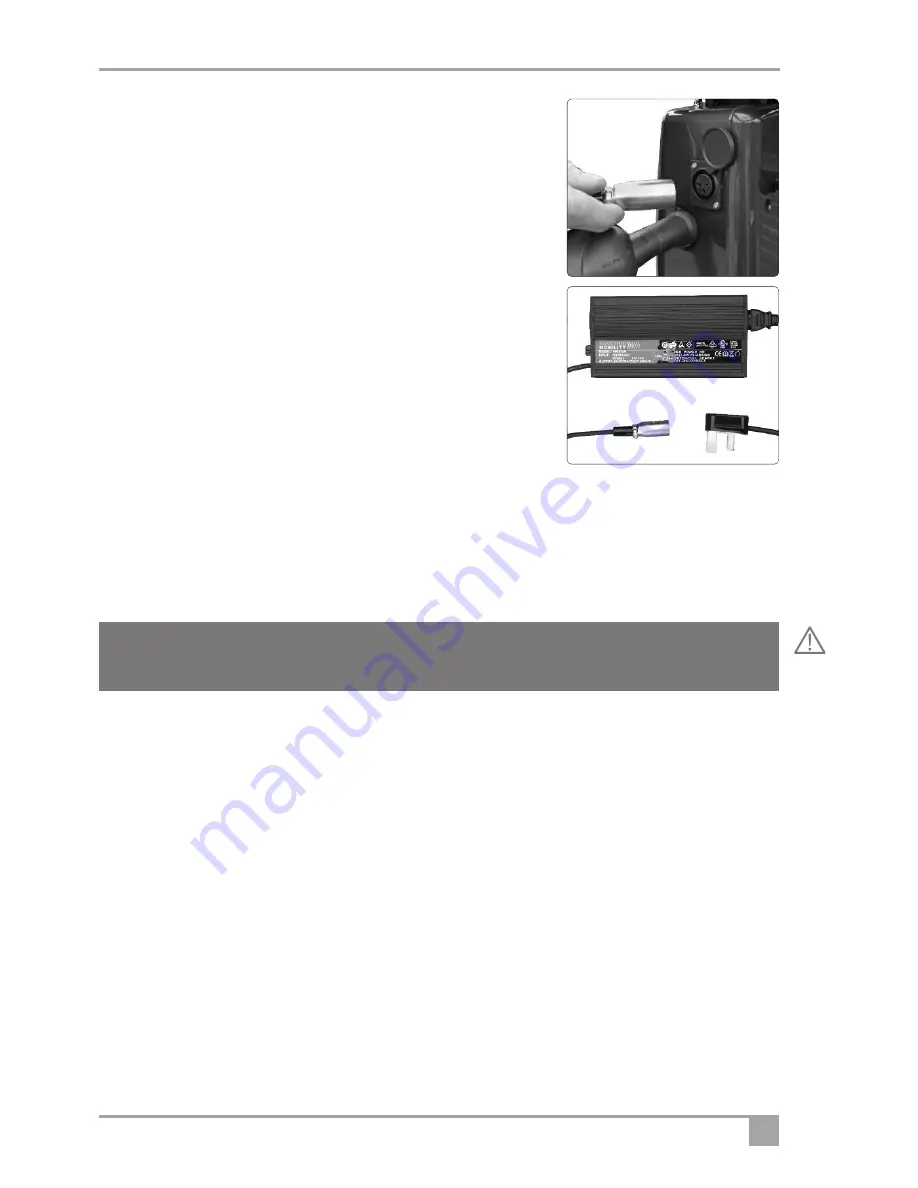
socket is located on the upper left tiller behind a swing cover (Fig.18).
2.
Open the protective cover and with the charger
disconnected
(Fig.18) from the mains, push the charger plug into
the charging socket on the tiller. Plug the charger into the mains
wall outlet and switch the outlet on if a switch is provided.
3.
When the batteries are fully charged remove the mains plug
from the wall socket
and the charging plug from the charging
socket. Reposition the cover over the charging socket to keep the
dirt and moisture out.
4. Do not leave your scooter connected to the charger with the
mains switched off
as this will gradually discharge your
batteries. The battery charger (Fig.19) has two indicating lamps that
change colour depending on the charge state of the batteries.
When the charger is connected and switched on, Lamp 1 will illuminate
red and Lamp 2 will illuminate amber. When the batteries are fully
charged, Lamp 1 will illuminate red and Lamp 2 will illuminate green.
If Lamp 1 only illuminates red, this means that the mains power is on but the batteries are not charging.
• Lamp 1 - Red and Lamp 2 off -
Mains Power on - not charging
• Lamp 1 - Red and Lamp 2 - Amber
- charging
• Lamp 1 - Red and Lamp 2 - Green
- fully charged
• No illumination
- mains not connected to the charger.
Warning!
Never disconnect a battery while the charger is connected to the mains - Never charge your
batteries outside or where the charger may get wet.
19
18


