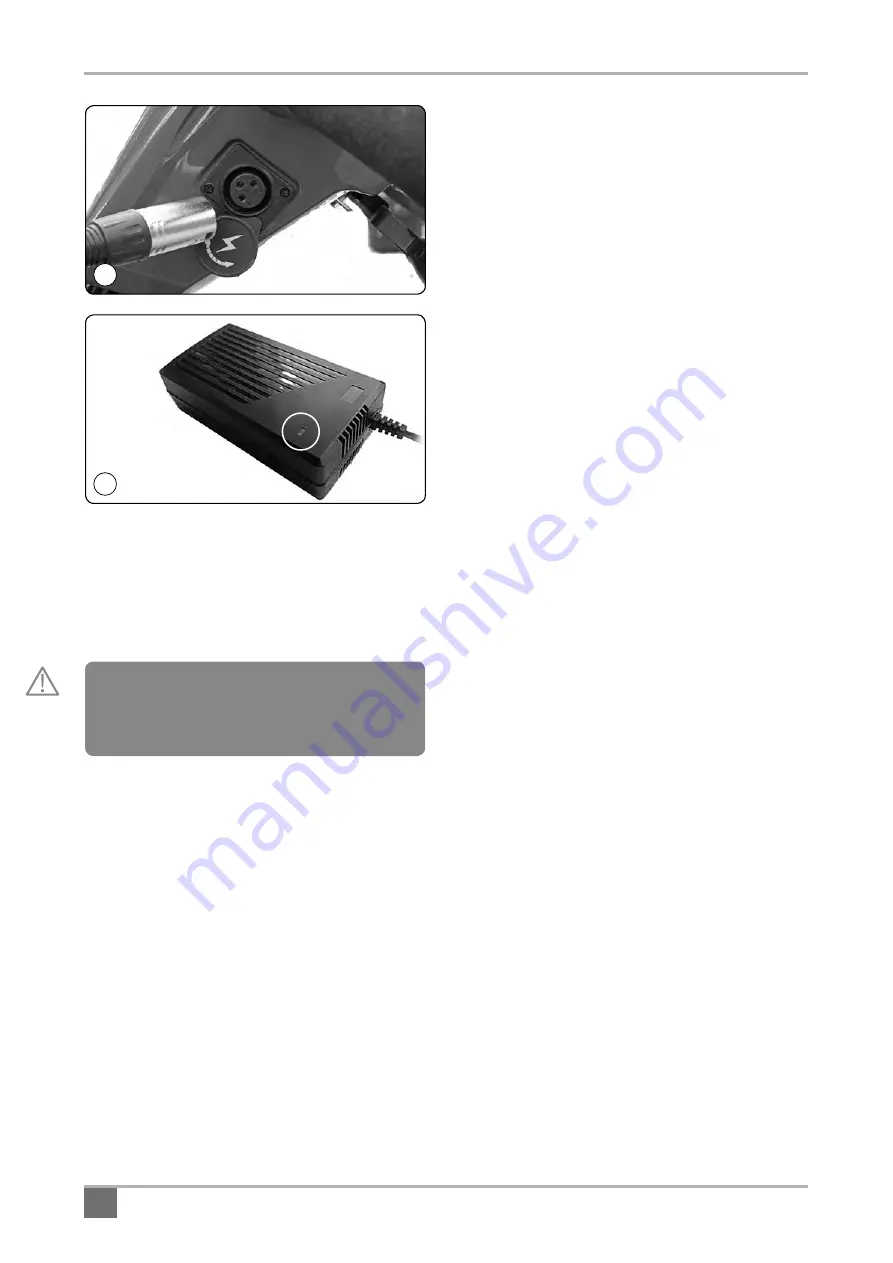
The charging socket is located on left hand side of
the upper tiller cover. (Fig.28) Rotate the protect-
ive cover and push in the plug. When the vehicle is
charged remove the plug, and refit the protective
cover to help protect against dust and moisture
ingress.
The battery charger has a small indicating lamp.
When the charger is connected to the mains supply
and switched on the lamp will show green. When
the battery is being charged it shows red and when
the battery is fully charged the lamp will change to
green. Always ensure that the lamp shows green
before switching off and disconnecting the charger
at the mains.
Connection Instructions
When you receive your vehicle the batteries are only
partially charged – always fully charge them before
use, preferably over-night.
1. Place your machine in an area that is dry and
well ventilated.
Make sure a power point is nearby.
2. Check the vehicle is switched off and the
key removed.
3. Check the mains switch is off.
Never connect
or disconnect the charger with the mains on.
4. Connect the charger to the charging point
on the left hand side of the upper tiller cover.
5. Connect the mains plug and switch on.
6. The lamp illuminates green when the charger
is powered up,
(Fig.29) then red when it is
charging. The charger lamp changes to green when
the battery is fully charged.
7. Switch off the mains and remove the plug
from the battery pack when fully charged.
Do
not leave the charger plugged in with the power off.
This will gradually discharge your battery.
The batteries are the lifeblood of your vehicle. Their
characteristics can change depending on charging,
temperature, usage and other factors. Listed below
are guidelines to prolong battery life.
1. After using your vehicle always charge it at
the end of the day
even after a short journey.
2. If you do not use your vehicle for a prolonged
period, place it on charge once a week,
overnight.
3. Always use the correct charger with the
correct batteries
as recommended by Electric
Mobility (Euro) Ltd
4. If the batteries have been flat for a long time
(about 2 months) it is recommended you contact
your dealer before charging.
5. Do not charge the vehicle in the open / out
of doors
– it may rain and the battery charger is
not waterproof.
6. Keep the vehicle in a well-ventilated area
and away from any naked flame.
7. Do not part charge the batteries.
Allow the
charger to complete its cycle.
Note:
Avoid storing your scooter in cold/damp
places. This will shorten battery life and may cause
deterioration in the structure. Batteries are expen-
sive to replace – it is wise to look after them.
18
Rascal Vista and Vista DX Scooters Owner’s Manual and Service Record
28
29
Warning!
Never connect any other accessory
apart from the approved charger into the charging
(XLR) port/socket on the scooter. (Fig.28)


