38
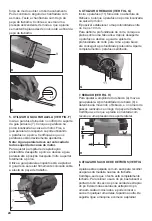
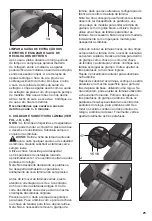
CLEANING DUST EXHAUST OUTLET AND
EMPTYING THE DUST BAG
After using your planer for an extended period
of time or when planing wet green timber, chips
may build-up in the dust exhaust outlet and
require clearing. Chip build-up restricts air flow
and causes the motor to overheat. Turn off the
planer and remove the dust bag from the dust
exhaust outlet. Clean the chip and dust exhaust
outlet of your planer with a small piece of wood.
Do not use your hands or fingers. Unzip the dust
bag and empty all chips from it. Ensure collar is
free from debris.
We recommend emptying the dust bag every
3-6 minutes.
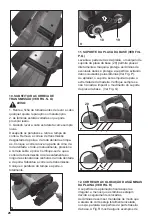
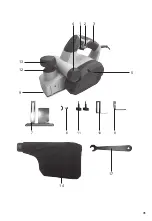
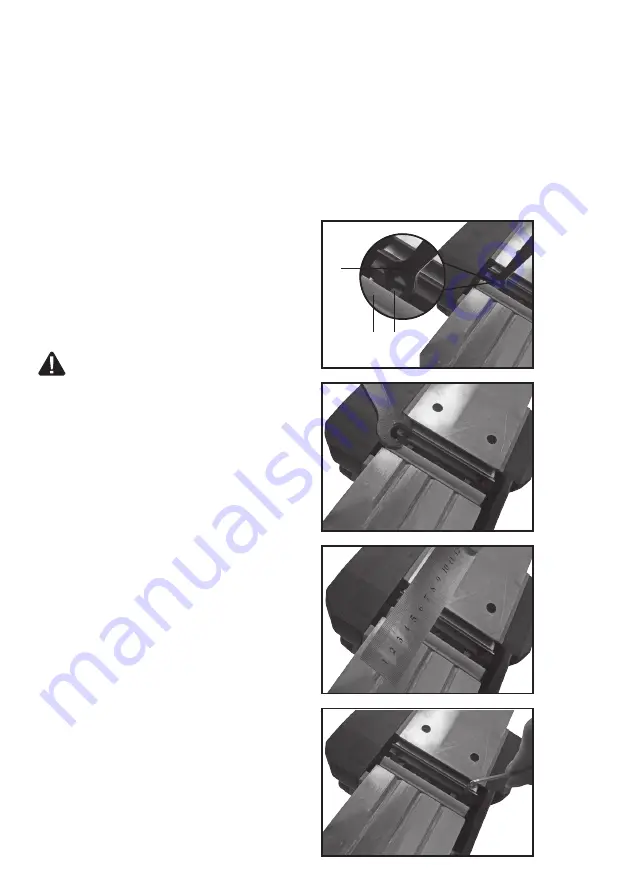
9. BLADE FITTING AND CHANGING (SEE FIG.
J, K, L, M)
NOTE:
Dull and worn blade cannot be reground
and must be replaced. Always replace blades in
pairs.
WARNING:
Remove power cord from the
socket before carrying out any adjustments
or changing blades. Always put on gloves when
replacing blades.
Using the blade spanner provided to loosen
the three installation screws approximately 1/2
rotation anticlockwise.
NOTE:
Do not over-loosen the screws. If the
screws are too loose, the alignment of the new
blade will not be accurate.
Before removing the old blades, take notice of
the direction of cut as well as how the tapered
edge of the old blades are oriented. The tapered
edge of the new blades must be in the same
orientation as the original blades.
Press the safety cover down with your finger.
Push the blade out with the tip of a spanner (or a
screwdriver) and then remove.
NOTE:
There is no need to remove the blade
clamp as this will change the factory settings for
cutting blade height control.
NOTE:
If a blade cannot be pushed out easily
after loosening the screws, use a piece of wood
to break the blade loose from the blade clamp,
with a short sharp blow. Then push with a
screwdriver to remove the blades. If necessary,
tap the piece of wood sharply with a small
hammer to break the blades loose.
Before reinserting a new or reverse blade,
always clean both the blade and the blade
seat if dirty. Slide the blade into the clamp with
a spanner (or a screwdriver) in the correct
orientation. Check the blade is equal with the
clamp. Retighten the three blade screws with the
spanner.
Repeat the above procedure to change the other
blade.
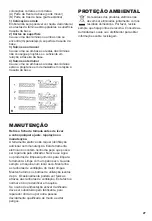
After the blades are replaced, check if the blades
are parallel and in the same surface as the rear
base plate with a ruler. If not, you can adjust
the blades with the hexagonal wrench provided.
Firstly loosen the three screws on the blade
clamp. Turn the socket head screw clockwise,
the blade will be risen. Turn it anticlockwise, the
blade will be lowered down. Finally retighten the
three screws fully.
13
2
1
9
11
7
12
45
o
11
14
b
a
15 16
17
20
18
19
D
E
F
G
H
I
J
K
L
M
N
O
P
Q
R
B
C
A
Summary of Contents for CR900NM
Page 1: ......
Page 2: ...Instrucciones en Español Instruções no Portugués Instructions in English ...
Page 3: ...3 3 2 1 4 6 11 14 10 8 7 9 12 13 5 17 ...
Page 15: ...15 ...
Page 17: ...17 3 2 1 4 6 11 14 10 8 7 9 12 13 5 17 ...
Page 29: ...29 ...
Page 31: ...31 3 2 1 4 6 11 14 10 8 7 9 12 13 5 17 ...
Page 42: ...42 ...
Page 44: ......

