5 2
Important installation information – Table units
Installation site/space requirements
• On an original RATIONAL stand or
• on a sturdy, horizontal working surface(height: 720mm).
• Note: The weight of the Combi-Steamer is:
6 x 1/1 GN: 134,5 kg 10 x 1/1 GN: 158kg
10 x 2/1 GN: 252,5 kg
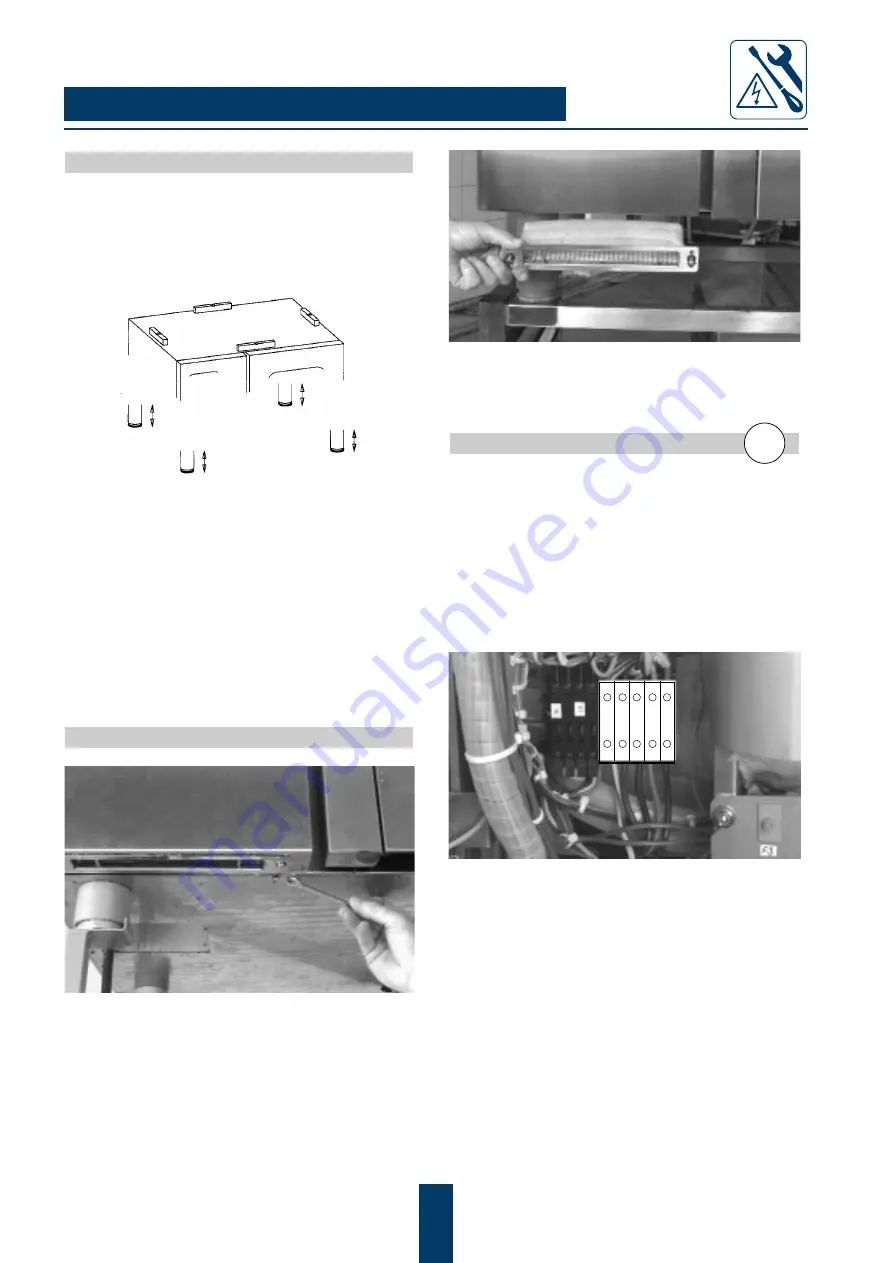
• Slight unevenness in the surface can be compensated with the height-
adjustable feet (± 10 mm, see pic1).
• The Combi-Steamer must be adjusted horizontally.
• Minimum clearance:
to the left:
50 mm
to the right/rear:
50 mm recommended
• During planning, allow for space for transport trolley
6 x 1/1 GN and 10 x 1/1 GN
width 730 mm
10 x 2/1 GN
width 810 mm
• Working place-specific sound emission figure:
6 x 1/1 GN: 47 dB (A)
10 x 1/1 GN: 57 dB (A)
10 x 2/1 GN: 57 dB (A)
Opening of the control panel
(pic. 2)
• 6 x 1/1 GN and 10 x 1/1 GN
below the control panel
Tools required: 8 mm hex wrench
• 10 x 2/1 GN
Top of the control panel
Tools required: 8 mm hex socket wrench
• To open the front panel, turn 8mm wrench anti- clockwise untill
the door opens.
• To close the front panel, press the control panel firmly to the unit
and turn 8mm screw clockwise.
Note: control panel must close parallel.
pic. 1
pic. 2: 6 x 1/1 GN und 10 x 1/1 GN
pic. 4 e. g. 6 x 1/1 GN
Attention!
The air inlet filter at the lower part of the front panel
(see pic. 3)has to be cleaned every 3 months with soapy
liquids , or has to be replaced (ET-Nr. 5214.1208).
Electrical Connection
Connect the unit only according to the information given on the data
plate.
Observe all regulations of the local Electricity Board!
The appliances may only be connected by an
electrician approved by the Electricity Board.
6x1/1GN
10x1/1GN
10x2/1GN
Connected load:
9,6 kW
18,6 kW
31,5 kW
Fuse protection:
3 x 16 A
3 x 35 A
3 x 50 A
Voltage: 3N
AC
400V
3N AC 400V
3N AC 400V
• Special voltages on request, circuit diagram behind control front
panel.
• 6 x 1/1 GN and 10 x 1/1 GN are supplied with approx
2 m of power supply cable type H07RN-F.
• To connect power supply cable H07RN-F or equivalent to 10 x 2/1
GN appliance:
1. open the control panel
2. remove left side wall
• On-site installation: provide accessible all-pole disconnection device
with minimum of 3 mm contact gap.
• Independently fused power supply lines for each
appliance.
• Connect appliance to earth bonding.
• Option Energy saving system:
The customer has to provide on-site installation of the additional
control wire, which has to be connected to the control terminals in
the unit.
EA
N
N
pic. 3
➚
Summary of Contents for Combi-Steamer CCD 101
Page 1: ...Manual Combi Steamer CCD...
Page 59: ...5 9 Notes...


