


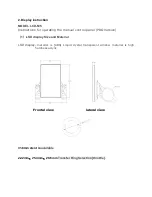


(
4
)
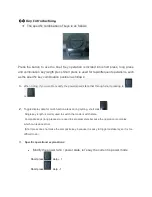
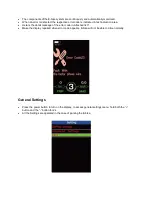
Key Introduction
:
The specific combination of keys is as follows
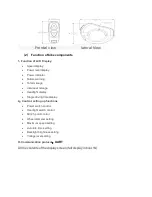
Press the button to use the brief, Key operation is divided into short press, long press,
and combination key length press Short press is used for rapid/frequent operations, such
as the specific key combination position as follows
;
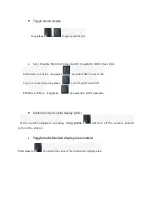
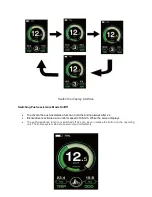
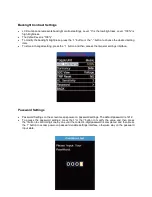
1.
When riding, if you want to modify the power/speed state that through short pressing to
or
2.
Toggle display data for multi-function areas during cycling, short click
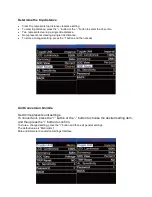
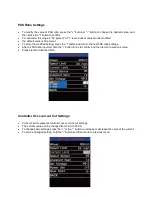
Single key length is mainly used to switch the mode / switch state.
Composite keys (long presses) are used to set parameters because the operation is complex,
which can reduce errors
(Short press does not make the composite key, because it is easy to trigger mistakenly, so it is too
difficult to do
)
.
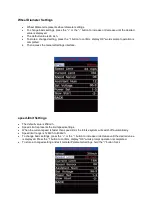
3.
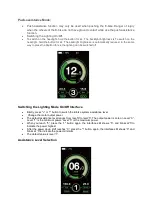
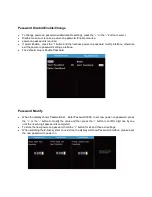
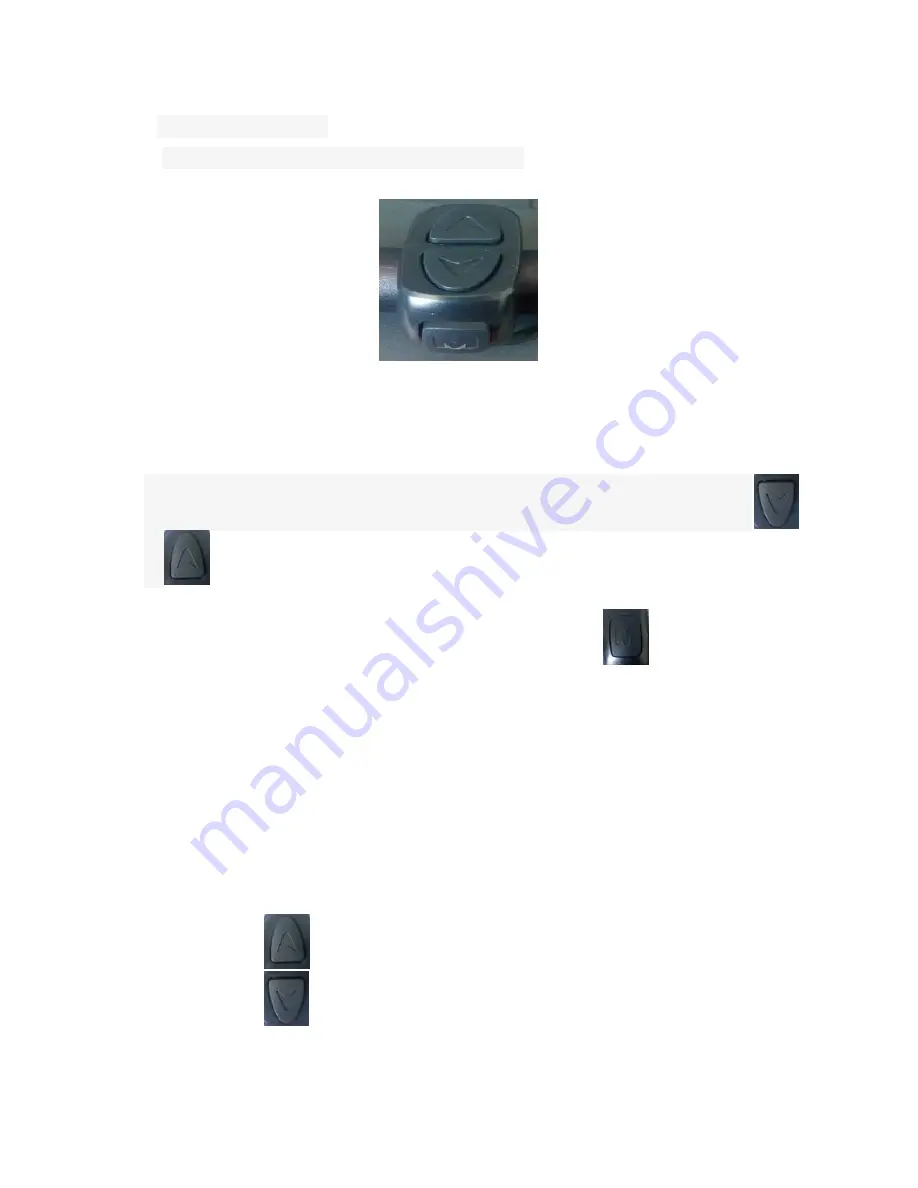
Specific operational explanations:
Modify the power ratio / power state
, let’s say the current is power mode
.
Short press
Help + 1
Short press
Help - 1


