u
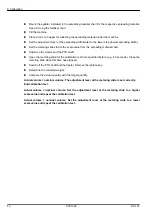
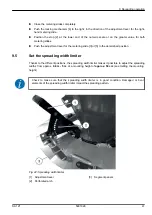
Release the adjustment lever [1] from the perforated arch [2] in the opposite direction of the
locking mechanism.
u
Move the adjustment lever [1] to the desired position.
w
Adjustment lever upward: Spreading width is increased.
w
Adjustment lever downward: Spreading width is decreased.
u
Push the adjustment lever [1] into the direction of the perforated arch [2].
The new spreading width is set.
u
Check the spreading pattern (visual inspection or measurement) and, if applicable, correct the
settings.
9.6
Using the fertilizer chart
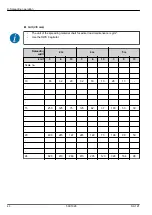
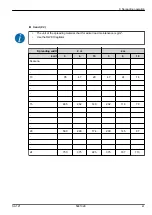
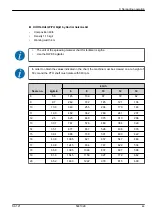
The values in the spreading material chart have been determined using the manufacturer’s test
system.
The spreading material used here has been obtained from manufacturers or dealers. Experience
shows that your spreading material - even with identical specifications - may have different spreading
properties due to storage, transport, and many other reasons.
Together with the machine settings indicated in the spreading material charts, this may lead to a
different application rate and a less optimal spreading material distribution.
The following instructions should therefore be observed:
•
Always check the actual application rate by means of calibration. See
•
Observe the setting values exactly. Even a slightly incorrect setting may adversely affect the
spreading pattern.
•
Adjustments for spreading materials not listed in the spreading material chart can be determined
by means of calibration.
With small working widths, the spreading disc speed can be reduced. Implement another
calibration test with the new speed (RPM).
The operator is responsible the correct adjustments for the spreading material in use.
We point out specifically that we do not accept any liability for damage resulting from incorrect
spreader settings.
Further spreading material charts can be found on the spreading material chart CD provided.
9. Spreading operation
58
5901026
SA 121
Summary of Contents for SA 121
Page 6: ...Table of contents 6 5901026 SA 121...
Page 90: ......


