Instructions for Use MPR1 DATALOGGER
Manufacturer:
RAUMEDIC AG, Hermann-Staudinger-Strasse 2, 95233 Helmbrechts, Germany
Page 28 of 98
4 Operation of the MPR1
4.1 General aspects
4.1.1 Switching on the apparatus
Familiarise yourself with the instructions for use prior to using the MPR1.
The apparatus may be operated only with the battery compartment closed.
Listen for the short peep when the apparatus is switched on. If this peep is not sounded, the
alarm system can be tested once again in the apparatus diagnosis mode. If no sound is produced
in this case either, monitoring is no longer possible with this apparatus.
After having switched on the apparatus, please check whether the date and time show correct
values.
If this is not the case, please read chapter 4.6.5 Setting date and time.
Prior to using the apparatus check the correct condition of the device and of the accessories. The apparatus
and the accessories must not be damaged or soiled. If the MPR1 is operated on battery pack, please check
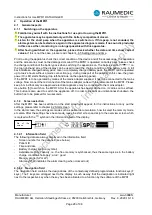
the charge condition of the battery pack when switching the apparatus on. The battery symbol
on
the top right-hand side of the display can be used to read the charge condition of the battery pack. A full
bar indicates a charged battery pack. Given a completely charged battery pack, the MPR1 can be operated
up to twelve hours without a mains connection (e.g. during transport of the patient). In this case, the green
power On LED starts flashing (top left-hand side on the operating panel).
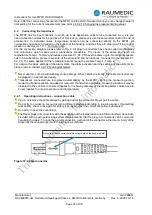
If the MPR1 is to be operated by means of the mains adapter supplied, it has to be connected to the mains
voltage. Now connect the red connector of the mains adapter cable with the red socket of the MPR1. Please
keep in mind that only one approved electrical appliance may be connected to the mains adapter.
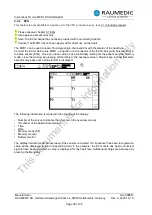
Use button [5] to switch on the MPR1. After the apparatus has been switched on, it carries out a self test.
This button is also used to switch the appliance off. In order to prevent an unintentional shut-down, the
button has to be pressed for two seconds.
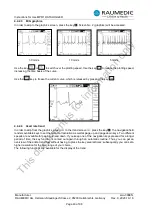
4.1.2 Screen selection
After the MPR1 has been switched on the start screen will appear; for the instructions to carry out the
settings, please refer to chapter 4.2 Start screen.
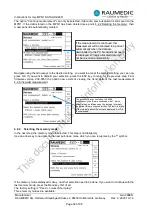
In the start screen, the settings are made such as patient documentation, how to select the memory mode,
et cetera. After the settings have been made, leave the start screen and skip to the overview screen which
is marked with the symbol in the information field of the display.
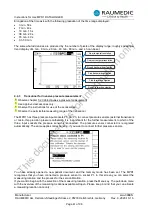
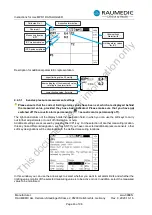
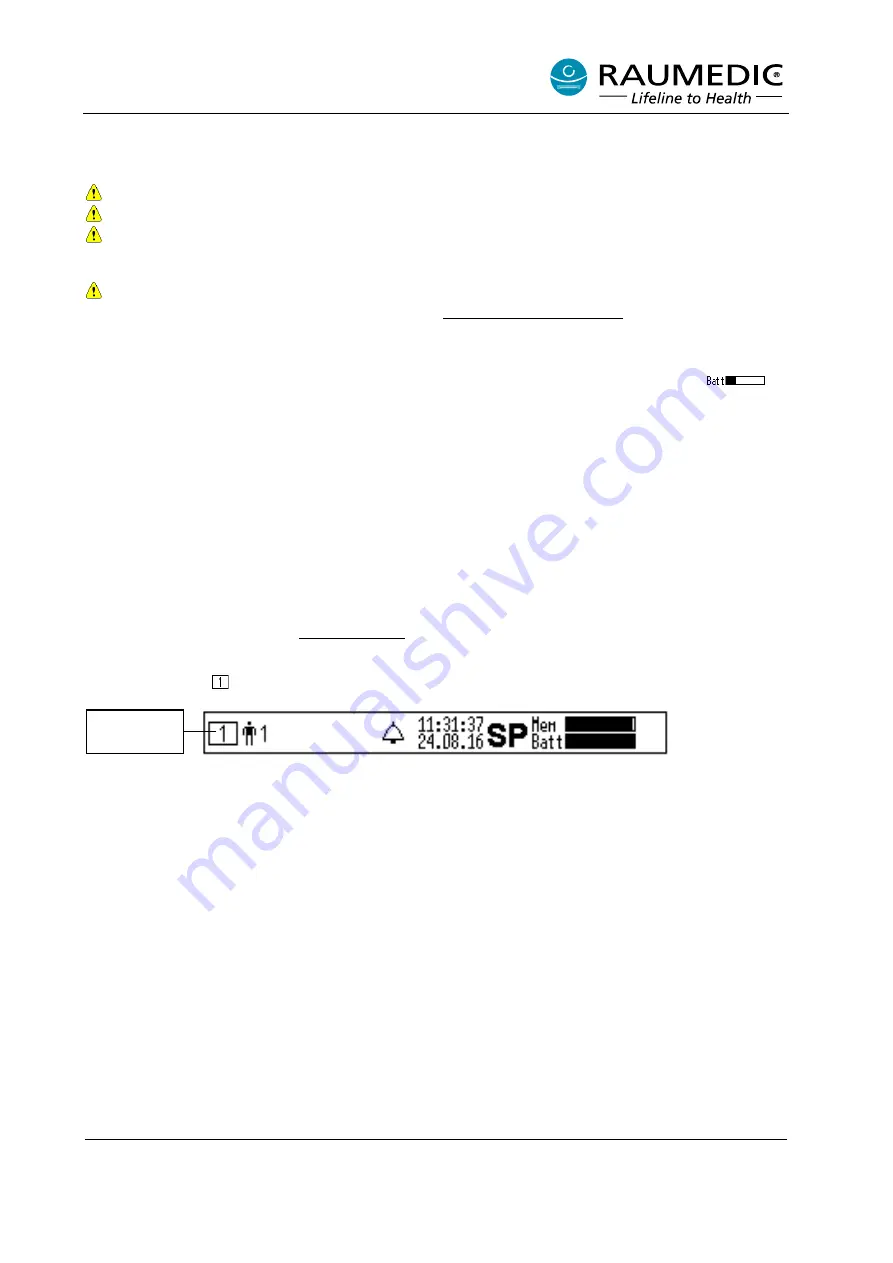
4.1.2.1 Information field
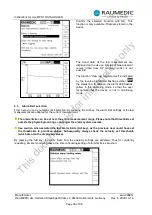
The following data are always displayed in the information field:
-
Screen number for the data field (see below)
-
Patient ID
-
Time and date
-
Battery charge condition (symbol)
-
Available memory capacity, i.e. the free memory is symbolised, thus the same logic as in the battery
charge condition shall apply: a lot = good
-
Memory mode (SP or LP)
-
Alarm symbol (indicates the alarm clearing when crossed out)
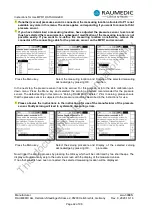
4.1.2.2 Navigation field
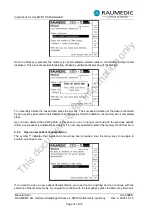
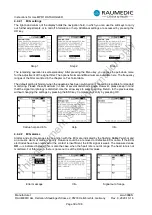
The navigation field contains the designations of the contextually defined programmable function keys (F
keys). The F keys are arranged next to the display in such as way that the designation is indicated right
next to the respective key when the key has been allocated to a function by the software of the MPR1.
No. of the
screen
This
document
is
for
information
only


