INSTRUCTION, USE AND
MAINTENANCE MANUAL
GB
Page 37 of 64
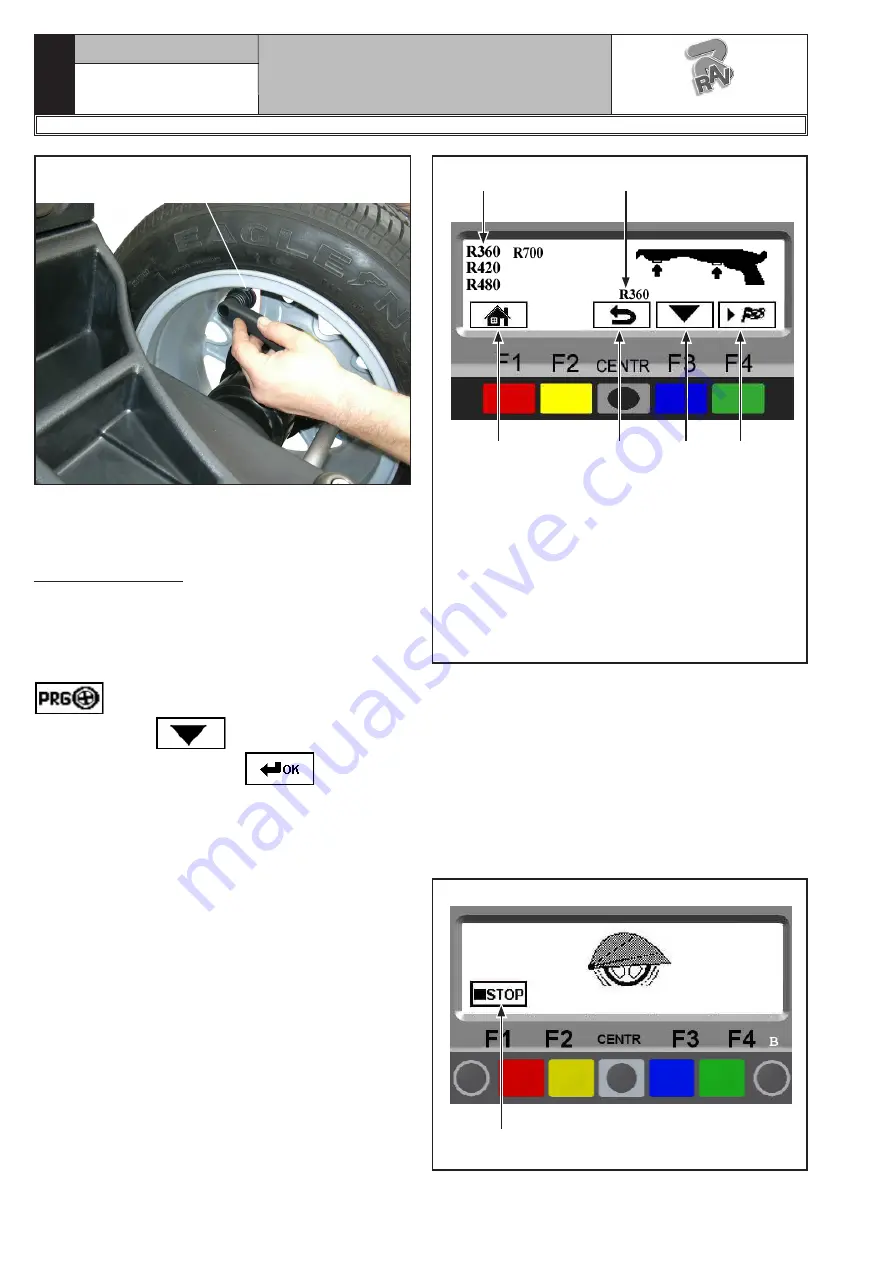
Fig. 67
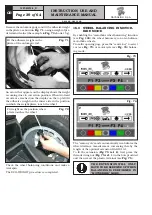
Fit weight on the position where
pliers touches the wheel
Check the wheel balancing conditions and make a
trial spin.
The ALU 1 procedure is completed.
15.4.2 PAX mode
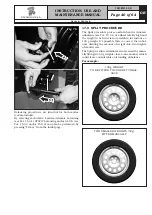
Make sure there are no stones and/or mud on the
wheel. Remove any counterweights.
Fit the wheel and make sure it is properly fastened
(Chap. 12).
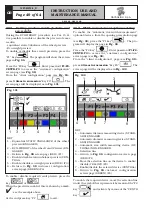
From the initial display page press the “F2 key”
to select the type of desired correction. Us-
ing the "F3 key"
display the PAX function
and select the "CENTRE key”
.
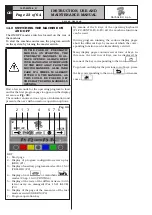
Fig. 68
1
3
4
5
6
KEY
1 – Types of wheels
2 – Type of selected wheel
3 – R e t u r n t o i n i t i a l p r o g r a m p h a s e
(RED)(F1)
4 – Display wheel type measurements (CENTRAL)
5 – Select types of wheels (BLUE) (F3)
6 – Performs spin with protection guard closed
(GREEN)(F4)
2
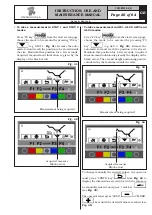
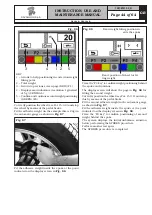
Select the type of wheel using the “F3 key” and close
the protection guard to automatically start wheel spin.
In just a few seconds, the wheel runs at normal speed
and the wheel balancer display shows wheel rotation
(see
Fig. 69
). Do not touch the wheel while taking
measurements. At the end of the spin, the wheel will
stop automatically, taking into account the measured
unbalance so the outer weight fitting position is at
approx. 12 o' clock. Open the protection guard and
proceed to fit the weight as shown for the ALU-S mode
(see Par. 15.3.3).
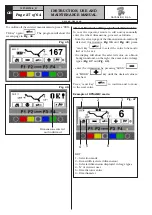
Fig. 69
Press in case of emer-
gency
1297-M010-0_R
G2.124R - GP2.124R
RAVAGLIOLI S.p.A.

