Use and maintenance manual Touch Radio Hydro
Pag.31
Rev.0 18/05/2021
EN
PROCEDURES FOR USE
⚠
If the chimney catches fire you must call the fire brigade immediately.
Checks prior to start-up
⚠
You have read and perfectly understood the contents of this instructions manual.
Before lighting the stove, you must ensure that:
•
the pellet tank is full;
•
the combustion chamber is clean;
•
the fire door and ash drawer seals are functioning properly;
•
the electrical plug is connected correctly;
•
all items that could burn (instructions, various adhesive labels) have been removed;
•
the brazier, if removable, is correctly positioned in its housing;
•
he hydraulic system valves are open properly.
📌
During the first hours of use the paints used for the stove finish may release an unpleasant odour. You might also smell the
typical odour of metal parts subject to high temperatures. Make sure sufficient air circulation is guaranteed in the room. These
unavoidable inconveniences will disappear after the first hours of operation. To reduce your discomfort to a minimum, keep
the stove on for a few hours on low power and in the beginning, do not overload it, avoiding intense heating-cooling cycles
📌
At the initial start-up, the paint finishes drying and hardens. Accordingly, to avoid ruining it, we advise you not to touch the
stove’s painted surfaces at this time.
Feed screw loading
Before starting the stove for the first time, whenever the stove is in alarm “06 - Pellets finished”, and in any case whenever the hopper
has emptied completely, the initial feed screw loading is required.
This phase serves to fill the pellet loading system so that, at the time of ignition, the correct pellet loading takes place in the brazier.
In the event that the feed screw operations are not carried out, there may be stove ignition failures.
⚠
After loading the auger and before lighting the stove, always remember to empty the brazier and check that the brazier is
clean. Never empty the brazier inside the hopper.
⚠
After each maintenance operation, make sure that the brazier is positioned correctly in its seat.
⚠
In models with self-cleaning brazier it is not necessary to remove the pellets in the brazier: the pellets loaded are sufficient
for subsequent ignition.
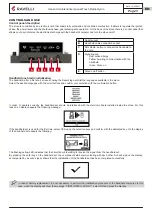
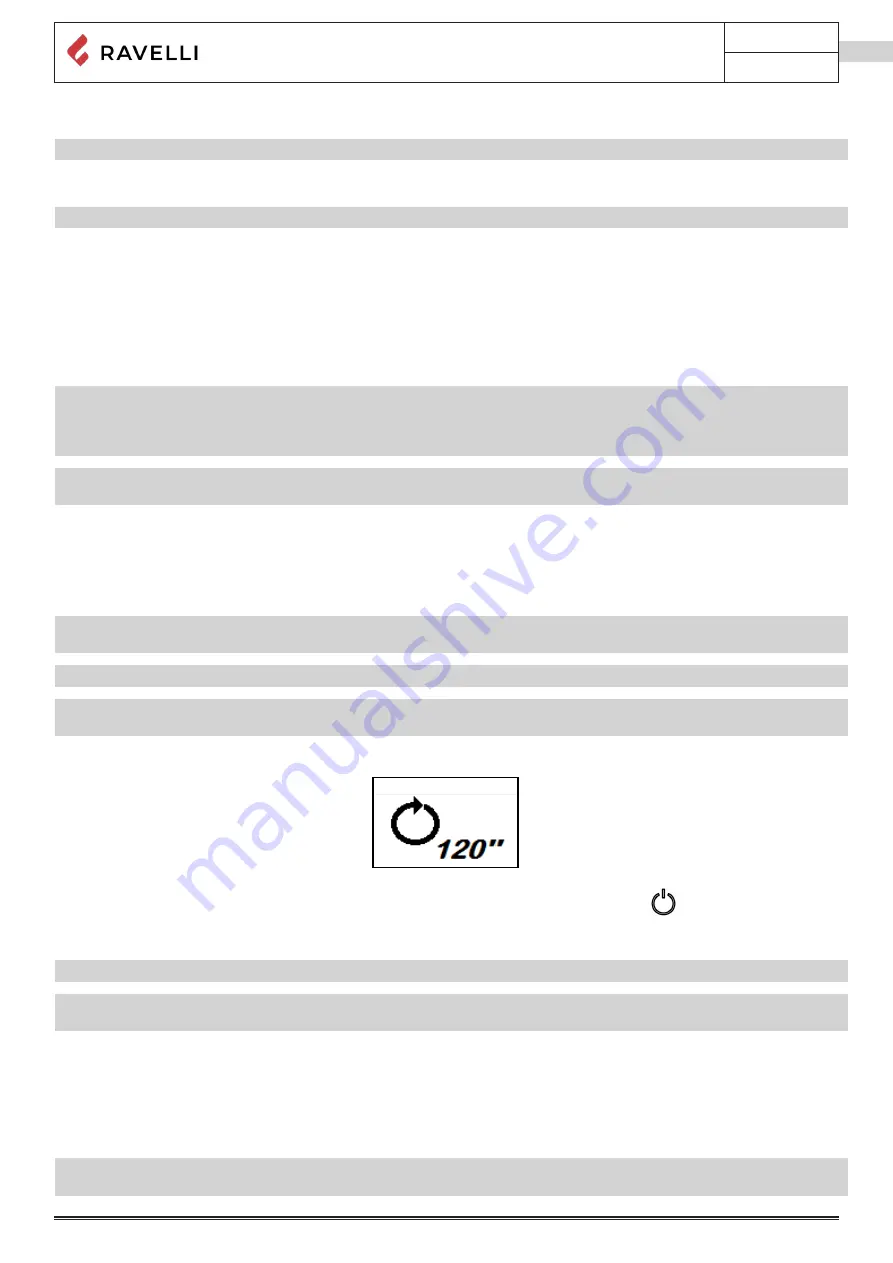
By accessing the USER menu and then the LOADING AUGER menu, by pressing the confirmation key, the rotation of the auger is
activated to load the pellets into the brazier.
Switching the appliance on and off
From the “Home” screen, it is possible to switch the stove on and off by keeping the ON / OFF button
pressed on the device for a
few seconds. An acoustic signal will warn you that the appliance has switched on or off. In case it is not possible using your handheld
you can switch the appliance on / off using the appropriate button on the electronic board.
⚠
Do not switch off the heater by unplugging the plug from the wall socket.
📌
The appearance of the “SET RDS” message indicates that the initial parameter testing and calibration procedure was not
carried out correctly. This indication does not imply blocking the stove (see SIGNALLING POP UP section).
Failed ignition
If the system does not detect the ignition of the flame within the preset time, operation will be blocked with the “No ignition” alarm.
Before relighting the stove, check that there are pellets in the hopper, that the door and ash drawer compartment are closed, that
there are no obstructions to the combustion air inlet system and above all that, in models without self-cleaning brazier, the brazier is
empty, clean and correctly positioned. If the problem persists, it could be due to a technical problem (ignition plug, adjustments, etc
...), so please contact a Ravelli CAT.
⚠
The accumulation of unburned pellets in the brazier after a failed ignition must be removed before proceeding with a new
ignition.
LOADING AUGER
Summary of Contents for Hydro
Page 3: ......
Page 54: ......
Page 55: ......
Page 106: ......
Page 107: ......
Page 108: ......
Page 110: ...USE AND MAINTENANCE MANUAL HYDRO Handheld Touch Radio Hydro...
Page 111: ......
Page 162: ......
Page 163: ......
Page 164: ......
Page 166: ...BEDIENUNGS UND WARTUNGSHANDBUCH HYDRO PDA Touch Radio Hydro...
Page 167: ......
Page 218: ......
Page 219: ......
Page 220: ......
Page 222: ...MANUAL DE USO Y MANTENIMIENTO HYDRO Dispositivo Touch Radio Hydro...
Page 223: ......
Page 274: ......
Page 275: ......
Page 276: ......
Page 278: ...HANDLEIDING VOOR GEBRUIK EN ONDERHOUD HYDRO Handheld Touch Radio Hydro...
Page 279: ......
Page 330: ......
Page 331: ......
Page 332: ......


