39
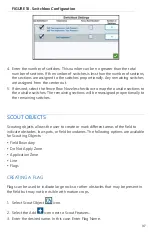
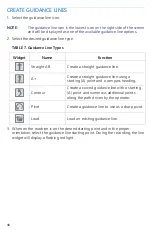
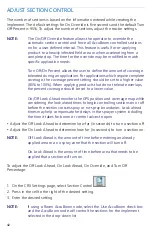
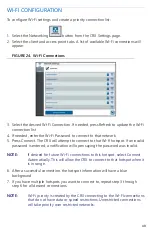
FIGURE 20. Create Line
5. Press Start Recording.
6. Drive the desired path/boundary.
7. When complete, select Scout Object
.
8. Select either Pause
recording or End Recording
.
NOTE:
Enable the Close automatically option to allow CRX to automatically
close the field boundary when the position nears the spot where the
field boundary recording started.
9. After selecting End Recording, press Accept
to confirm the end of the job if
selected.
10. Enter a name for the feature. If desired, press Delete
.
Left
Right
Center
Enable
Override
Offset
Offset
from
Center
Automatic
End Field
Boundary
Recording

