Installation
1.
Mount the DGPS antenna to the tallest point of the vehicle (usually the vehicle’s
cab) using the standard magnet mount. To achieve the best possible signal, make
sure that the DGPS antenna has a clear 360° view of the sky. The simplest setup
is achieved by mounting the antenna on the center-line of the vehicle.
2.
Route the antenna cable to the back of the Cruizer console and connect to the
antenna port.
3.
Connect the power cable to the power port on your Cruizer and plug the
Accessory Power Adaptor Plug into your vehicle’s accessory port or cigarette
lighter.
4.
Mount Cruizer inside the vehicle’s cab using the supplied RAM mount arm and
suction cup.
Note:
Make sure the mounting surface is clean and provides an
adequate bond for the suction mount.
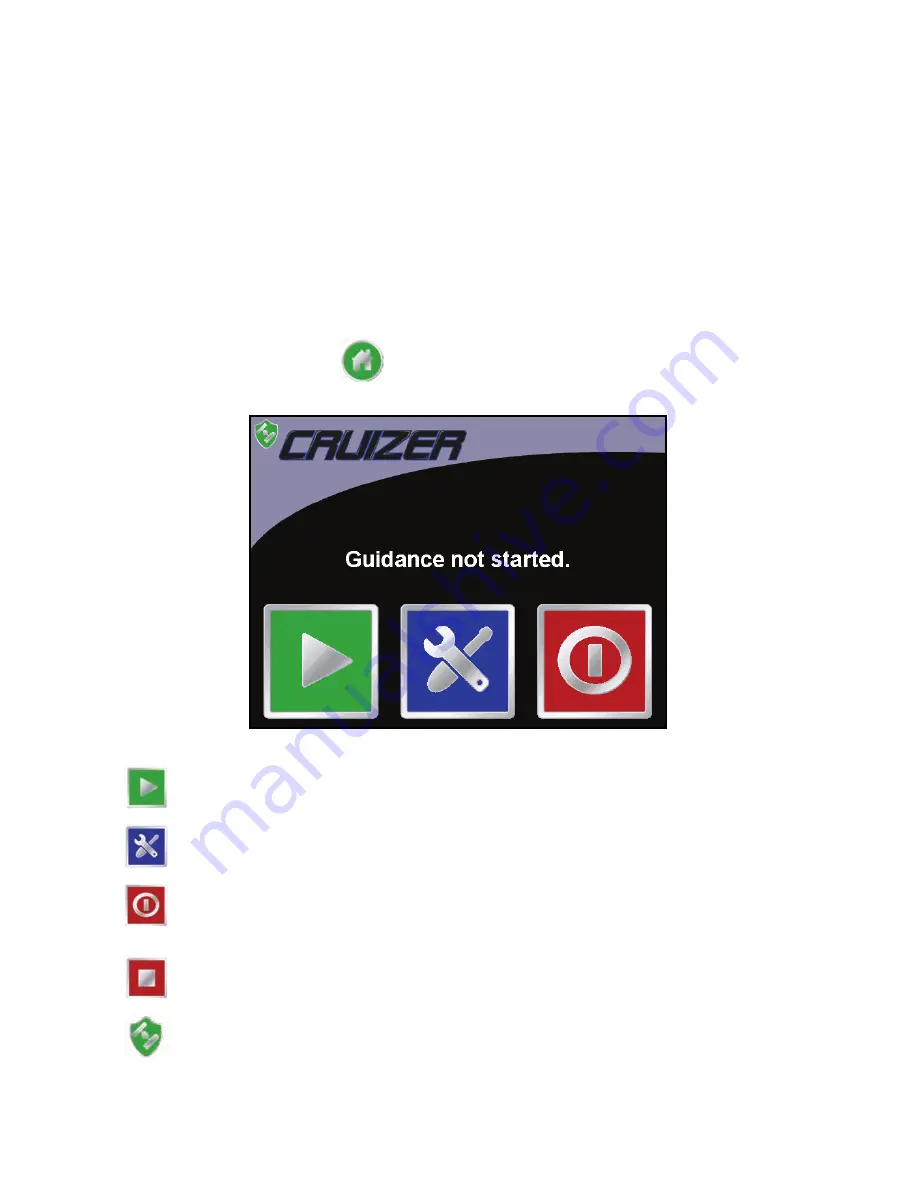
Home Screen
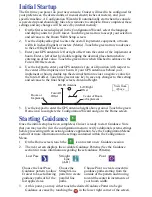
Touch the Start Guidance icon to begin a new Guidance session or continue a
session that is already in progress.
Touch this icon to access the Configuration Menu. The Configuration Menu is
only available from the Home screen.
When you turn the console on or when Guidance is not active, the Shutdown
icon will appear. Raven recommends that you shutdown the console before
turning the power off.
If Guidance is running, the End Guidance icon will appear on the Home
screen. Touch this icon to end the open Guidance session.
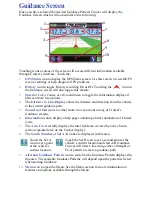
The GPS Status screen is available by touching this icon in the upper left
corner of the Home and Guidance screen. This icon displays:
• Green if the GPS status is okay
• Yellow if an error condition has been encountered.
• Red if GPS is non-functional. Make sure the DGPS antenna connections are secure
and that the antenna has a clear, 360° view of the sky.
Summary of Contents for Cruizer
Page 1: ...Cruizer Operator s Guide...


