Appendix B
226
Viper Pro Installation & Operation Manual
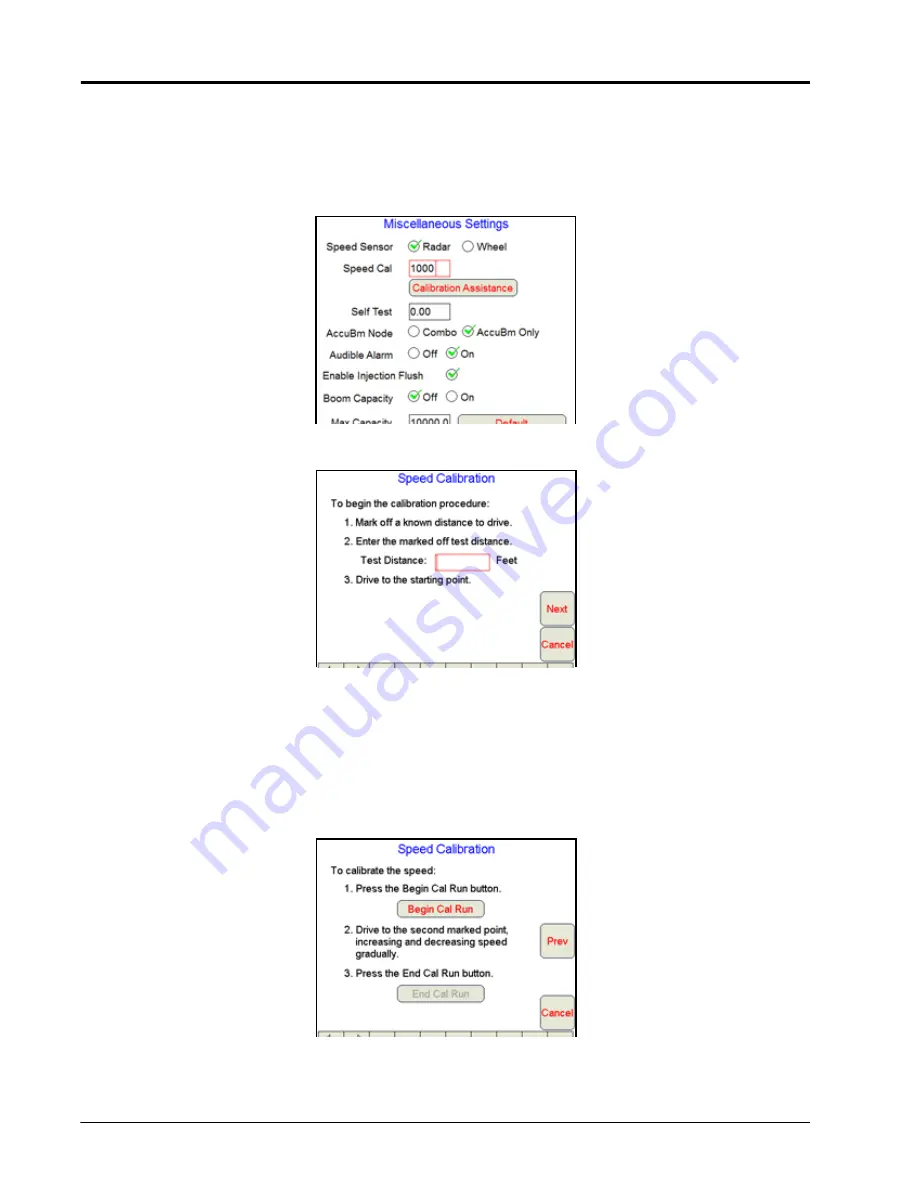
Using the Calibration Assistance
1.
Make sure any section switches are turned OFF before powering the field computer on.
2.
Touch within the
Product Control
area on the main screen.
3.
Touch within the
Miscellaneous Settings
area on the CAN Controller Status screen. The Miscellaneous
Settings screen will display.
4.
Touch the
Calibration Assistance
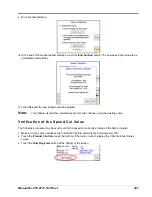
button on the Miscellaneous Settings screen. The Speed Calibration
screen will appear.
5.
Mark off the physical distance to be driven for the test.
6.
Enter a measured test distance, in feet [meters], in the
Test Distance
box.
Note:
A distance of at least 500 feet [152 meters] should be used for this test. A shorter distance may
give less accurate results.
7.
Touch
Next
.
8.
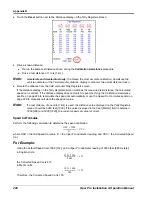
Begin driving the machine toward the test distance starting point at normal speed. When the beginning of
the test distance is reached, touch the
Begin Cal Run
button. **Calibrating** will begin flashing on-screen.
Summary of Contents for Viper Pro
Page 1: ... Software Version 3 10 Viper Pro Installation Operation Manual ...
Page 42: ...Chapter 3 32 Viper Pro Installation Operation Manual ...
Page 132: ...Chapter 6 122 Viper Pro Installation Operation Manual ...
Page 138: ...Chapter 7 128 Viper Pro Installation Operation Manual ...
Page 180: ...Manual No 016 0171 122 Rev I 170 Advanced Settings and Features ...
Page 194: ...Chapter 9 184 Viper Pro Installation Operation Manual ...
Page 214: ...Chapter 11 204 Viper Pro Installation Operation Manual ...
Page 262: ...Appendix B 252 Viper Pro Installation Operation Manual ...
Page 276: ...Appendix F 266 Viper Pro Installation Operation Manual ...
Page 284: ...Appendix I 274 Viper Pro Installation Operation Manual ...
Page 292: ...Appendix J 282 Viper Pro Installation Operation Manual ...
Page 299: ......

