4
Manual No. 016-0171-122 Rev. I
37
Initial Set Up and Navigation
Initial Set Up
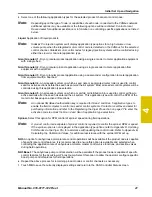
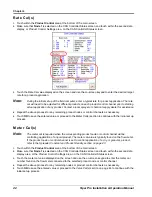
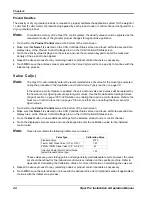
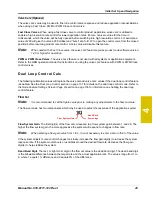
The first time the Viper Pro is powered up, the field computer will require the operator to input information
about the machine and the type of applications, products and setup any additional features connected to the
system. The following sections are provided to assist the operator in setting the required calibration information
prior to starting an actual application with the Viper Pro system.
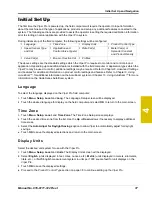
During initial set up of the field computer, the following settings will be configured:
The above settings are the standard settings which the Viper Pro requires to monitor and control product
application. Depending upon additional features installed with the field computer or application types which the
Viper Pro may be used to control, additional settings may be required. Refer to Chapter 8,
for additional information on product control settings and features. Refer to Chapter 9,
, for additional information on the AccuBoom system or Chapter 10,
for more
information on the Glide Series AutoBoom system.
Language
To select the language displayed on the Viper Pro field computer:
1.
Touch
Menu
,
Setup
,
Local
and
Lang.
The Language Setup screen will be displayed.
2.
Touch the desired language for display on the field computer and select
OK
to return to the main screen.
Time Zone
1.
Touch
Menu
,
Setup
,
Local
, and
Time Zone
. The Time Zone Setup screen displays.
2.
Touch the desired time zone from the list. Use the
Up
or
Down
arrows if necessary to display additional
time zones.
3.
Select the
Auto Adjust for Daylight Savings
option to allow Viper to automatically adjust for daylight
savings.
4.
Touch
OK
to save the displayed selections and return to the main screen.
Display Units
Select the desired unit system for use with the Viper Pro:
1.
Touch
Menu
,
Setup
,
Local
and
Units
. The Display Units screen will be displayed.
2.
Select
English
(units displayed in feet, miles, ounces, etc.),
Metric
(units displayed in meters, kilometers,
liters, etc.), or
Turf
(English measurement system in units per 1000 square feet) for unit displays on the
Viper Pro.
3.
Touch
OK
to save the displayed settings.
4.
Proceed to the
section on page 38 to continue setting up the Viper Pro.
•
•
•
•
•
•
Application and
Control Valve Type(s)
•
•
or
Spreader Constant
and Product Density
•
•
•
Summary of Contents for Viper Pro
Page 1: ... Software Version 3 10 Viper Pro Installation Operation Manual ...
Page 42: ...Chapter 3 32 Viper Pro Installation Operation Manual ...
Page 132: ...Chapter 6 122 Viper Pro Installation Operation Manual ...
Page 138: ...Chapter 7 128 Viper Pro Installation Operation Manual ...
Page 180: ...Manual No 016 0171 122 Rev I 170 Advanced Settings and Features ...
Page 194: ...Chapter 9 184 Viper Pro Installation Operation Manual ...
Page 214: ...Chapter 11 204 Viper Pro Installation Operation Manual ...
Page 262: ...Appendix B 252 Viper Pro Installation Operation Manual ...
Page 276: ...Appendix F 266 Viper Pro Installation Operation Manual ...
Page 284: ...Appendix I 274 Viper Pro Installation Operation Manual ...
Page 292: ...Appendix J 282 Viper Pro Installation Operation Manual ...
Page 299: ......


