23
GB
Special safety directions
Read and understand these safety
instructions before using the motorcycle
hoist. Failure to do so can result in material
damage and/or personal injury!
Do not exceed the motorcycle hoist’s
maximum lifting capacity!
The motorcycle hoist is only intended for
lifting motorcycles.
It may only be used on a hard, � at surface
that is not smooth. The surface must be
clean, clear and illuminated.
The ramp is only intended to help the
motorcycle up onto the hoist when the
hoist is in its lowest position.
Make sure that the motorcycle is fully
supported by the lift platform before
starting to lift it.
The motorcycle rear wheel must NOT be on
the ramp, and the ramp must NOT be used
to support the motorcycle when lifting.
Secure the motorcycle to the hoist with
the wheel clamp and suitable straps before
lifting the motorcycle.
Always insert the safety bolt into the
motorcycle hoist once the motorcycle has
been lifted to avoid lowering the hoist
accidentally.
The motorcycle hoist must NOT be moved
when there is a load on it. It may only
be used at a � xed location for lifting and
lowering the load. The motorcycle must
always be stable.
You must NOT make any changes to the
motorcycle hoist.
Always store the hoist in its fully lowered
position when not in use.
Assembly
It takes 2 people to assemble the
motorcycle hoist.
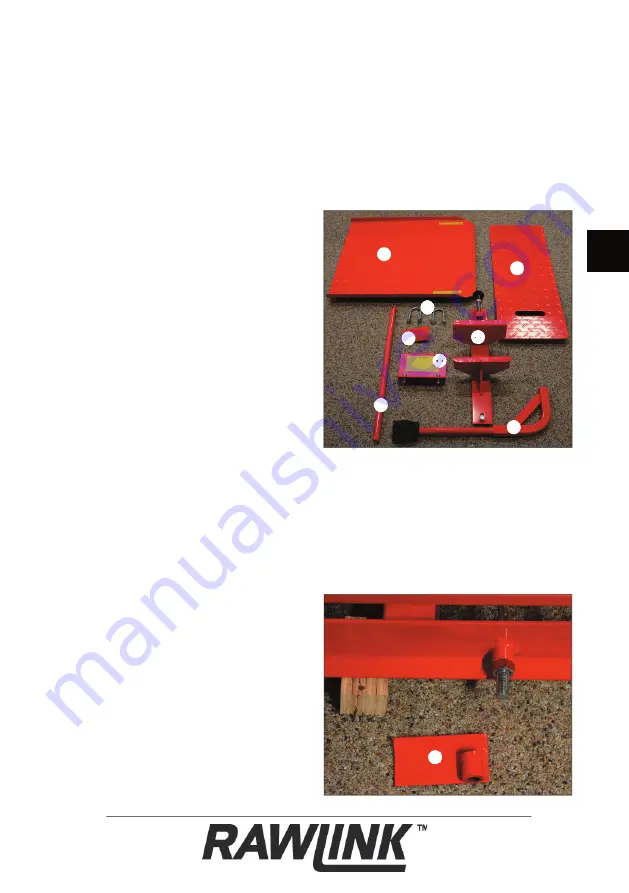
Unpack the motorcycle hoist from its
packaging and lay all the loose parts out as
shown. Place the actual motorcycle hoist
on 2 pieces of wood so it is raised a few
centimetres from the � oor, as the release
pedal cannot otherwise be � tted.
Screw the release pedal (9) securely onto
the thread until it touches the nut already
on the thread.
Counter-tighten the nut with a wrench, so
that the release pedal locks securely onto
the thread. The release pedal should point
outwards at roughly the same angle as the
foot pedal (10).
5
4
2
bl
9
bm
1
bo
9


