www.rawlplug.com
9
www.rawlplug.com
8
WW90 II
WW90 II
1
4
5
2
3
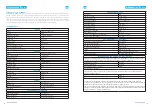
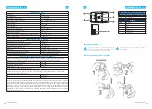
CN1
INPUT CN 1: 2-pin use Solteam
ST-02H-BP (IEC60230 C8) or equivalent
Pin
Input voltage
L&N
90-264 V AC
OUTPUT
Pin
Output
1
Bat +
2
NTC
3
Bat –
4
LED red
5
LED green
We recommend using original gas supplies and
nails from RAWLPLUG which guarantees reliable
tool operation.
Refilling gas containers is impermissible.
PREPARING A NEW GAS CONTAINER
OPERATION MANUAL
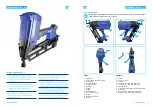
INSTALLING AND REMOVING A GAS
CONTAINER
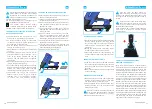
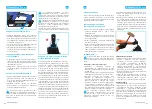
Open the gas container compartment by pulling
its lid in the direction indicated by arrow 1 and
then tilting it in the direction indicated by arrow 2.
Place a gas container inside the compartment as
indicated by arrow 3. Move the gas container val-
ve to the device’s gas nozzle as shown in Figure 4.
Close the gas container compartment lid.
Hold the nailer and the battery pack securely
when replacing the battery. Failure to do so
may result in the tool slipping out of your hands,
potentially causing damage to the tool.
Do not expose the battery pack to low
temperatures, as this may drastically shorten
its service life.
Visually check the battery pack condition
each time to make sure that it bears no signs
of mechanical damage. Electrolyte may leak out
of a damaged battery pack, which is harmful to
health. If electrolyte comes into contact with the
skin, rinse it thoroughly with water. In the event of
eye contact, rinse thoroughly with clean water and
seek medical attention immediately! Electrolyte is a
flammable substance which may cause the battery
to ignite or explode.
The battery pack heats up considerably while
being charged, so do not start working with
the tool immediately after the charging process is
complete. In order to avoid damaging the battery,
wait until it cools down to room temperature.
INSTALLING AND REMOVING THE BATTERY
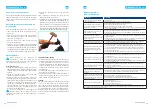
Slide the battery into the socket at the bottom
section of the handle so as to hear the characte-
ristic click sound.
Once the battery has been installed in the device
handle, read the battery charge status. The bat-
tery charge status is indicated by LEDs. If all LEDs
are lit green, the battery is fully charged. Only
one red LED lit indicates a discharged or dama-
ged battery.
To remove the battery, press the button on the
battery pack while simultaneously sliding the bat-
tery out of the socket.
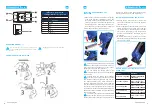
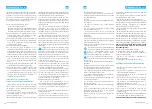
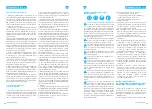
BATTERY CHARGE STATUS INDICATIONS OF THE
NAILER’S LEDS.
Status
Meaning
All LEDs are lit
green
Battery charge level
above 80%
Two LEDs lit
green
Battery charge level
between 60% and 80%
One LED lit
green
Battery charge level
between 40% and 60%
One LED flashing
green
Battery charge level
between 20% and 40%
One LED lit
red
Battery power below
20%
1
3
2
4
EN
EN
Summary of Contents for R-WW90II
Page 39: ...www rawlplug com 73 WW90 II R WW90II 1 04 2020 AG34 90 C1 RU...
Page 47: ...www rawlplug com 89 www rawlplug com 88 WW90 II WW90 II 50 C 120 F 2 RU RU...
Page 48: ...www rawlplug com 91 www rawlplug com 90 WW90 II WW90 II 5 6 7 8 9 R RAWL GP6 1 2 3 4 RU RU...
Page 69: ...www rawlplug com 131 www rawlplug com 130 WW90 II WW90 II 59 60 61 62 63 64 65 66 67 57 58...


