www.rawlplug.com
13
www.rawlplug.com
12
WW90 II
WW90 II
WORKING AT LOW TEMPERATURES
We do not recommend using this gas powered tool at
temperatures below -7°C (19°F). Low temperatures
reduce the gas combustion efficiency and battery
performance.
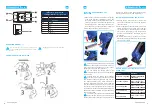
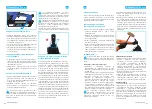
MEASURES IN THE EVENT OF RAM JAMMING
IN THE MUZZLE
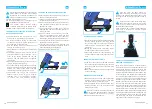
It may sometimes happen that a piece of a nail
tape causes the ram to jam inside the muzzle, in
which case:
Disconnect the battery and the gas container
from the nailer, and remove the remaining nail
tape from the magazine.
Place the nailer on a stable surface with the
muzzle facing upwards.
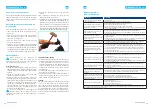
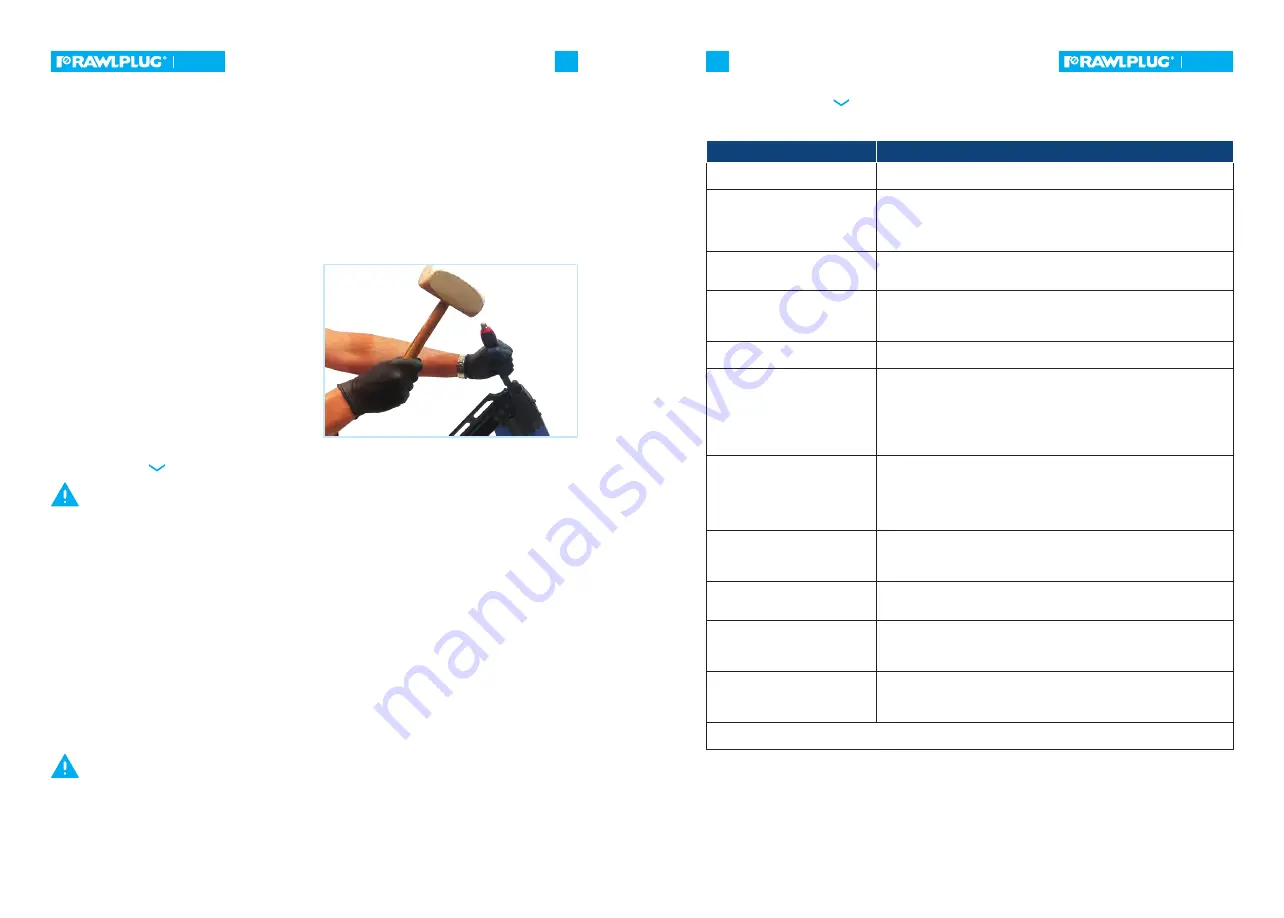
Position a type PH2 screwdriver of appropriate
length above the muzzle hole and gently hit it with
a hammer to unlock the jammed ram (as shown in
the photograph). The unjammed ram should move
smoothly into the nailer away from the muzzle.
Remove the blocking piece of tape from the
muzzle.
We recommend blowing the nailer muzzle
through with compressed air.
Finally, make sure that the ram has fully retracted and
reached its extreme position, since otherwise, the
first time you try to drive a nail, the tool may cause
what is referred to as a misfire, meaning that the
nailer does not pick up a nail and the ram directly hits
the material into which the nail was to be driven. Each
subsequent nail ejection should proceed correctly.
Before performing any inspection or
maintenance, switch the device off by
disconnecting it from the power supply (battery),
and disconnect the gas container.
General maintenance
The persons responsible for making sure that the
tool is maintained in a fully operational condition
enabling safe use are the employer and the tool
operator.
NEVER use the tool if there is any doubt with
regard to its technical condition.
Regularly check that all mounting screws are
properly tightened. If any of the screws are loose,
tighten them immediately to avoid danger. Any
damage not resulting from improper operation
should only be repaired by the manufacturer’s
authorised service centre in order to avoid risks
and losing warranty due to tampering with the
device’s internal components.
Do not use solvents or other aggressive
chemical compounds to clean the device,
as this may cause damage to its rubber and plastic
components.
Lubrication and cleaning
Keep the tool properly cleaned according to the
enclosed cleaning and maintenance instructions.
A fully operational device does not require
additional lubrication of external moving parts,
such as safeguard A. The gas which contains oil
provides for lubrication of the tool’s internal
components.
Use only the compounds recommended by the
manufacturer for cleaning.
Pay special attention to the handle cleanliness. A
dirty handle may compromise the grip. This may
lead to losing control of the device.
Storage
Store the battery-powered nailer and its accessories
in a dry and safe place, out of children’s reach.
Store the device with the battery pack removed.
Also remember not to store discharged batteries
for a prolonged time, since it may damage them.
Batteries should be charged on an ongoing basis,
as soon as they are discharged, which extends their
service life.
MAINTENANCE
Symptoms
Remedies
The nailer LED is lit red and the
tool is not working.
Low battery.
Replace the battery with a fully charged one.
The tool operates normally but
does not drive fasteners flush with
the working surface.
Set a larger driving depth using the tool’s knob.
Clean the cylinder with proper cleaner.
Check the battery status and replace it if needed.
Wood in which fixing is attempted is too hard or wet. Using different na-
ils is recommended.
The fan does not work and the
LED indicator is lit red.
The battery is dead. Replace the battery with a fully charged one.
If none of the above measures solve the problem, return the tool to the ne-
arest service centre.
The battery cannot charge, or
the battery charger is heating up
when charging.
Replace the battery. If this has solved the problem, the battery is dama-
ged or used up.
If the battery is functioning normally when installed on the tool but can-
not be charged using the charger, replace the charger.
Battery charger is heating up, pro-
duces abnormal noise or smoke.
The battery charger is damaged and unfit for further use. Unplug the
battery charger immediately and replace it with a new one.
Safeguard A is locked and cannot
be fully pressed down, which
makes it impossible to operate
the tool.
The contact element is bent or some dirt is stuck in the track of the safe-
guard mechanism. Clean the safeguard mechanism track. Repair or re-
place the contact element by returning the device the service centre.
Locking mechanism is active. Charge the nailer by inserting a new nail
tape into the magazine.
Check if the ram has not got jammed inside the muzzle, and if so, follow
the relevant instructions provided in this operation manual.
The tool does not operate, but the
green LED is on and the fan works.
The gas container is empty or damaged. Replace it with a new and non-
-defective one.
The spark wire is loose. Check the spark wire by removing the cap.
The spark plug is dirty. Clean the spark plug.
If none of the above measures solve the problem, return the tool to the
nearest service centre.
The tool seems to work normally,
but fixing is impossible.
Wrong type of fasteners is used. Change fasteners with correct ones.
The cylinder needs cleaning.
A fastener is jammed. Clean the jammed fastener before attempting to
use the tool.
The gas combustion compartment
does not return to its initial
position.
Safeguard A (clamp) is bent or dirty. Check safeguard A, and repair or re-
place it, if necessary. Clean the safeguard mechanism track.
The ejection mechanism does not
return to its initial position, and
misfire frequency has increased
above the average.
Check and replace the complete battery pack.
Clean the tool using an adequate cleaning agent.
The tool may be overheated. Clean or replace the air filter.
Tool seems to be loosing power.
Check the fuel cell.
Clean or replace the air filter.
Check the spark plug wire.
Clean the tool using an adequate cleaning agent.
In the event of a failure other than those described above, immediately stop using the tool and contact your
local dealer or directly the service centre.
Nailer troubleshooting
TROUBLESHOOTING
EN
EN
Summary of Contents for R-WW90II
Page 39: ...www rawlplug com 73 WW90 II R WW90II 1 04 2020 AG34 90 C1 RU...
Page 47: ...www rawlplug com 89 www rawlplug com 88 WW90 II WW90 II 50 C 120 F 2 RU RU...
Page 48: ...www rawlplug com 91 www rawlplug com 90 WW90 II WW90 II 5 6 7 8 9 R RAWL GP6 1 2 3 4 RU RU...
Page 69: ...www rawlplug com 131 www rawlplug com 130 WW90 II WW90 II 59 60 61 62 63 64 65 66 67 57 58...


