


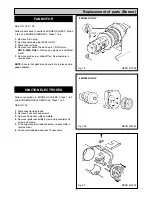

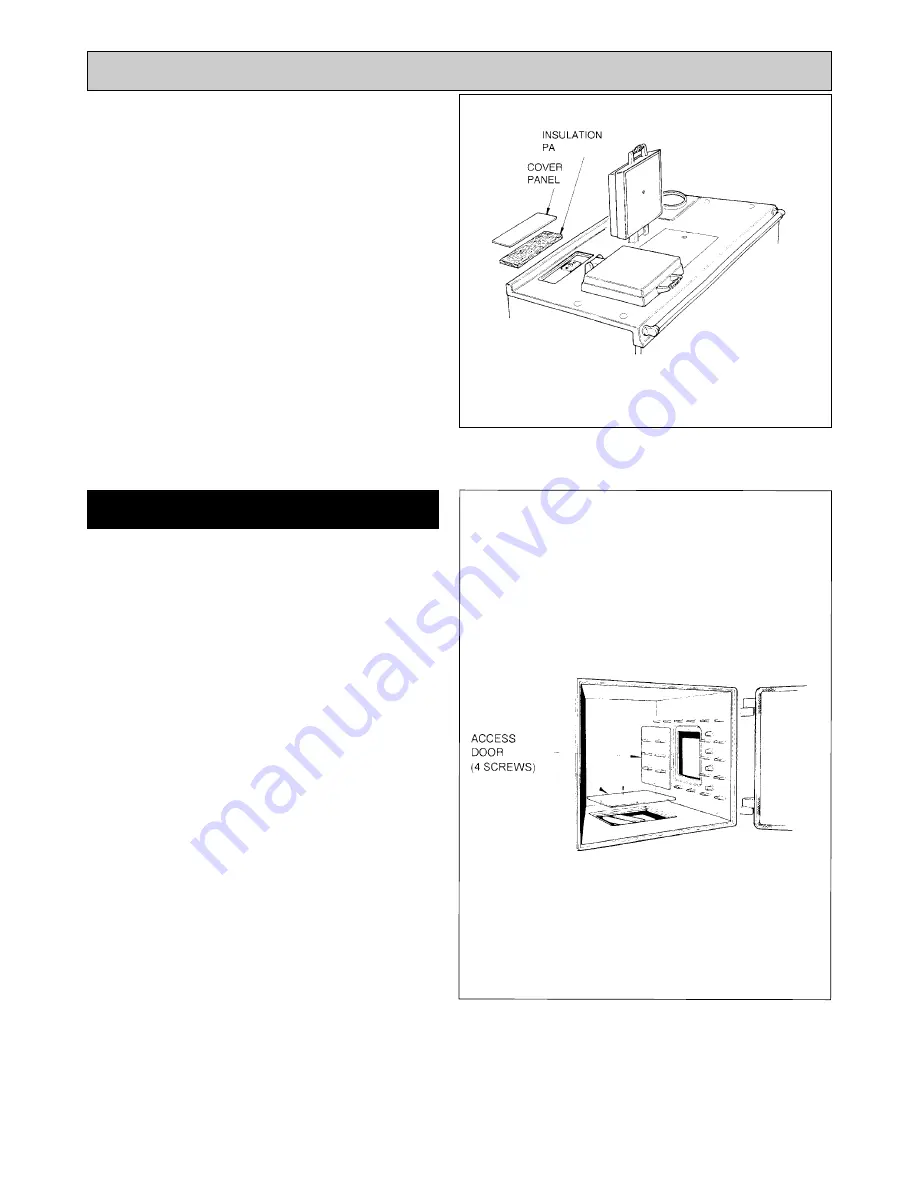
SEE FIG. 7
4.
Lift top plate enamelled cover panel (behind LH
insulating cover) remove insulation pad and sealing
plate.
5.
Clean the boiler outlet flueway by inserting the flexible
brush through the top plate aperture, directing it
towards the flue outlet. Scrape the deposits towards
the heat exchanger.
6.
Thoroughly clean boiler heat exchanger flueway.
7.
Carefully vacuum any debris that has fallen down into
the burner chamber.
8.
Clean and replace boiler flueway baffles in reverse
order. Locate boiler flue access door, secure.
9.
Replace sealing plate, insulation pad and cover panel.
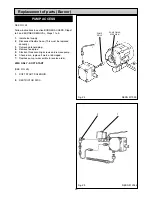
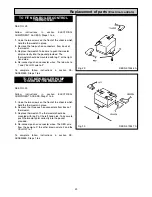
SEE FIG. 8
1.
Remove the top oven door and place in a safe
position.
2.
Remove side and base access doors use hex. driver.
3.
Thoroughly clean top, side and base flueways through
access apertures with brush.
4.
Remove all debris with vacuum cleaner.
5.
Replace side and base access doors. Secure in
position using hex. driver.
6.
Brush and clean in between hotplate ribs on
underside.
7.
Examine soft rope seal located around hotplate
aperture in top plate and two rope seals on hotspot.
Replace if frayed or damaged.
8.
Replace hotplate ensuring the underside ribs lie over
the oven, and that it seals to the top plate.
10
Cleaning
Fig. 7
Fig. 8
DESN 511596
DESN 511596
OVEN & HOTPLATE FLUEWAY
CLEANING
D
Summary of Contents for Heatranger 440
Page 9: ...Cleaning Fig 6A 9...
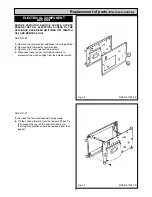
Page 22: ...22 Fig 28 DESN 513150 Replacement of parts Electrical controls...
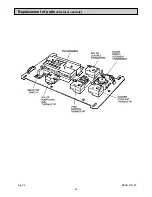
Page 30: ...30 Electrical Controls CONTROL CIRCUIT BOILER Fig 37 L1...
Page 31: ...31 Electrical Controls CONTROL CIRCUIT COOKER Fig 38 L2 L2 KB MODEL ONLY...
Page 32: ...32 Fault Finding WIRING DIAGRAM APPLIANCE 440 460 480K 499K Fig 39...
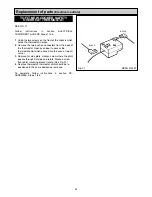
Page 37: ...Fault Finding 37 Fig 41A DESN 516838...
Page 38: ...38 Fault Finding...
Page 39: ...39 Fault Finding...
Page 40: ...40 Fault Finding...
Page 41: ...41 Fault Finding...
Page 43: ...43...


