2 | nVent.com
1. Prepare the sensing cable prior to installation.
FOR TT5000 SENSING CABLE:
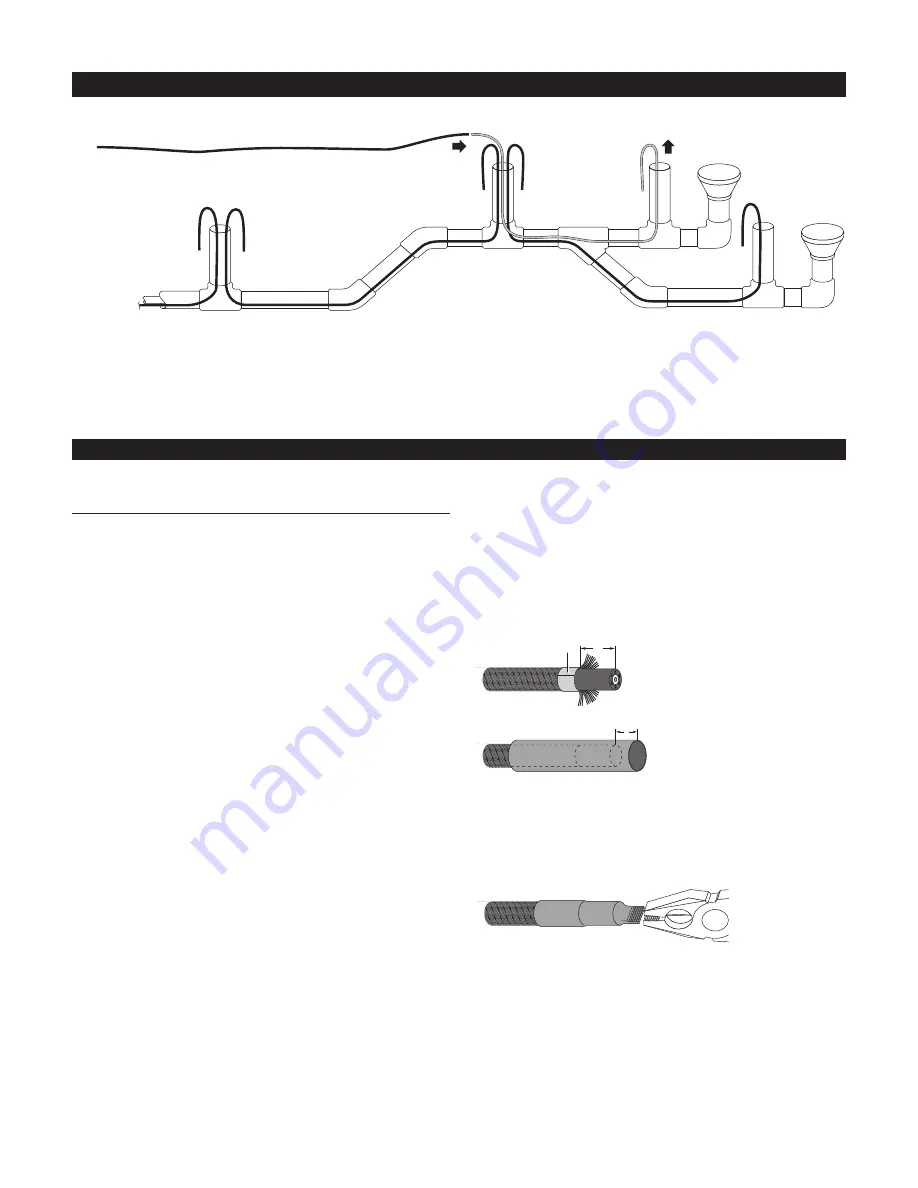
Ensure that the end of the cable is sealed with heat-shrink tubing
(as it was when supplied from the factory). If the cable end is not
sealed:
1. Trim the end of the cable as necessary to remove any irregularities.
2. Apply a single layer of masking tape 3/4 inch (19 mm) from the end
of the cable.
3. Push the fluoropolymer braid back and clip it off back to the
masking tape (see illustration at right). Take care not to damage
the black cable jacket; if jacket is damaged, trim the end off and
begin again.
4. Slide one of the heat-shrinkable tubes (catalog no. DWP-125-1/4,
supplied with the bulk reel) over the cable and past the masking
tape. Remove the masking tape, then position the tube so that 3/8
inch (9.5 mm) of the tubing extends beyond the end of the cable.
5. Using a RAYCHEM heat gun or Ultratorch, shrink the tube down to
bond to the sensing cable. Begin at the end over the cable braid.
Apply heat long enough to fully recover the tubing, but not so long
as to melt the braid; do not apply heat directly on the braid, and if
braid is damaged, begin again. In the middle of the tube, continue
heating for 10 to 15 seconds after the tubing has shrunk, to ensure
adhesive in the tubing bonds to the cable jacket. Shrink the entire
tube, finishing at the end off the cable.
6. While the tubing end is still hot, use pliers to crimp and seal the end,
as shown.
7. Let the tubing and cable end cool a minute or two before
proceeding with insertion into the Kellems grip.
3/4 in (19 mm)
Masking tape
Note: Drawings are not to scale
3/8 in (9.5 mm)
SENSING CABLE INSTALLATION IN DOUBLE-CONTAINMENT PIPING
Installation Steps
Bulk sensing cable
Pull
rope
Check that preinstallation requirements have been met before installing sensing cable in double-containment pipe:
1. The pipe annulus is clean and dry and has been pressure-tested.
2. A continuous length of 1/4-inch to 3/8-inch (6-mm to 9.5-mm)
hollow braid polypropylene or nylon rope has been installed from
access to access of the containment piping as a pull rope.
3. The pull rope moves freely through the pipe (for example, it is
not knotted, pinched, or glued to the pipe).


