Bedienungsanleitung
R/C Rayline R807V 2.4 GHz Quadrocopter
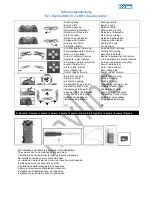
Die Installation des Gehäuses erfolgt wie abgebildet. Verbinden Sie die LED-Beleuchtung mit der Platine.
Anschließend hüllen Sie das Gehäuse ein und stellen Sie sicher, dass die Hülle richtig sitzt indem es Click macht.
The installation of the shell as pictured. Connect the LED-Light with the receiver board. Then cover the shell and
make sure it is latched correctly by a click.
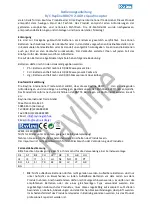
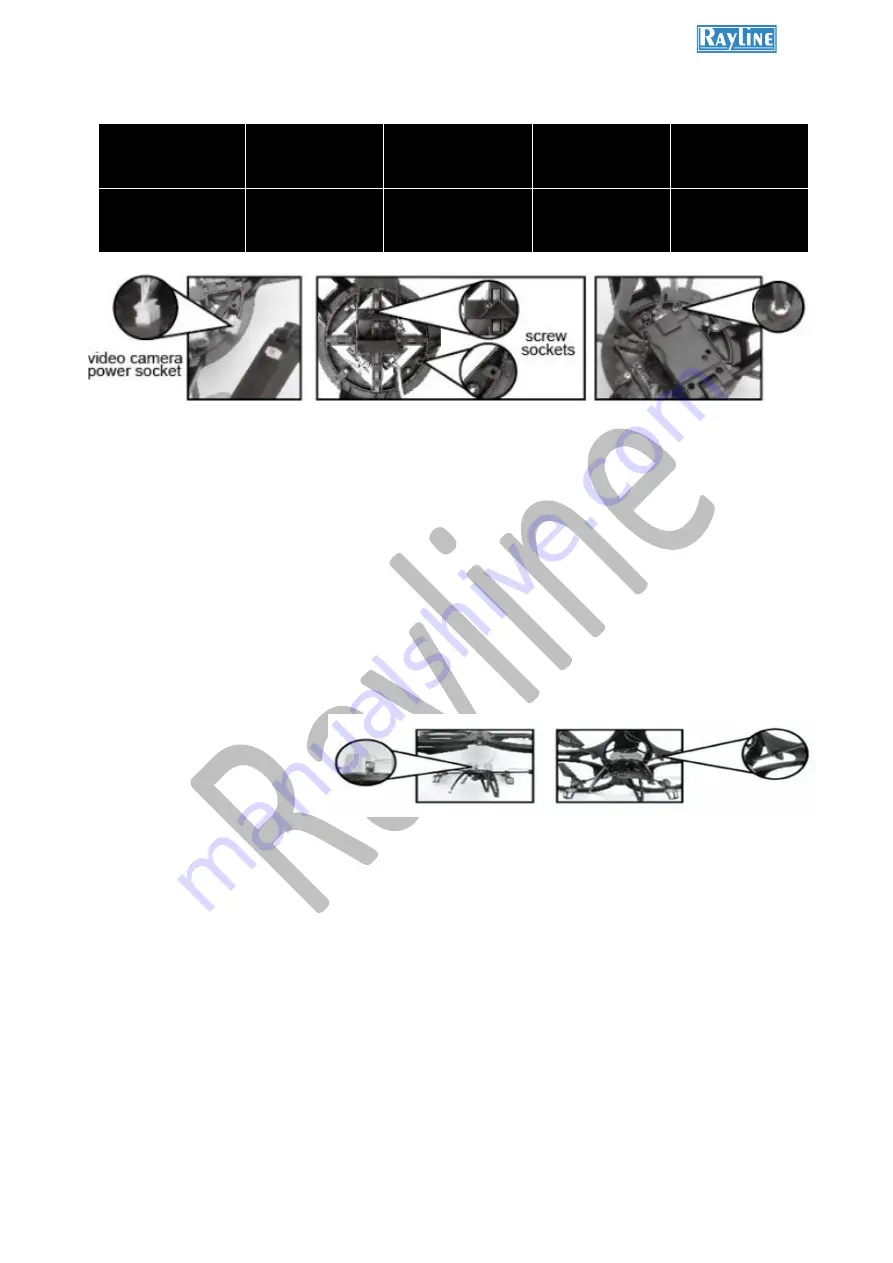
Die Installation der Kamera erfolgt wie oben abgebildet. Verbinden Sie die Kamera mit der Platine. Anschließend
können sie die Kamera mit den beigefügten Schrauben an der Halterung unterhalb der Platine fixieren.
The installation of the camera shown above. Connect the camera with the receiver board. Then fix the camera
with the supplied screws at the bracket below the receiver board.
L'installation de l'appareil est tel que représenté ci-dessus. Branchez l'appareil photo à la carte. Ils peuvent
ensuite fixer la caméra avec les vis sur le support sous la planche.
Installationen af kameraet som vist ovenfor. Slut kameraet til bestyrelsen. De kan derefter fastgøre kameraet med
skruerne på beslaget under bestyrelsen.
De installatie van de camera wordt zoals hierboven weergegeven. Sluit de camera aan de raad. Ze kunnen dan
bevestig de camera met de schroeven op de beugel onder de raad van bestuur.
La instalación de la cámara es como se muestra arriba. Conecte la cámara a la tarjeta. A
continuación, puede fijar la cámara con los tornillos del soporte debajo del tablero.
Instalacja kamery, jak pokazano powy
ż
ej. Pod
łą
cz aparat do p
ł
yty. Wtedy mo
ż
e naprawi
ć
kamer
ę
za pomoc
ą
ś
rub na wsporniku pod planszy.
L'installazione della telecamera è quello indicato sopra. Smontare la struttura del drone , svitare il la struttura che
copre la scheda e collegare il cavo della videocamera alla scheda. Invece la telecamera va fissata / inserita con le
viti sulla staffa sotto la scheda.
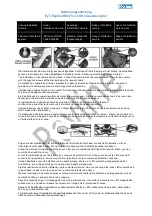
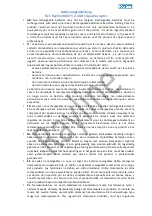
Folgen die den Abbildungen für die Installation der Schutzhülle. Nachdem Sie das LED-Lämpchen mit der
Hauptplatine verbunden haben, können Sie das Gehäuse mit der Schutzhülle wieder schließen.
Follow the pictures for installation of the cover. After you connected the LED light with receiver board, you can
cover the shell with the cover.
Suivez les illustrations pour l'installation du couvercle de protection. Une fois que vous avez les lumières LED
connectés à la carte mère, vous pouvez fermer le boîtier avec le couvercle de protection nouveau.
Volg de illustraties voor de installatie van de beschermkap. Zodra u de LED-verlichting aangesloten op het
moederbord, kunt u de behuizing af te sluiten met de beschermkap weer.
Siga las ilustraciones para la instalación de la cubierta protectora. Una vez que tenga las luces LED conectados a
la placa base, puede cerrar la carcasa con la cubierta protectora de nuevo.
Wykonaj ilustracje do monta
ż
u pokrywy ochronnej. Gdy masz
ś
wiat
ł
a LED pod
łą
czone do p
ł
yty g
ł
ównej, mo
ż
na
zamkn
ąć
obudow
ę
z pokryw
ą
ochronn
ą
ponownie
.
Seguire le illustrazioni per il montaggio del coperchio di protezione. Una volta che avete le luci LED collegati alla
scheda madre, è possibile chiudere la custodia con il coperchio di protezione di nuovo.
Kövesse az illusztrációk telepítéséhez a véd
ő
burkolatot. Miután a LED csatlakozik az alaplaphoz, bezárhatja a
ház, hogy a véd
ő
burkolat újra.
Følg illustrationerne til installation af beskyttelsesdækslet. Når du har LED-lys, der er tilsluttet bundkortet, kan du
lukke huset med det beskyttende dæksel igen.
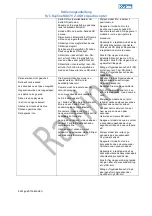
Anhang Installation
Kamera
Annax
Installation Camera
Appendice
installation
caméra
Bijlage
installatie
camera
Anexo
instalación
de la cámara
Za
łą
cznik
instalacja
aparatu
INSTALLAZIONE
TELECAMERA
Melléklet
telepítés
fényképez
ő
gép
Bilag
Installation
kamera
Bilaga
Installation
kamera


