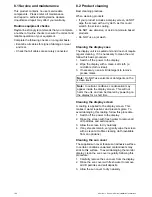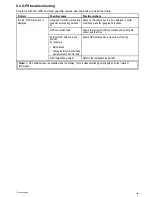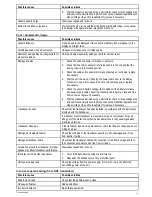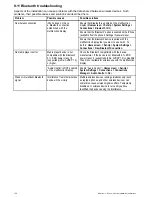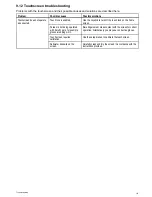
9.5 Sonar troubleshooting
Problems with the sonar and their possible causes and solutions are described here.
Scrolling image is not being displayed
Possible causes
Possible solutions
Sonar disabled
Select
Ping Enable
from the Sounder Set-up menu.
Incorrect transducer selected
Check that the correct transducer is selected in the Transducer Set-up menu.
Damaged cables
1.
Check that the transducer cable connector is fully inserted and locked in
position.
2.
Check the power supply cable and connectors for signs of damage or
corrosion, replace if necessary.
3.
With the unit turned on, try flexing the cable near to the display connector to
see if this causes the unit to re-boot/loose power, replace if necessary.
4.
Check the vessel’s battery voltage, the condition of the battery terminals
and power supply cables, ensuring connections are secure, clean and free
from corrosion, replace if necessary.
5.
With the product under load, using a multi-meter, check for high voltage drop
across all connectors/fuses etc (this can cause the Fishfinder applications to
stop scrolling or the unit to reset/turn off), replace if necessary.
Damaged or fouled transducer
Check the condition of the transducer ensuring it is not damaged and is free from
debris/fouling, clean or replace as necessary.
Wrong transducer fitted
Ensure the transducer is compatible with your system.
SeaTalk
hs
/ RayNet network problem.
• Check that the unit is correctly connected to the multifunction display or
Raymarine network switch. If a crossover coupler or other coupler cable /
adapter is used, check all connections ensuring connections are secure, clean
and free from corrosion, replace if necessary.
Software mismatch between equipment may
prevent communication.
Ensure all Raymarine products contain the latest available software, check the
Raymarine website:
www.raymarine.com/software
for software compatibility.
No depth reading / lost bottom lock
Possible causes
Possible solutions
Transducer location
Check that the transducer has been installed in accordance with the instructions
provided with the transducer.
Transducer angle
If the transducer angle is too great the beam can miss the bottom, adjust
transducer angle and recheck.
Transducer kicked-up
If the transducer has a kick-up mechanism, check that it has not kicked up due to
hitting an object.
Power source insufficient
With the product under load, using a multi-meter, check the power supply voltage
as close to the unit as possible to establish actual voltage when the current
is flowing. (Check your product’s Technical specification for power supply
requirements.)
Damaged or fouled transducer
Check the condition of the transducer ensuring it is not damaged and is free
from debris / fouling.
Damaged cables
1.
Check the unit’s connector for broken or bent pins.
2.
Check that the cable connector is fully inserted into the unit and that the
locking collar is in the locked position.
3.
Check the cable and connectors for signs of damage or corrosion, replace
if necessary.
4.
With the unit turned on, try flexing the power cable near to the display
connector to see if this causes the unit to re-boot/loose power, replace
if necessary.
5.
Check the vessel’s battery voltage, the condition of the battery terminals
and power supply cables, ensuring connections are secure, clean and free
from corrosion, replace if necessary.
110
a Series / c Series / e Series installation instructions
Summary of Contents for A series
Page 2: ......
Page 4: ......
Page 34: ...34 a Series c Series e Series installation instructions...
Page 102: ...102 a Series c Series e Series installation instructions...
Page 124: ...124 a Series c Series e Series installation instructions...
Page 138: ...138 a Series c Series e Series installation instructions...
Page 156: ...156 a Series c Series e Series installation instructions...
Page 157: ......
Page 158: ...www raymarine com...

