background image

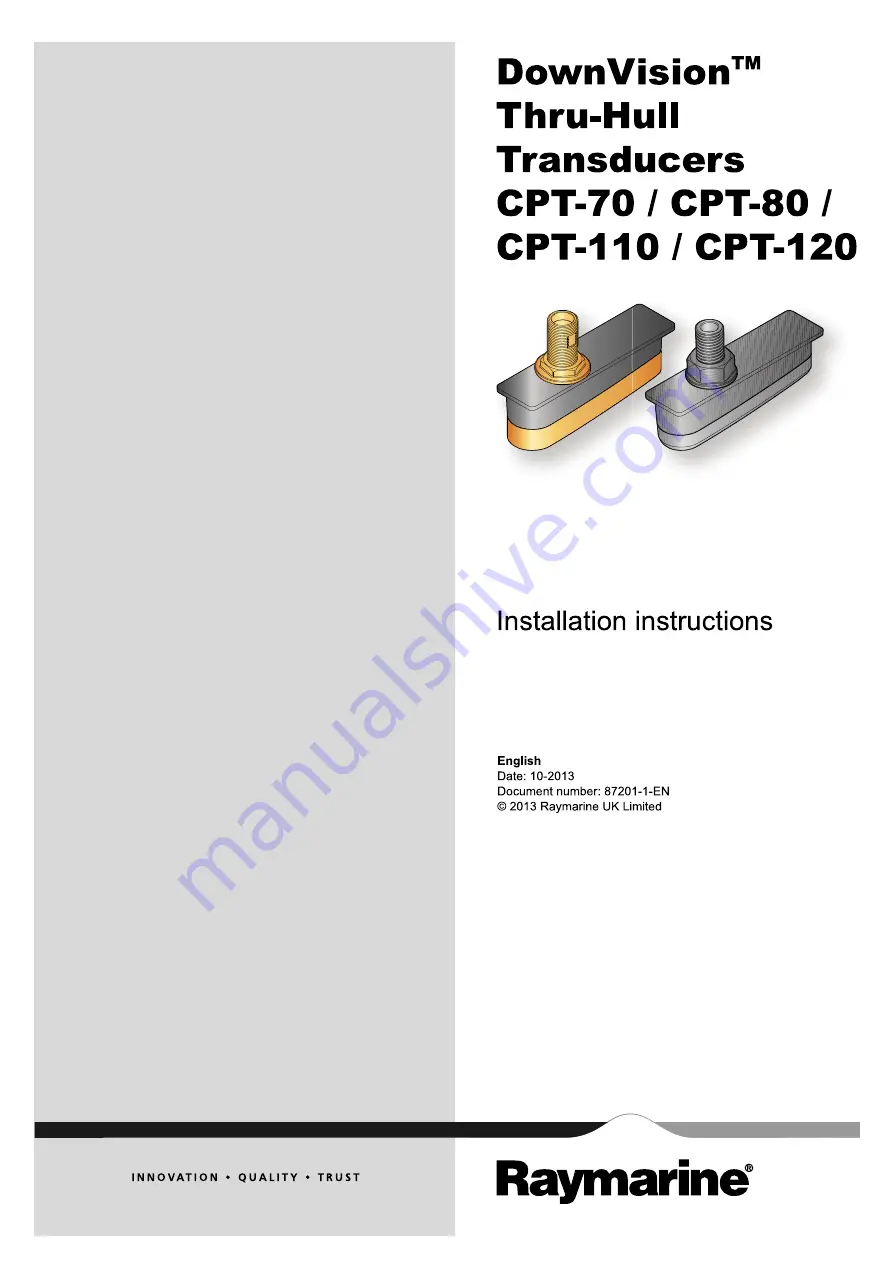
CPT-70 / CPT-80 / CPT-110 / CPT-120

Summary of Contents for A80271

Page 1: ......

Page 2: ......

Page 3: ...s patents pending or design patents pending Fair Use Statement You may print no more than three copies of this manual for your own use You may not make any further copies or distribute or use the manu...

Page 4: ......

Page 5: ...es and connections 19 4 1 General cabling guidance 20 4 2 Cable routing 20 4 3 Connections overview 21 4 4 Transducer cable connection 21 Chapter 5 Pre installation test 23 5 1 Testing the transducer...

Page 6: ...6 CPT 70 CPT 80 CPT 110 CPT 120...

Page 7: ...d up of sea growth coat the transducer with a thin layer of water based antifouling paint available from your local marine dealer Reapply paint every 6 months or at the beginning of each boating seaso...

Page 8: ...d by International Maritime Organization IMO and Safety of Life at Sea SOLAS Carriage Regulations Technical accuracy To the best of our knowledge the information in this document was correct at the ti...

Page 9: ...er 2 Document and product information Chapter contents 2 1 Document information on page 10 2 2 CHIRP Sonar overview on page 11 2 3 CHIRP DownVisionTM overview on page 11 Document and product informati...

Page 10: ...lls only Not recommended for use in a wooden hull Document illustrations Your product may differ slightly from that shown in the illustrations in this document depending on product variant and date of...

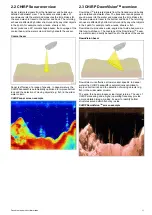
Page 11: ...ransducer and builds up a detailed underwater view The transducer sends pulses of sound waves into the water and measures the time it takes for the sound wave to travel to the bottom and back The retu...

Page 12: ...12 CPT 70 CPT 80 CPT 110 CPT 120...

Page 13: ...2 Parts supplied on page 14 3 3 Required additional components on page 15 3 4 Compatible DownVisionTM products on page 15 3 5 Tools required on page 16 3 6 Warnings and cautions on page 16 3 7 Locati...

Page 14: ...uipment in place 8 Power on and test the system Schematic diagram A schematic diagram is an essential part of planning any installation It is also useful for any future additions or maintenance of the...

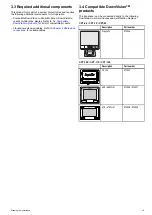
Page 15: ...r a list of compatible products Transducer extension cables Refer to Chapter 4 Cables and connections for suitable cables 3 4 Compatible DownVisionTM products The transducer can be connected directly...

Page 16: ...ponsibility to ensure correct installation Before installing the transducer please check the sealant manufacturer s guidelines to ensure it is suitable for use in the intended environment and with the...

Page 17: ...measured along the waterline 5 Keel sailboat Fin keel mount forward of the keel ensuring that the keel will not obstruct the transducers wide beam width 6 Keel sailboat Full keel mount away from the...

Page 18: ...3 8 Transducer dimensions The transducer s dimensions are shown below CPT 70 and CPT 110 Plastic CPT 80 and CPT 120 Bronze 18 CPT 70 CPT 80 CPT 110 CPT 120...

Page 19: ...bles and connections Chapter contents 4 1 General cabling guidance on page 20 4 2 Cable routing on page 20 4 3 Connections overview on page 21 4 4 Transducer cable connection on page 21 Cables and con...

Page 20: ...deckhead use a suitable watertight feed through Do NOT run cables near to engines or fluorescent lights Always route data cables as far away as possible from other equipment and cables high current c...

Page 21: ...ns Making connections Follow the steps below to connect the cable s to your product 1 Ensure that the vessel s power supply is switched off 2 Ensure that the device being connected to the unit has bee...

Page 22: ...22 CPT 70 CPT 80 CPT 110 CPT 120...

Page 23: ...Chapter 5 Pre installation test Chapter contents 5 1 Testing the transducer on page 24 Pre installation test 23...

Page 24: ...ge on your multifunction display 5 Check that accurate depth and temperature readings are displayed in the Fishfinder application 6 If you experience difficulties obtaining readings then contact Rayma...

Page 25: ...tents 6 1 Dead rise angle on page 26 6 2 Mounting the transducer in a hull with a dead rise on page 27 6 3 Mounting the transducer in a hull without a dead rise on page 28 6 4 Cored fiberglass hull mo...

Page 26: ...inder or similar device 2 Adjust the band saw table to the measured angle of your dead rise 3 Position the dead rise block on the band saw table so that the top of the block is against the band saw s...

Page 27: ...hole in the hull 14 Guide the transducer cable and threaded tube up through the vessel hull and ensure the transducer is lined up with the markings made in step 2 15 Apply a thick bead of marine grade...

Page 28: ...ransducer is parallel with the centerline 10 Apply a thick bead of marine grade adhesive sealant all around the top and bottom faces of the dead rise block 11 With a person inside the vessel place the...

Page 29: ...unted in a non cored section Before installing in a cored section of the hull the area around the hole must be adequately strengthened to ensure it is not damaged when tightening the transducer Import...

Page 30: ...30 CPT 70 CPT 80 CPT 110 CPT 120...

Page 31: ...apter 7 System checks and troubleshooting Chapter contents 7 1 Further information on page 32 7 2 Multiple sonar operation on page 32 7 3 Troubleshooting on page 33 System checks and troubleshooting 3...

Page 32: ...t up Internal Sounder External sonar modules should be turned off at the power supply 2 Wait for the No Sounder Source Available message to be displayed in the Fishfinder application 3 Power on the ne...

Page 33: ...and shipping subjected to comprehensive test and quality assurance programs However if you experience problems with the operation of your product this section will help you to diagnose and correct pro...

Page 34: ...low it can affect the transmitting power of the unit Unit cable fault Ensure that the power transducer and all other cables to the unit are properly connected and free from damage Check that the trans...

Page 35: ...Chapter 8 Maintenance Chapter contents 8 1 Routine checks on page 36 8 2 Unit cleaning instructions on page 36 Maintenance 35...

Page 36: ...ducer care and cleaning Growth can collect on the bottom of the transducer this can reduce performance To prevent the build up of sea growth coat the transducer with a thin layer of water based antifo...

Page 37: ...Chapter 9 Technical support Chapter contents 9 1 Raymarine customer support on page 38 9 2 Viewing product information on page 38 Technical support 37...

Page 38: ...raymarine com In Southeast Asia and Australia Tel 61 0 29479 4800 E mail aus support raymarine com Product information If you need to request service please have the following information to hand Pro...

Page 39: ...Chapter 10 Technical specification Chapter contents 10 1 Technical specification on page 40 Technical specification 39...

Page 40: ...sonar and 1 x DownVision Operating frequencies Sonar Centered 200 KHz DownVision Centered 350 KHz Beam coverage Sonar 25 conical beam DownVision Wide port starboard and thin fore aft fan beam Target...

Page 41: ...Chapter 11 Spares and accessories Chapter contents 11 1 Spares and accessories on page 42 Spares and accessories 41...

Page 42: ...0258 Replacement Bronze securing nut CPT 80 CPT 120 R70260 Replacement Plastic securing nut CPT 70 CPT 110 R70259 Accessories Description Part number 4 m 13 1 ft Transducer extension cable CPT 110 CPT...

Page 43: ......

Page 44: ......

Reviews: