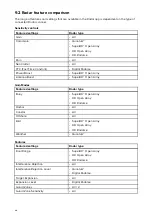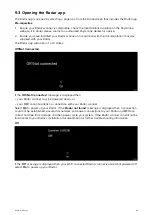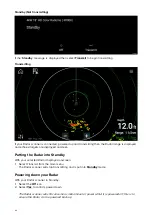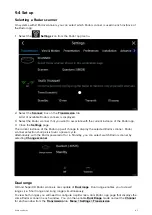
8.5 Sonar sensitivity controls
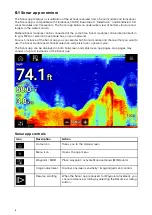
Optimum performance is usually achieved using the default settings. You can adjust the image using
the Sensitivity controls to improve the displayed image.
Sensitivity settings can be accessed using the onscreen
Image adjustment
icon, or the
Adjust sensitivity menu option:
Menu > Adjust sensitivity
.
The Sensitivity controls available are dependant upon the Sonar module in use.
Control
Name
Description
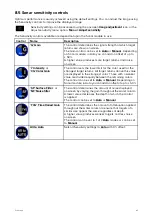
‘G’ Gain
The control determines the signal strength at which target
returns are shown onscreen.
The Gain control can be set to
Auto
or
Manual
. Depending
on Sonar module, in Auto you can add an offset of up to
± 50%.
A higher value produces more target returns and noise
onscreen.
‘I’ Intensity
, or
‘CG’ Color Gain
The control sets the lower limit for the color used for the
strongest target returns. All target returns above this value
are displayed in the strongest color. Those with a weaker
value are divided equally between the remaining colors.
The control can be set to
Auto
or
Manual
. Depending on
Sonar module, in Auto you can add an offset of up to ± 50%.
‘SF’ Surface Filter
, or
‘NF’ Noise filter
The control determines the amount of noise displayed
onscreen by varying the gain throughout the water column.
A lower value decreases the depth at which the control
is applied.
The control can be set to
Auto
or
Manual
.
‘TVG’ Time Varied Gain
The control determines the amount of attenuation applied
throughout the water column to ensure that targets of a
similar size appear the same regardless of depth.
A higher value produces weaker targets and less noise
onscreen.
The control can be set to 1 of 3
Auto
modes or can be set
to
Manual
.
All to Auto
Sets all Sensitivity settings to
Auto
with 0% offset.
83

