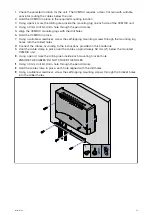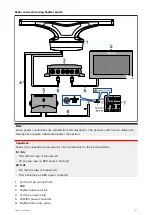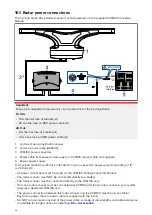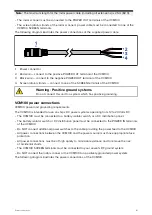
Radar scanner protection — sailing vessels
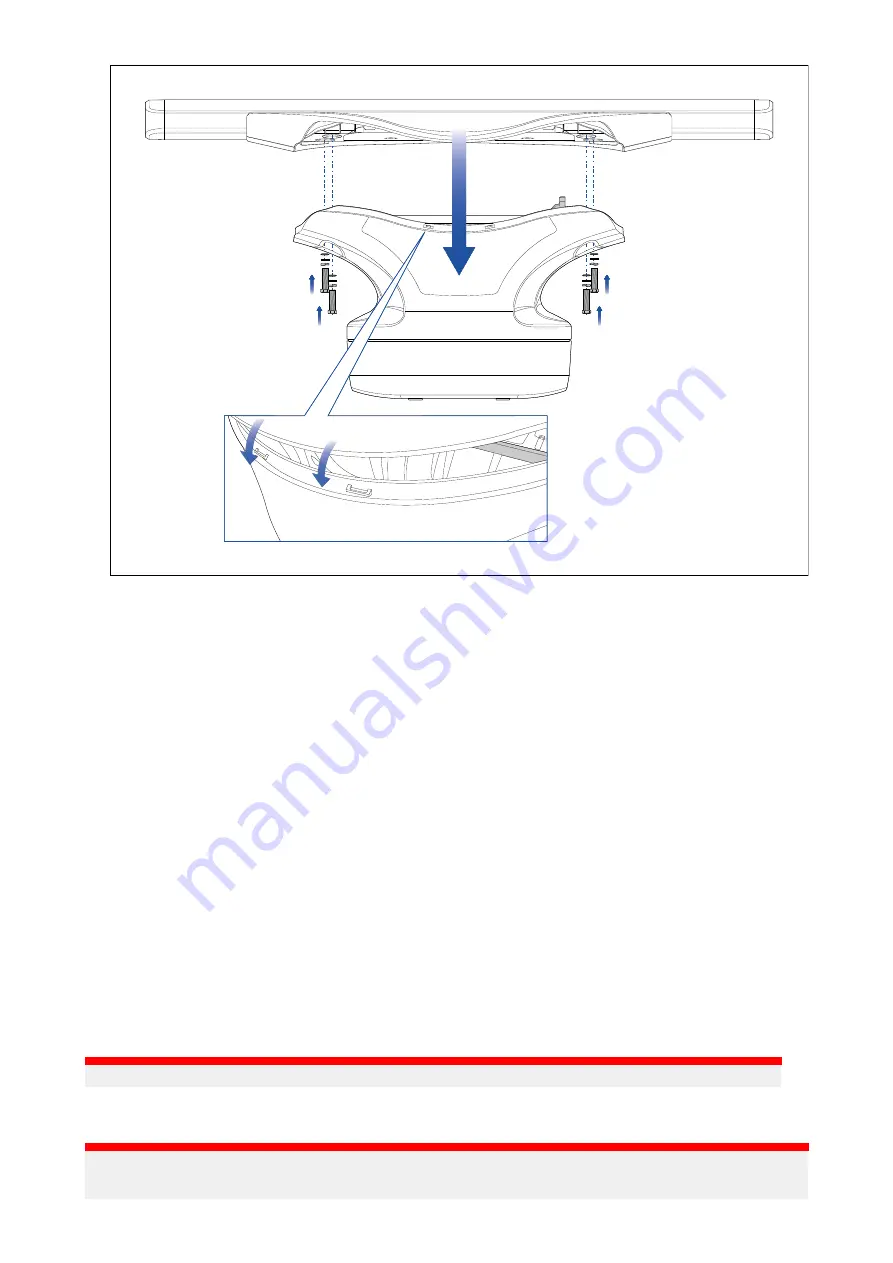
Additional considerations apply when installing the Radar scanner on a sailing vessel.
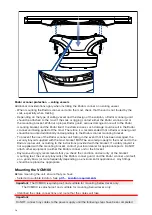
• When mounting the Radar scanner unit onto the mast, check that the unit is not fouled by the
sails, especially when tacking.
• Depending on the type of sailing vessel and the design of the sailplan, a Radar scanner guard
should be attached to the mast if the sails or rigging contact either the Radar scanner unit or
the mounting bracket. Without a proper Radar guard, serious damage can result to the Radar
mounting bracket and the Radar itself. In extreme cases, such damage could result in the Radar
scanner unit being pulled off the mast. Therefore, it is recommended that a Radar scanner guard
should be mounted additionally and separately to the Radar scanner mounting bracket.
• To prevent the risk of the Radar scanner unit falling in the event that it has been damaged, the
security lanyard supplied with the mast bracket MUST be secured properly to the mast and to the
Radar scanner unit, according to the instructions provided with the bracket. If a safety lanyard is
not supplied with the mounting bracket, contact your local dealer for appropriate parts. Do NOT
attach other equipment to either the Radar scanner unit or the bracket.
• Raymarine strongly recommends that you check the condition and security of the bracket
mounting feet, the security lanyard(s), the Radar scanner guard, and the Radar scanner unit itself,
on a yearly basis (or more frequently depending on environmental applications). Any fittings
should be replaced as appropriate.
Mounting the VCM100
Before mounting the unit, ensure that you have:
• Selected a suitable location. See
Important:
The VCM100 is splashproof, and suitable for mounting below decks only.
The VCM100 is splashproof, and suitable for mounting below decks only.
• Identified the cable connections and route that the cables will take.
Important:
Do NOT connect any cables to the power supply until the following steps have been completed.
50
Summary of Contents for CYCLONE
Page 2: ......
Page 4: ......
Page 8: ...8...
Page 20: ...20...
Page 28: ...28...
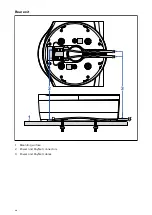
Page 40: ...Rear exit 1 Mounting surface 2 Power and RayNet connectors 3 Power and RayNet cables 40...
Page 42: ...42...
Page 52: ...52...
Page 58: ...58...
Page 64: ...64...
Page 69: ...Chapter 12 Operation Chapter contents 12 1 Operation instructions on page 70 Operation 69...
Page 80: ...80...
Page 84: ...84...
Page 88: ......
Page 91: ......


