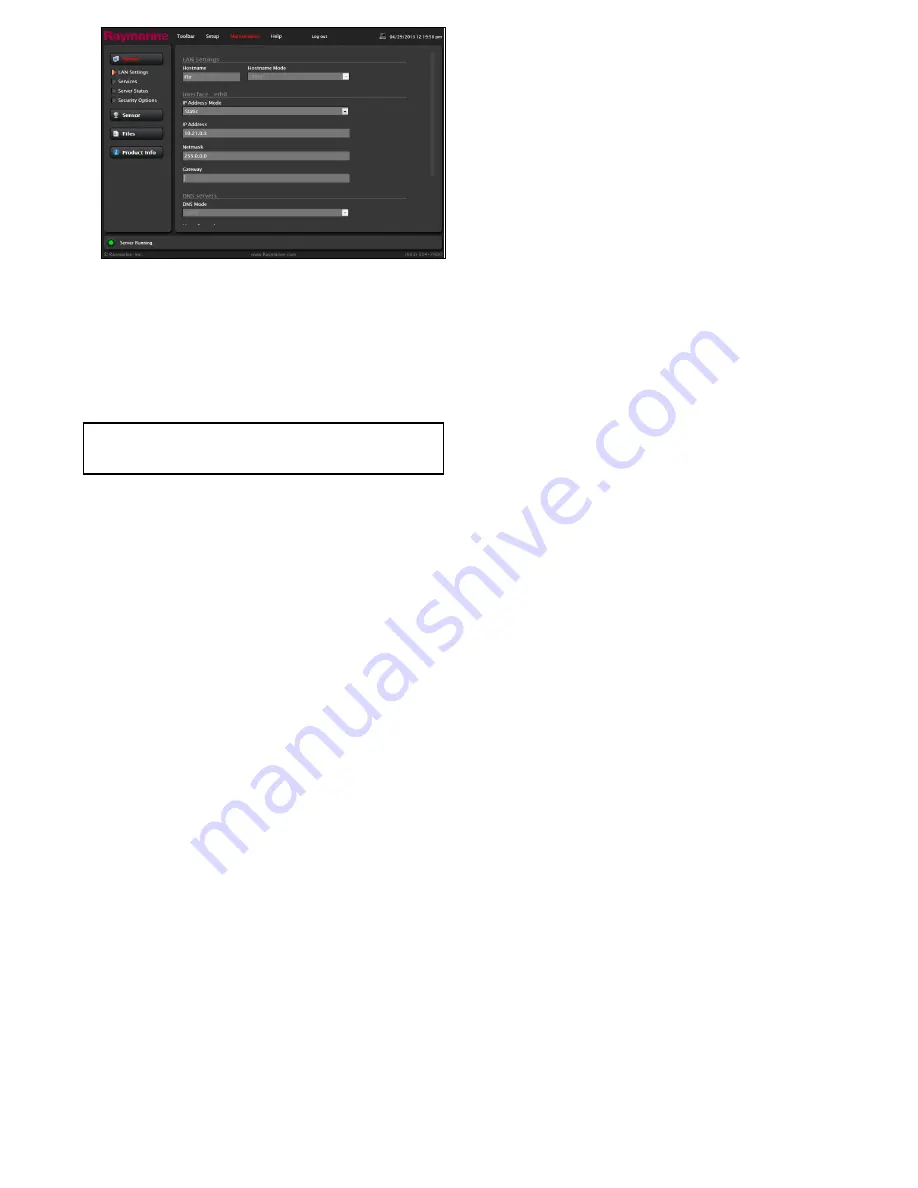
5. Select Static from the
IP Address Mode
drop down box.
The page will refresh and the previously grayed out fields
will now be available.
6. Enter a unique IP address in the
IP Address
field.
7. Select
Save
to save the new settings.
A warning message is displayed as the network is restarted.
The open web page, opened under the old IP address, is no
longer valid.
8. You can now log into the Web interface using the new IP
Address.
Note:
If your web enabled device has been configured with a
static IP address in order to access the Web interface then it
may be necessary to change its IP address as well.
Zooming the camera using the toolbar
The toolbar can be used to control the zoom level of the thermal
camera, when the zoom level is changed an icon is displayed
on-screen momentarily to indicate the zoom level.
With no zoom level selected:
1. From the web interface toolbar, select the
Zoom in
icon to
set the zoom level to 2x.
2. On a 640 x 480 camera you can select the
Zoom in
icon
again to set the zoom level to 4x.
3. Selecting the
Zoom out
icon will return to the previous zoom
level.
Selecting a scene preset using the toolbar
From the web interface toolbar:
1. Select the
Change Scene
icon to change the scene.
Selecting the Change Scene icon will cycle through the available
scenes.
Selecting a color palette using the web utility
toolbar
To select a color palette follow the steps below.
From the web interface toolbar:
1. Select the
Change Color
icon to change the color palette.
Selecting the Change Color icon will cycle through the available
color palettes.
Reversing the video polarity using the
toolbar
To reverse the polarity of the video image follow the steps below.
From the web interface toolbar:
1. Select the
Invert Video Polarity
icon to reverse the video
polarity.
Selecting the Invert Video Polarity icon will switch the video
image between white hot and black hot.
Switching the camera to rear view mode
using the web interface
To switch the camera to rear view mode follow the steps below
From the web utility:
1. Select
Setup
.
2. Scroll down to
Image Orientation
.
3. For Ball Up configuration select
Revert
from the drop down
box.
4. For Ball Down configuration select
Both
from the drop down
box.
Restoring factory defaults using the web
interface
Use this procedure to reset the camera to its factory default
settings.
From the web interface:
1. Select
Setup
.
2. Scroll to the bottom of the page.
3. Select
Factory Defaults
.
T200


