Installation
27
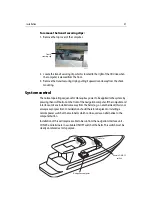
To remove thetransit securing clips:
1. Remove the top cover of the computer.
2. Locate the transit securing clip which is located to the right of the CD drive when
the computer is viewed from the front.
3. Remove the transit securing clip by pulling it upwards and awayf rom the shock
mounting.
System control
The normal operating sequence for H6 requires power to be applied to the system by
pressing the on/off button on the front of the navigation computer. If the computer and
interface units are installed some way from the helm (e.g. on another deck) this is not
always easy or practical. Consideration should therefore be given to installing a
remote power switch at the main helm which can be used as an alternative to the
computer button.
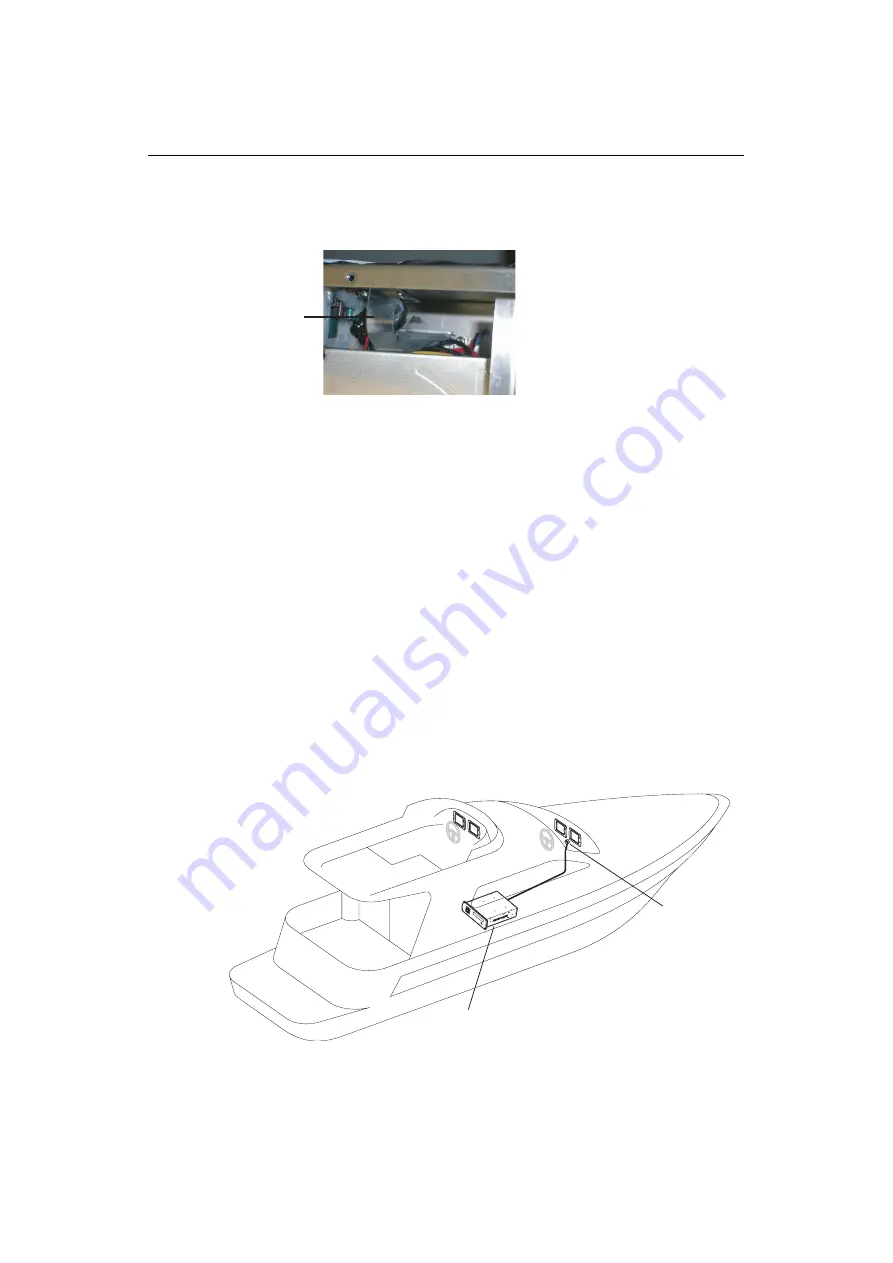
Installation of this will require a cable to be run from the navigation interface unit -
CON 29 and terminate in a suitable ON/OFF switch at the helm. This switch must be
clearly annotated as to its purpose.
Transit
securing clip
D7660_1
Remote ON/OFF
switch
Navigation computer
Main helm
D7597_1
Summary of Contents for H6
Page 1: ...System Installation Manual Document number 87035_1 Date November 2004 D7579_1...
Page 6: ...4 Raymarine H6 System Istalation Manual...
Page 16: ...10 Raymarine H6 System Installation Manual...
Page 17: ...11 This page should be replaced with the A3 sheet System Schematic...
Page 18: ...12 Raymarine H6 Installation Manual...
Page 26: ...20 Raymarine H6 System Installation Manual...
Page 27: ...21 This page should be replaced with the A3 sheets Cables...
Page 28: ...22 Raymarine H6 Installation Manual...
Page 48: ...42 Raymarine H6 System Installation Manual...
Page 62: ...56 Raymarine H6 System Installation Manual...
Page 72: ...66 Raymarine H6 System Installation Manual...
Page 98: ...92 Raymarine H6 System Installation Manual No Check Confirmed...
Page 103: ...Raymarine H6 Connection diagrams Raymarine 2004...
Page 104: ...98 Raymarine H6 System Installation Manual...
Page 110: ...104 Raymarine H6 System Installation Manual...
Page 121: ...115 This page should be replaced with the A3 sheet VGA Connections...
Page 122: ...116 Raymarine H6 Installation Manual...
Page 123: ...Installation templates D7579_1...

