

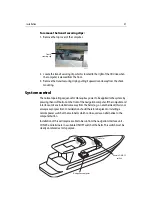


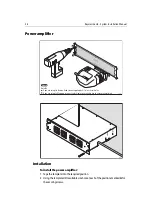
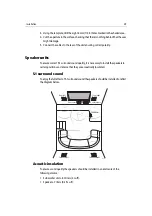


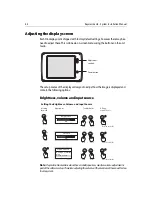
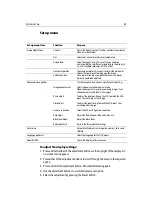
Installation
31
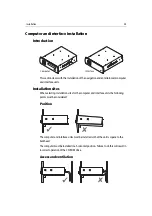
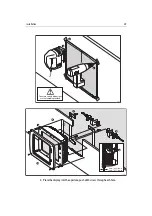
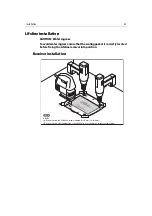
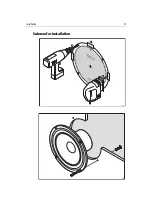
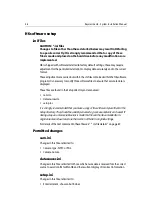
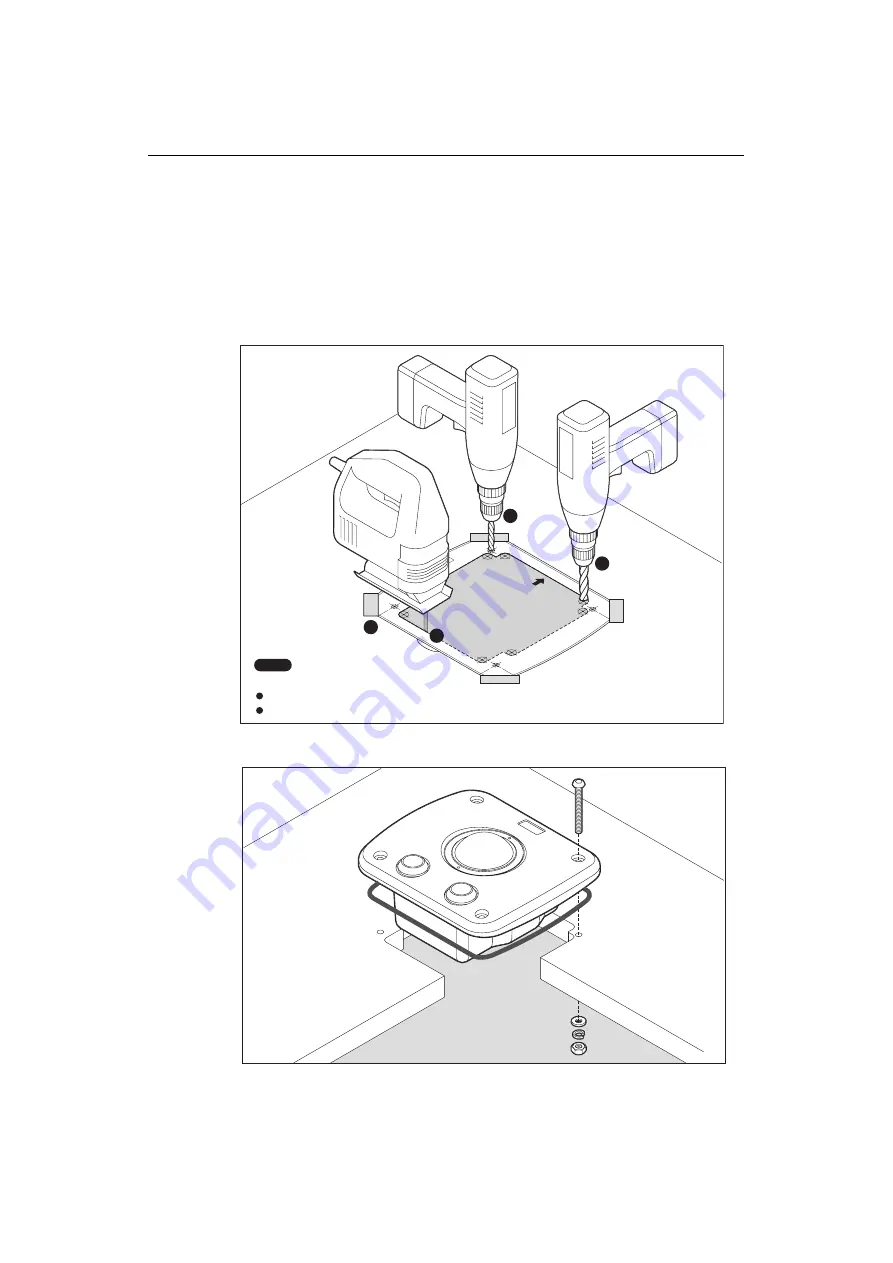
Trackball installation
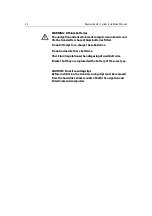
CAUTION: Water ingress
To avoid water ingress ensure that the sealing gasket is correctly located
before fixing the trackball into position.
Installation
UP
Remove material
from shaded areas only
H6 Trackball
Unit
Mounting Template
Drill hole,
6 mm (
1
/
4
in)
diameter
in 8 positions
Fascia
edge
Cover
edge
Hole
A
Hole
A
Hole
A
Hole
A
D73
26-
1
1
2
3
4
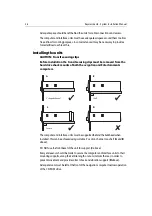
Check
Hole
A
If you are using the Button-Head screws supplied, drill 4 mm (
5
/
32
in) holes.
If you are using Self-Tapping screws, then drill holes of a suitable size to ensure secure fixing.
D7412_1
D7413_1
Summary of Contents for H6
Page 1: ...System Installation Manual Document number 87035_1 Date November 2004 D7579_1...
Page 6: ...4 Raymarine H6 System Istalation Manual...
Page 16: ...10 Raymarine H6 System Installation Manual...
Page 17: ...11 This page should be replaced with the A3 sheet System Schematic...
Page 18: ...12 Raymarine H6 Installation Manual...
Page 26: ...20 Raymarine H6 System Installation Manual...
Page 27: ...21 This page should be replaced with the A3 sheets Cables...
Page 28: ...22 Raymarine H6 Installation Manual...
Page 48: ...42 Raymarine H6 System Installation Manual...
Page 62: ...56 Raymarine H6 System Installation Manual...
Page 72: ...66 Raymarine H6 System Installation Manual...
Page 98: ...92 Raymarine H6 System Installation Manual No Check Confirmed...
Page 103: ...Raymarine H6 Connection diagrams Raymarine 2004...
Page 104: ...98 Raymarine H6 System Installation Manual...
Page 110: ...104 Raymarine H6 System Installation Manual...
Page 121: ...115 This page should be replaced with the A3 sheet VGA Connections...
Page 122: ...116 Raymarine H6 Installation Manual...
Page 123: ...Installation templates D7579_1...


