System set up
43
System set up
Introduction
This chapter deals with the set up of Raymarine H6 after installation of the system and
covers the following:
• Initial system startup.
• H6 software setup.
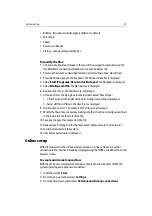
• Online setup.
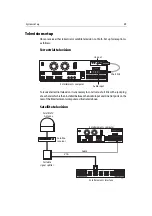
• Television setup.
• 3
rd
Party software setup.
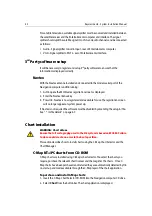
• Chart installation.
• Instrument calibration.
Initial system startup
To start H6:
1. Ensure that all peripheral instruments within the system are powered ON.
2. Press the button on the front of the Navigation computer to start running H6*.
3. Press the power button on both displays to ON.
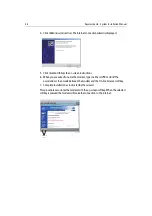
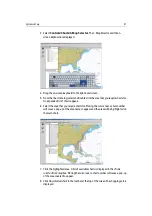
The H6 disclaimer is displayed on the left screen.
4. If you agree to the terms of the disclaimer, click
I Agree.
The H6 Welcome screen is
displayed. If you do not click
I Agree
H6 will not start.
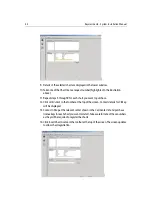
5. Click OK.The Welcome screen closes and H6 starts. The button bar and databoxes are
displayed.
Note:
* If a remote control switch has been fitted to the system, this should be used to power
H6.
Summary of Contents for H6
Page 1: ...System Installation Manual Document number 87035_1 Date November 2004 D7579_1...
Page 6: ...4 Raymarine H6 System Istalation Manual...
Page 16: ...10 Raymarine H6 System Installation Manual...
Page 17: ...11 This page should be replaced with the A3 sheet System Schematic...
Page 18: ...12 Raymarine H6 Installation Manual...
Page 26: ...20 Raymarine H6 System Installation Manual...
Page 27: ...21 This page should be replaced with the A3 sheets Cables...
Page 28: ...22 Raymarine H6 Installation Manual...
Page 48: ...42 Raymarine H6 System Installation Manual...
Page 62: ...56 Raymarine H6 System Installation Manual...
Page 72: ...66 Raymarine H6 System Installation Manual...
Page 98: ...92 Raymarine H6 System Installation Manual No Check Confirmed...
Page 103: ...Raymarine H6 Connection diagrams Raymarine 2004...
Page 104: ...98 Raymarine H6 System Installation Manual...
Page 110: ...104 Raymarine H6 System Installation Manual...
Page 121: ...115 This page should be replaced with the A3 sheet VGA Connections...
Page 122: ...116 Raymarine H6 Installation Manual...
Page 123: ...Installation templates D7579_1...

