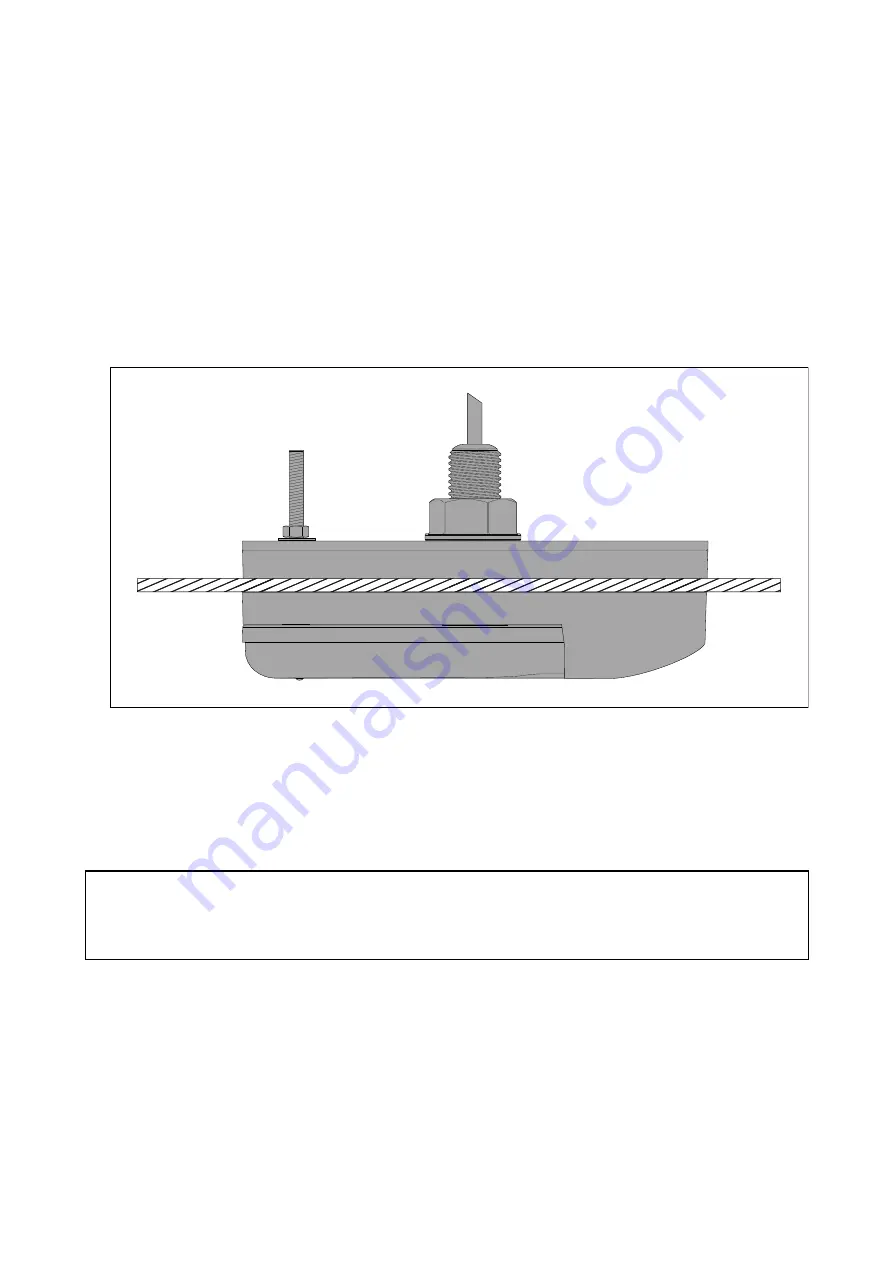
29. If required, apply additional marine-grade sealant around the base of the transducer stem and
anti-rotation bolt.
30. Guide the transducer cable through the hull nut
31. Apply a continuous, thick bead of marine-grade sealant to the bottom of the plastic hull nut.
32. Ensuring that the fairing block pieces and transducer do not move, secure the transducer
assembly by tightening the hull nut by hand.
33. Slide the washer over the anti-rotation bolt.
34. Screw the anti-rotation nut onto the bolt and tighten, using a 13 mm (1/2 in) wrench (spanner).
35. Add a further quarter turn using a 44 mm ( 1 3/4 in) wrench (spanner).
In order to prevent leaks and transducer movement when hit by objects or waves, ensure that
the nut is adequately tightened. You should see the sealant protruding from the edges of the
applied surfaces.
36. Remove any excess marine-grade sealant.
37. Ensure that the marine-grade sealant has fully cured
Refer to the sealant manufacturer’s instructions for curing times.
38. Unless local environmental regulations prohibit, apply a water based anti-fouling paint to the
bottom face of the transducer, ensuring all of the externally exposed transducer surfaces are
coated and the paint overlaps onto the hull.
39. Check for leaks around the transducer immediately upon putting the vessel back in the water.
Important:
Do NOT leave your vessel in the water unchecked after installing your transducer. Very small
leaks may not be immediately obvious, and considerable bilge water could accumulate over the
course of a day, or overnight.
40. Check for leaks at regular intervals after installation until you are satisfied that there are no leaks.
41. Ensure checking for leaks around the transducer is added to your routine vessel maintenance
schedule.
35


