28
Operating Instructions
BOT
LOCK
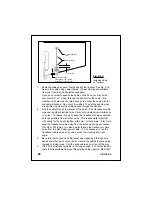
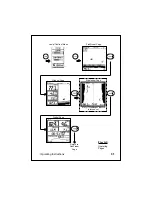
The “Bottom Lock” Mode shows a “bottom-up” view. The
bottom is used as a reference, and all depths are mea-
sured from the bottom up.
For more information, see the section on “Performance Modes” on page 50.
Turning the Power On and Off
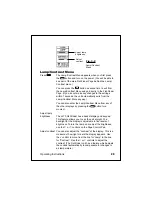
Press the
PWR
button once to turn on the power. For a few seconds, the
Lamp/Contrast Menu will appear and the panel light will flash on and off.
The light will allow you to see in order to set up the display in the dark.
After the screen flashes three times, the unit will go to the display page
which was used last (unless this is the first time the unit is powered up).
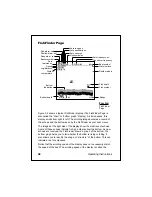
The first time power is supplied to the unit, you will be asked to select the
language used by the displays. English is the default language. You may
also select any of six other languages. (You can change this setting at any
time using the System Setup Menu.)
To turn the power off, press and hold the
PWR
button for more than 3
seconds.
Setup Memory
When you first turn on the power, the unit will be prepared to operate
using a number of preset values. These “default” values are stored in the
unit at the factory. (The default values are listed in Section 4.)
This unit has a memory for some of the settings—range, sensitivity, zoom,
and frequency. (We will explain these in a moment.) When you turn off
the power, any changes you make to these settings will be saved. You can
return all of the settings to the factory default values, and reset the trip log
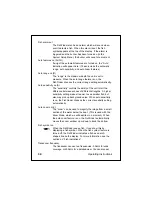
to zero. To reset the unit, confirm that the unit is off. Press and hold the
CLEAR
button, then press the
PWR
button for a moment. After the unit
powers up, release the
CLEAR
button.

