51
Operating Instructions
Many of the items presented by the Zoom Mode are the same as those on
the FishFinder Page. There are a few additional items:
Zoom magnification
This indicates the amount of “zoom” or magnification. You
always set the
amount of zoom manually. While the Zoom
screen is visible, press
SETUP
. This will bring you to the
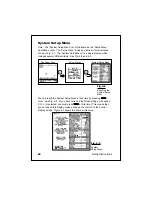
Zoom Menu, shown in Fig. 4-10. You can choose an x2
view (double the normal display size), x4, x6 or x8. See
Section 4 for details. You must also select the area or
“window” of the water you want to zoom. See the next
item.
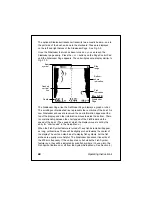
Zoom area
When you turn on the zoom feature, it can only enlarge a
part of the FishFinder Page. You must decide which part
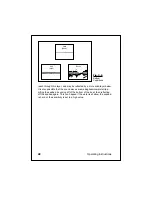
you want to enlarge. As we said, the right side of the “split”
display shows the normal FishFinder Page. The vertical
line at the right edge of this display shows the area or
“window” of the water being enlarged.
When the FishFinder is set for Auto Zoom,
it will choose the
zoom area automatically. The unit always chooses an area
of the water which includes the bottom. The unit then
moves this area up or down to keep the bottom in the
picture. The Auto Zoom feature is great for bottom fishing.
You may also set the zoom area manually. While the Zoom
screen is visible, press
SETUP
. This will bring you to the
Zoom Menu, shown in Fig. 4-10. You can then select
Manual Zoom. See Section 4 for details. Once you are
back to the zoom display, you can move the zoom area up
or down (using the
<
and
V
arrows of the Page Control
Pad) to select the area you want to be enlarged.
The Zoom image can also be presented using the whole display. See
Section 4 for details.
If you want to exit from the Zoom Mode, press the Zoom button again
while the Zoom image is visible. For a moment the display will say,
“Exiting Zoom Mode,” then the unit will return to the FishFinder Page.

