57
Setup Instructions
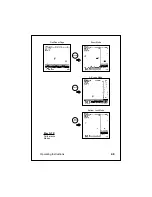
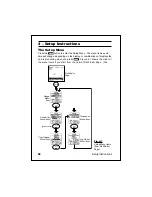
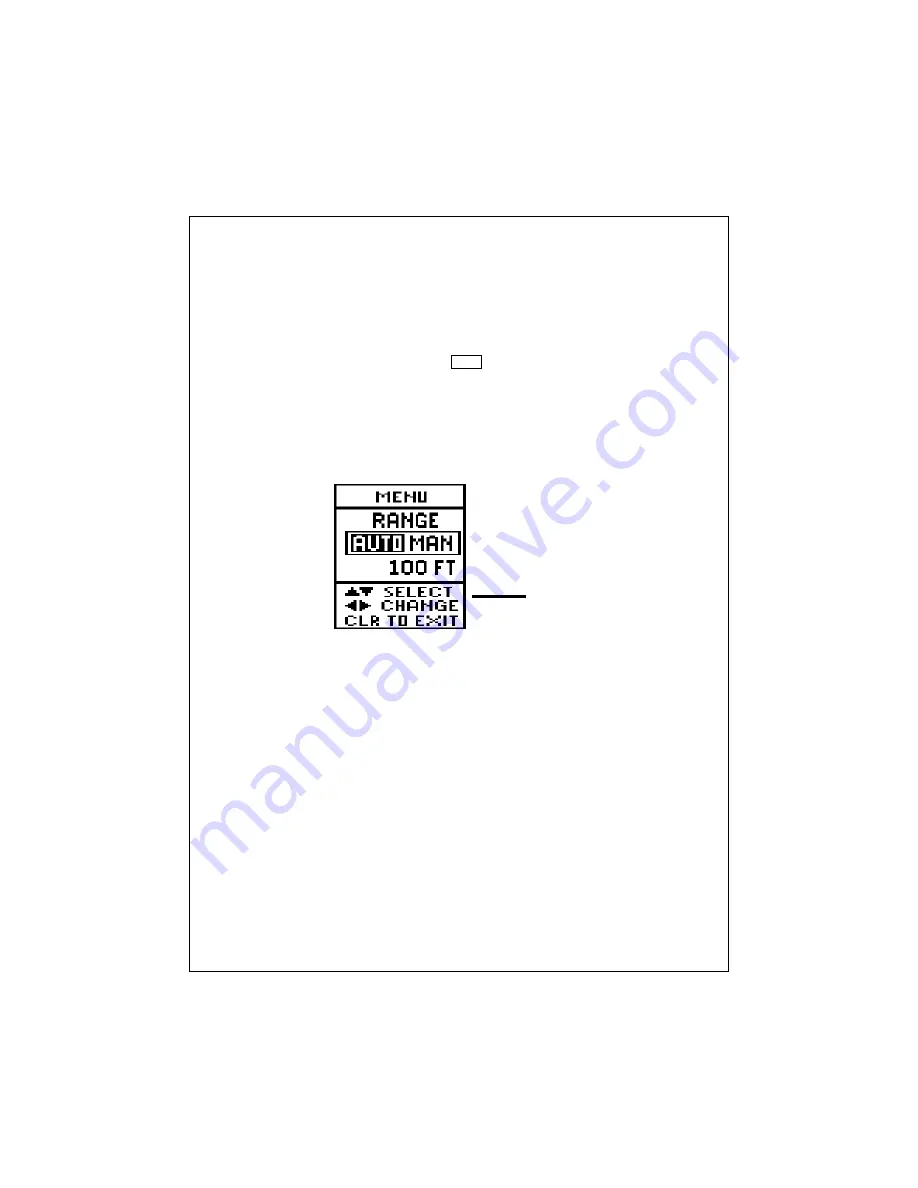
Fig. 4-2
Range
Menu Item
order will be different if you start from the Zoom or Bottom Lock Modes.)
To move from one menu item to another, press the
<
and
V
arrows of
the Page Control Pad. (If you continue to press
<
and
V
often enough,
you will eventually return to the same menu item which appeared origi-
nally.) The unit remembers which menu item was last used for each page,
and will display that item the next time you go to the Setup Menu. To
return to the normal display, press
CLEAR
. (The menu will disappear on its
own in seven seconds). This arrangement allows you to reach any item
on the Setup Menu easily, make a change, then return to the normal
display quickly.
Range Setting
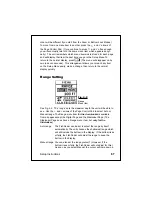
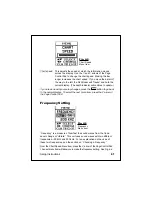
See Fig. 4-2. The “range” sets the maximum depth the unit will be able to
see. Use the < and > arrows of the Page Control Pad to select Auto or
Manual range. The Range menu item
for the downlooker is available
from all pages except the Digital Page and the Sidelooker Page. (The
Sidelooker Page does have a Range menu item, but
only for the
Sidelooker.)
Auto range
The FishFinder can be set to select the range by itself,
automatically. The unit chooses the shallowest range which
will still include the bottom in the display. If the bottom rises
or falls, the FishFinder will adjust the range to keep the
bottom in the display.
Manual range You can also set the range yourself. (However, if the
bottom rises or falls, the FishFinder will not adjust for this.)
As soon as you select Manual, the cursor will jump down a

