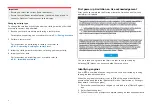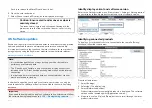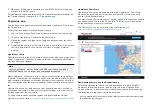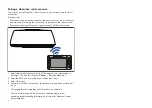
5. You can also save the list of product information to memory card by
selecting
[Save data]
.
The product information file will be saved in .json file format that can be
viewed using most standard notepad applications.
Updating display software using a memory card
Follow the steps below to update the software on your display.
1. Check the product hardware variant and the software version of the
products you want to update.
2. Go to the Raymarine website: (
[www.raymarine.com > Support > Software
Updates]
).
3. Browse for your product.
4. Check if an updated software version is available for your product.
5. Download the relevant software package(s) (ISO files).
6. Copy the files to MicroSD card.
7. With your display powered on, insert the MicroSD card into the card
reader slot.
The software update files will be recognized automatically.
8. Select
[Yes]
to update the software.
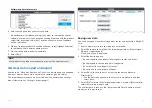
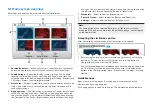
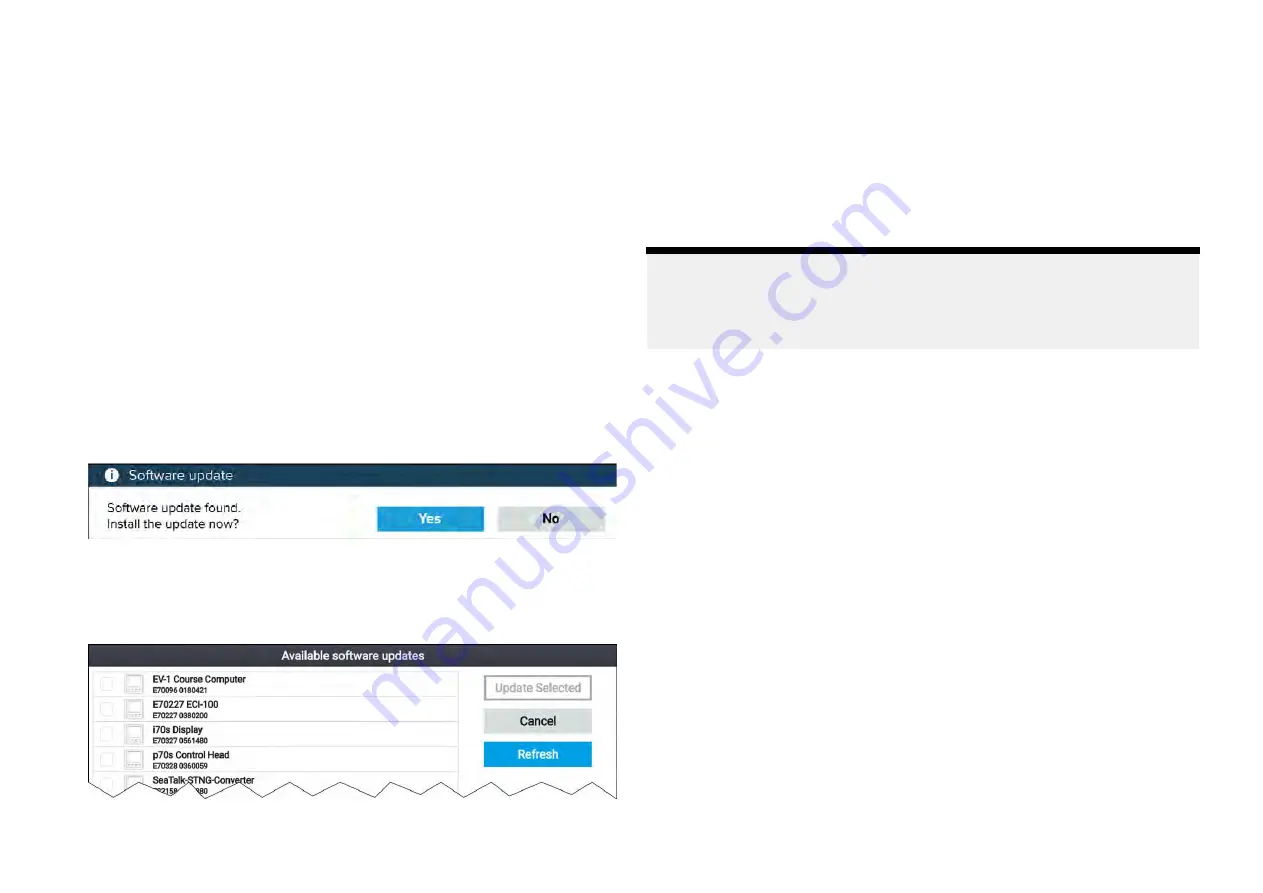
A list of available products is displayed. The list will include your display
and products that are connected to the SeaTalkng ® backbone.
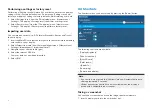
Software update list example
9. Select each device that you want to update.
If a notification is displayed asking if you want to reinstall the current
software version, unless you are experiencing problems with the product
select [No], otherwise select [Yes] and the current version of software
will be reinstalled.
10. When all relevant products have been chosen, select
[Update selected]
to commence the software update process.
11. Wait for the update process to complete.
12. Select
[Exit]
.
Note:
• Your products may reboot automatically as part of the update process.
• You can also select
[Check SD card]
from the
[Update software]
pop-over
options (
[Homescreen > Settings > Getting started > Update software]
.
Updating software using an internet connection
When using an Element™ display that includes built-in Wi-Fi, follow the steps
below to update your display’s software and software on approved devices
connected to the same SeaTalkng ®backbone, using an internet connection.
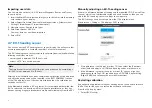
1. Select
[Update software]
from the Getting started menu: (
[Homescreen >
Settings > Getting started]
).
2. Select
[Check online]
from the pop-over menu.
If you do not have an active internet connection then you will be
requested to create one.
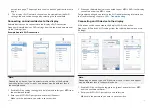
3. To set up a Wi-Fi connection select
[Wi-Fi settings]
and connect to the
required Wi-Fi access point/hotspot.
4. Select
[Start]
.
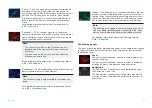
A list of available products is displayed. The list will include your display
and products that are connected to the SeaTalkng ® backbone.
30


