3.7 Skew angle
The skew angle can affect reception only for regions / satellites
using Linear Polarized signals. When selecting between different
satellites, or when moving from one geographic region to another,
the angle of incidence between the antenna and the satellite signal
will vary. The skew angle of the LNB (Low Noise Block) may be
adjusted to compensate for this in order to maintain an optimal
signal.
•
Auto-skew (Premium STV models)
– Auto-skew requires no
manual adjustment. The skew angle is automatically adjusted to
suit your location.
•
Manual skew adjustment
– For systems without the Auto-skew
feature, you can manually adjust the skew angle.
Before attempting to do adjust the skew angle, seek advice from
your service provider.
Note:
DO NOT attempt to set the skew angle with power applied.
Setting the skew angle
Contact your service provider to obtain the optimum skew angle for
your geographical area.
Note:
Factory default skew angle settings are:
• For the USA: 0°
• For the EU: –8°
To set the skew angle:
1. Ensure that all power to the system is switched off.
2. Remove and retain the bolts and washers securing the antenna
dome.
3. Remove the antenna dome and store in a safe place.
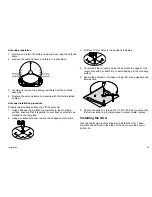
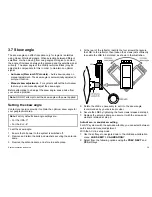
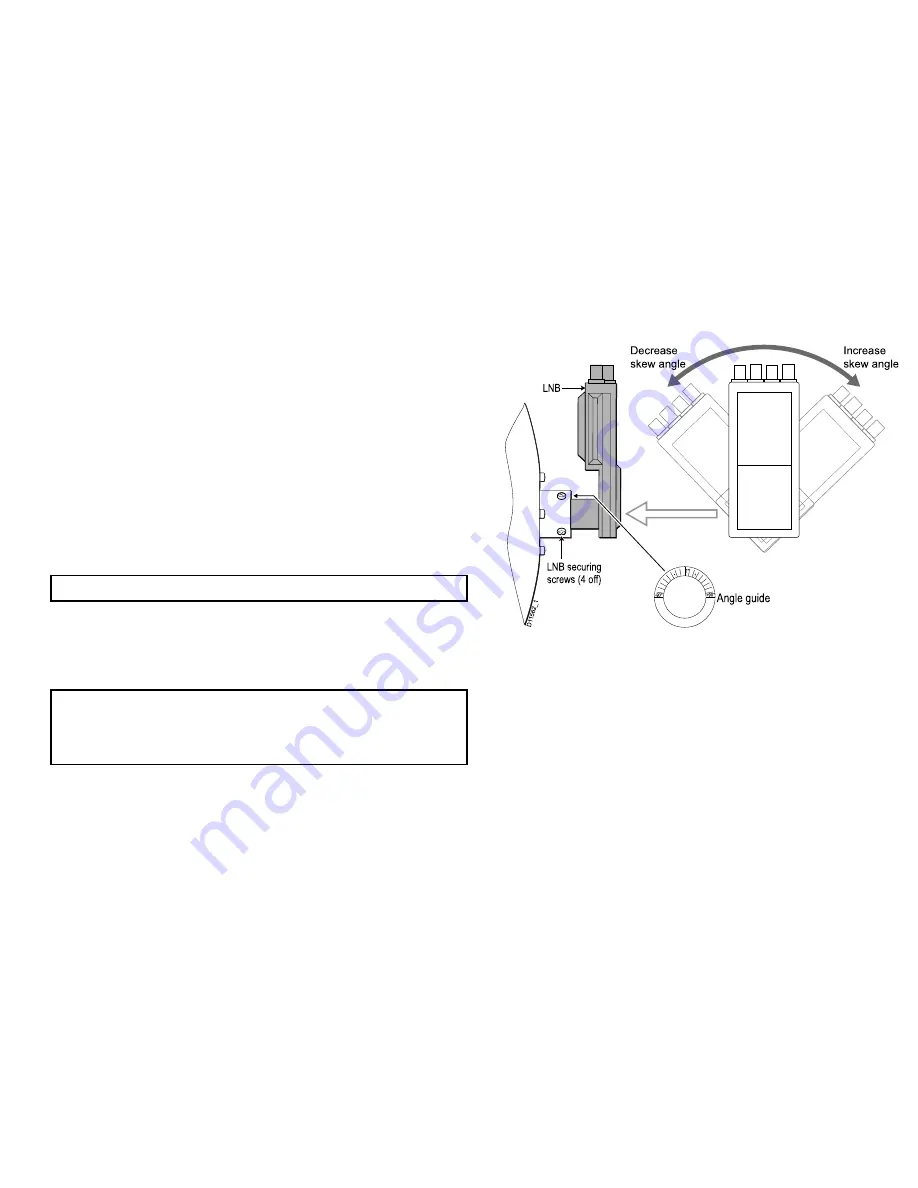
4. At the rear of the reflector, identify the four screws that secure
the LNB, to the reflector, then loosen the screws just sufficiently
to enable the LNB to be rotated, as shown in the illustration.
D1
1
562_1
LNB securing
screws (4 of
f)
LNB
Increase
skew angle
Decrease
skew angle
+90°
-90°
0°
+
-
Angle guide
5. Rotate the LNB as necessary to set it to the skew angle
recommended by your service provider.
6. Secure the LNB by tightening the four screws released at step 4.
7. Replace the antenna dome and secure it with the screws and
washers retained at step 2.
Auto-skew – manual skew setting
For STV systems with the auto-skew facility, you can select between
auto-skew and manual adjustment.
With the ACU in setup mode:
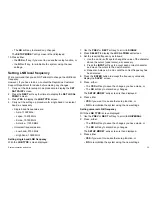
1. Use the softkeys to navigate down to the LNB skew calibration
menu.
LNB SKEW? > CALIBRATION?
2. Select from the following options using the
PREV
,
NEXT
and
YES
softkeys.
System operation and setup
39

