V1.1
Shanghai Empower Technologies Co., Ltd. © Copy Right
www.empower.cn
BM114 SERIES 6KW Laser Cutting Head User Manual
20 | 11
the surface of the lens)
4. Put the lens facing to eyes, hold the absorbent cotton stick with the left hand. Wipe the lens gently in
single direction, from bottom to top or from left to right, ( Should not be able to wipe back and forth, so
as not to secondary pollution of the lens)and use rubber blowing to sway the surface of the lens. Both
sides should be cleaned. After cleaning, make sure that there is no residual: detergent, absorbent cotton,
foreign matter and impurities.
5.2 Removal and Installation of Lenses
The whole process needs to be completed in a clean place. Wear dust-proof gloves or fingertips when
removing or installing the lenses.
5.2.1
Removal and Installation of Collimating Protective Lenses
The protective lens are a fragile part and need to be replaced after damage.
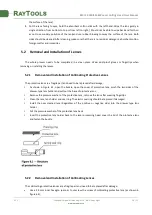
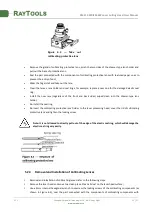
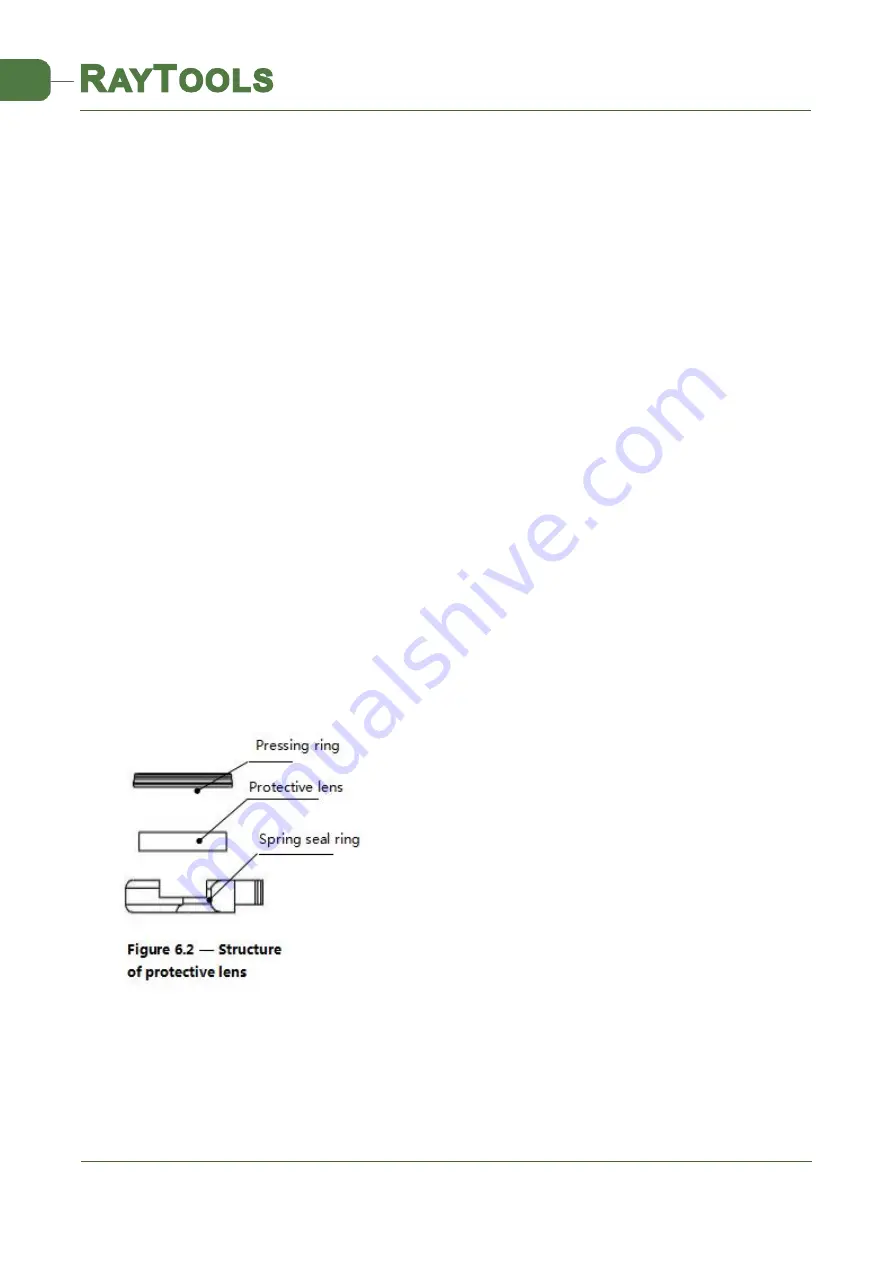
As shown in Figure 6.1, open the buckle, open the cover of protective lens, pinch the two sides of the
drawer-type lens holder and pull out the base of protective lens;
Remove the pressure washer of the protective lens , remove the lens after wearing fingertips
Clean the lens, lens holder and seal ring. The elastic seal ring should be replaced if damaged.
Install the new cleaned lens (Regardless of the positive or negative side) into the drawer type lens
holder.
Put the pressure washer of the protective lens back.
Insert the protective lens holder back to the laser processing head, cover the lid of the protective lens
and fasten the buckle.
5.2.2
Removal and Installation of Collimating Lenses
The collimating protective lenses are a fragile part and need to be replaced after damage.
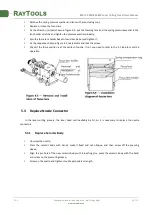
Use a 2.5mm inner hexagon spanner to unscrew the screw of collimating protective lens (as shown in
figure 6.3);

